You’ve seen it everywhere, all over Pinterest, DIYers across the board are raving about Annie Sloan chalk paint. I was surprised to hear it has been around for 20 years in England and America has only recently gotten ahold of the chalk paint craze. I was naive in my pursuits, simply walking into a Hobby Lobby and asking for it. I was simply told “we don’t carry it”. What?! Well after a little internet research is when I saw it’s origins and how you have to purchase it through a select few boutique DIY stores across the country. It’s got a high price at $34.99 for a quart. And shipping doesn’t help either. But I really wanted to try it, so I ordered several colors and received it within 48 hours from a store called The Purple Painted Lady.
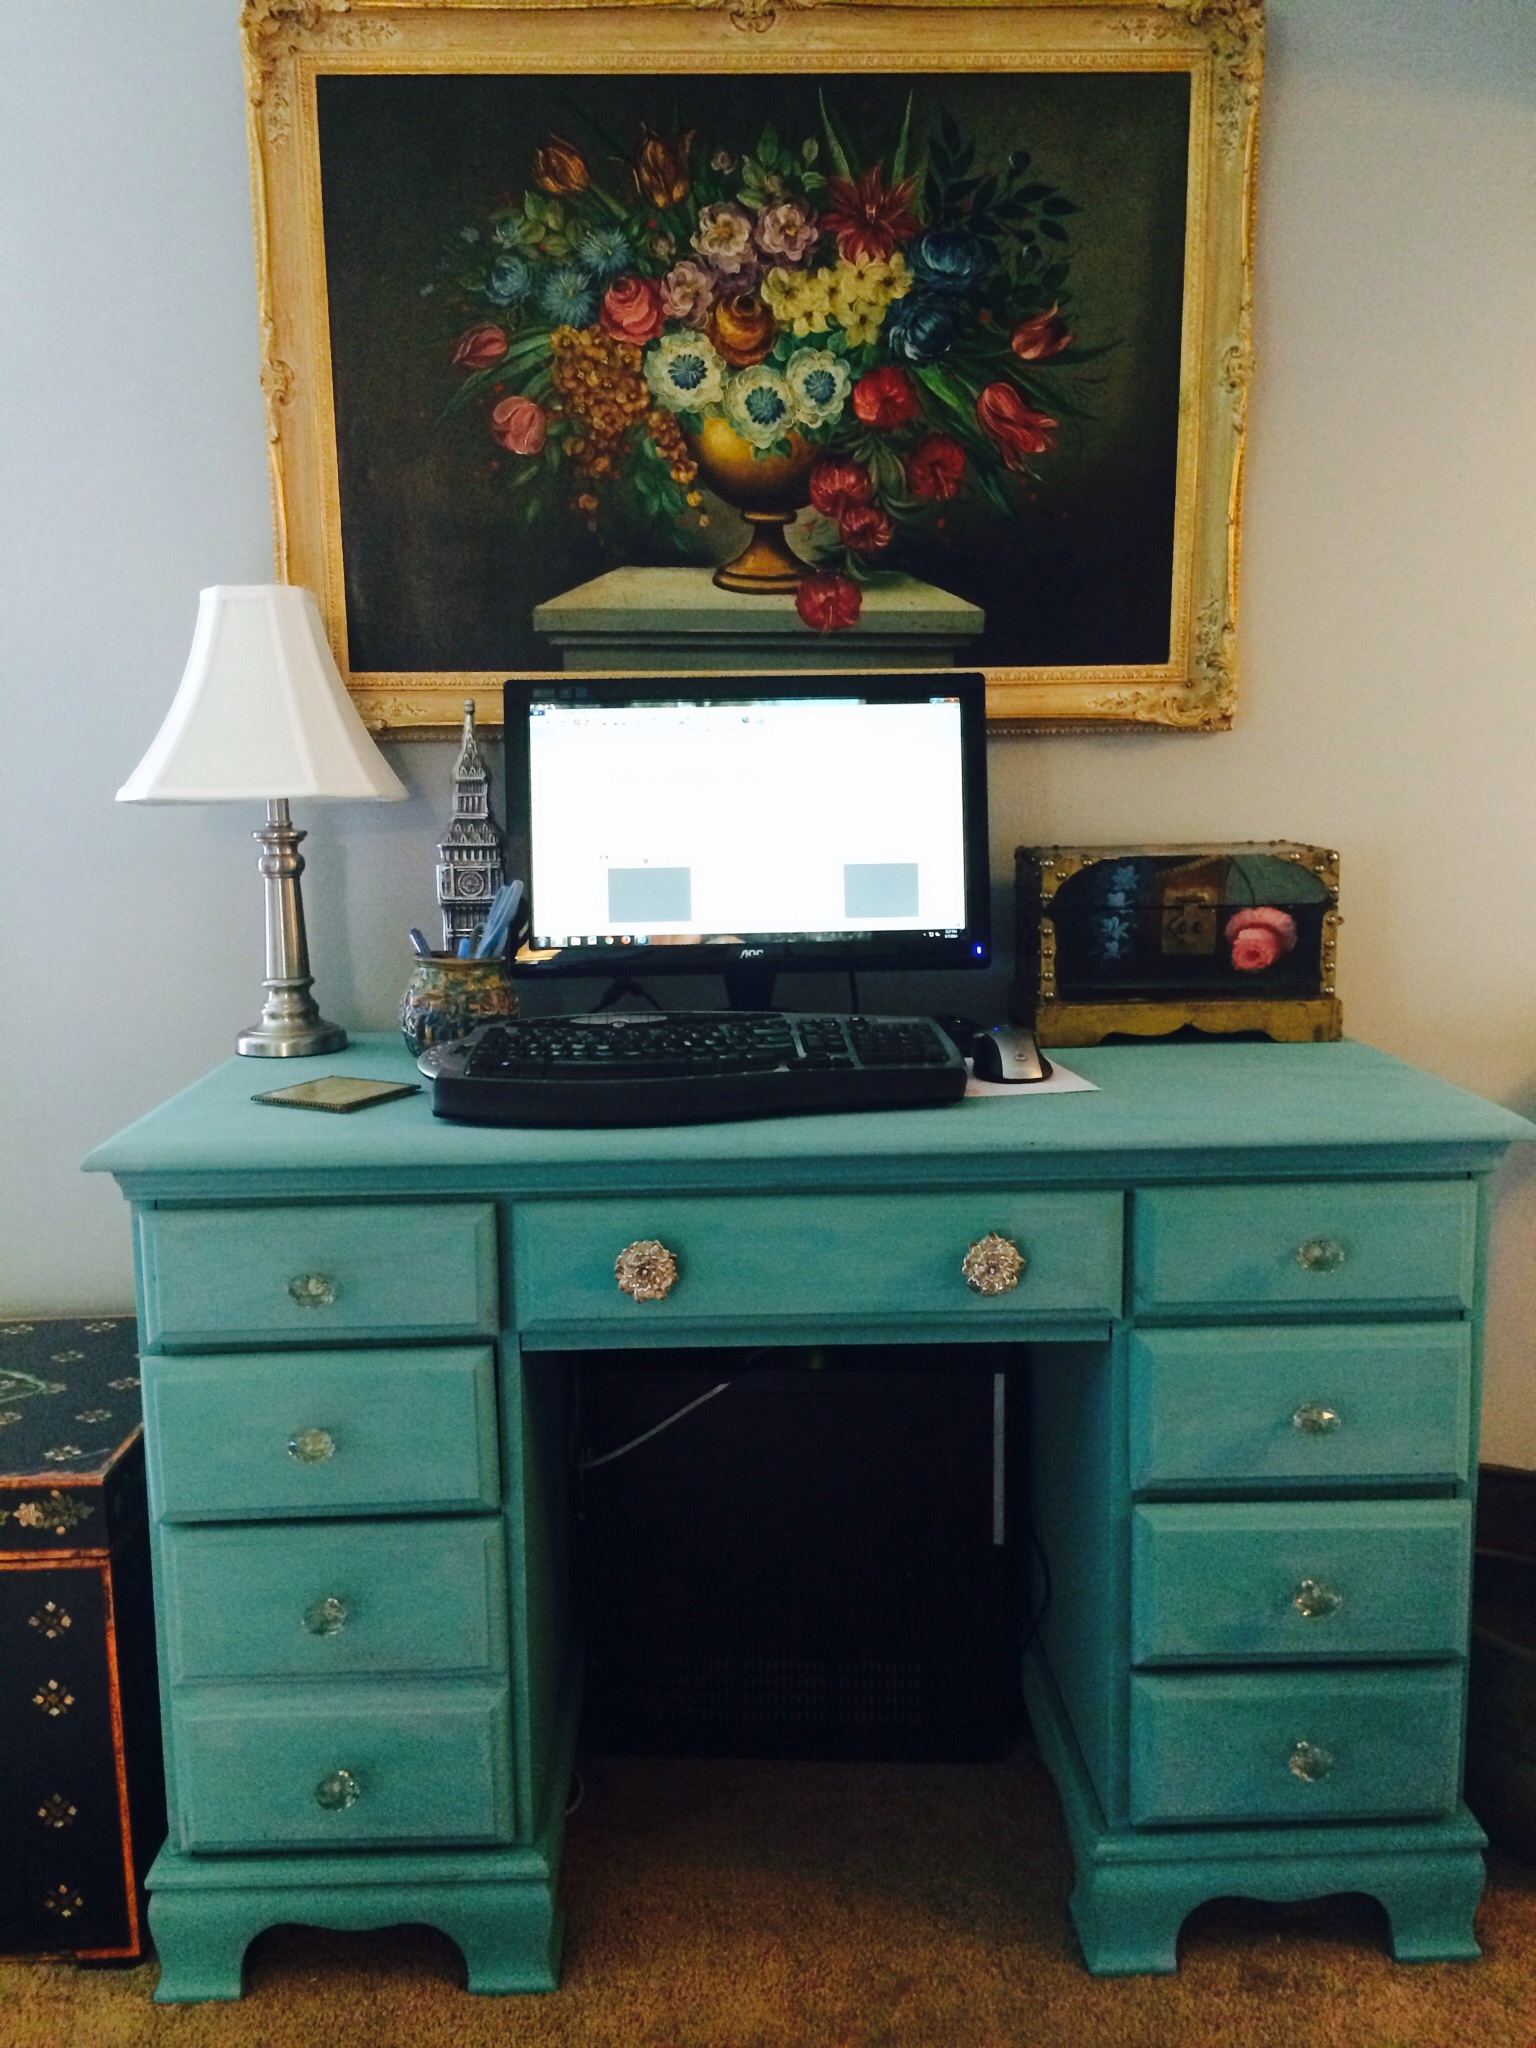
Of course I couldn’t simply just paint one solid color, I was all in. I was desperate to try to achieve this subtle multi colored finishes. In the end, I was thrilled. I had one little hiccup but it was easily fixable. I don’t usually do “finishes”. I like solid clean looking colors but I really wanted to try something different. It was hard at first to get ahold of the concept of just simple brush strokes, not heavy and full coverage, but once I saw the effect, I got the hang of it and really liked it. I will say even with the hefty price, everything where it says it covers 50% more is accurate. I was blown away by that. You can add water for washes or if you do full color it covers and covers WELL. By the time this desk was done, I think I chalk painted pretty much everything in my house. I tried it on fabric, candle sticks, frames and other furniture. I felt like for a $130 investment I was able to revamp some old furniture and give it that “boutique” look that I love. Annie Sloan chalk paint lived up to its hype which is pretty cool since few things ever do. But here’s my DIY with chalk paint. Give it a try and let me know. If you have questions, feel free to ask!
-

- My great grandmothers antique desk – before
-
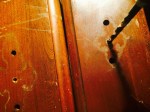
- I didn’t like any of the drawer pulls I saw, so I decide to drill a centered hole to make for a knob instead.
-

- The night before I used a simple putty to file the old holes and allow to dry overnight. Then I sanded it the next morning for a smooth finish.
-
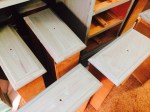
- The first “wash” was a 50/50 mix of Provence and water.
-

- 50/50 water and Provence wash
-

- 50/50 wash of Florence was next – you start to see more of a multi tonal blend now.
-

- I tried adding a layer of Paris Grey and Provence and it was way too pale and grey. So this was my “mess up” but it was easily fixable. I just added another layer of 50/50 water and Provence wash over it. And then another 50/50 wash of Florance and water.
-

- Knobs from Hobby Lobby – the up close finish. I like that it’s a subtle multi tonal look. I was really happy with the finished look.

You did wonderful work, I love it! I’ve not tried my hand at chalk painting yet