DIY: Jeweled Heart on Canvas

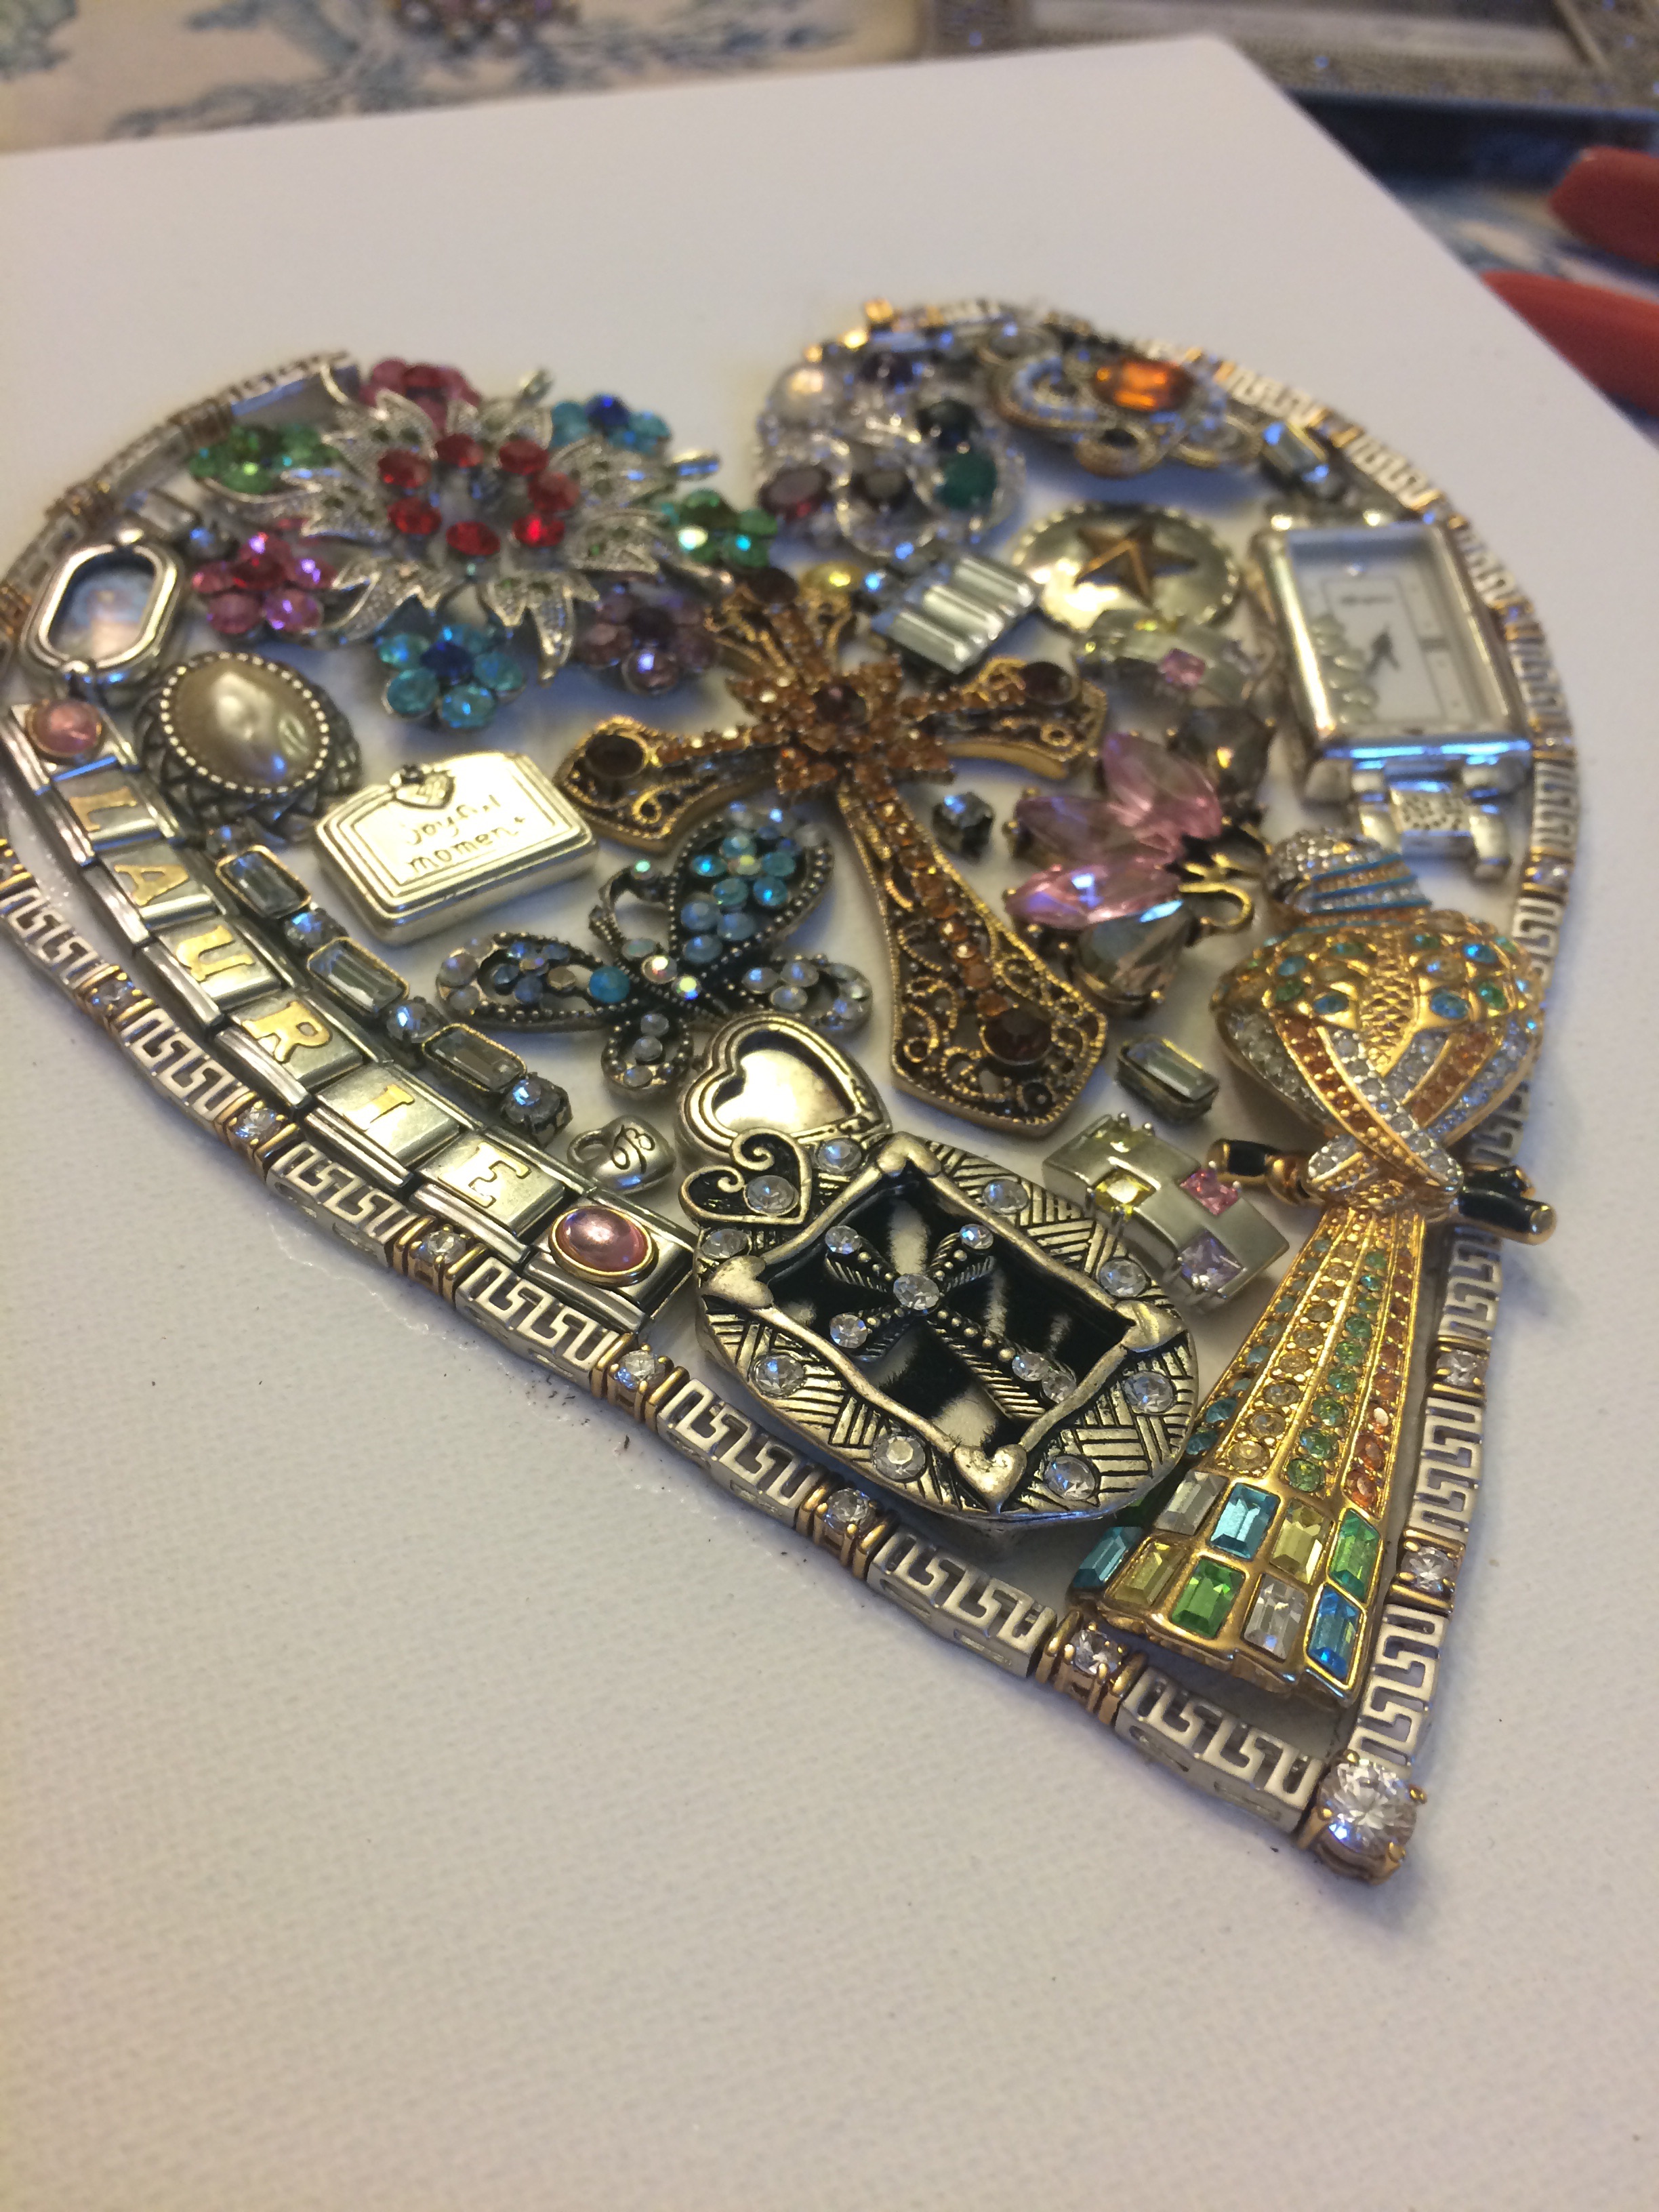
My mother passed in July and I was left with more jewelry than I could ever possibly wear. There were a lot of costume brooches and several broken pieces of jewelry. So I decided to make a heart on canvas with them. It’s a special way to use some of the pieces of jewelry that I wouldn’t be able to wear and just stuck hidden in a drawer. It’s very simple.

You need the following:

8×10 canvas (or any size of your preference)

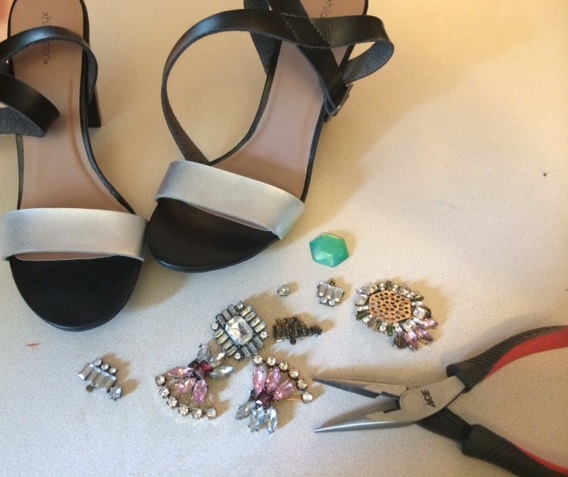
Lots of jewelry pieces.

needle nose pliers

Gorilla clear fast drying glue

imageNow you could use E6000 glue and I know that’s a preference for most crafters and I do like it a lot as well. But for this particular project, I like the clear Gorilla glue because it’s fast dryer and it really is able to handle holding up those heavy pieces of jewelry, and the last thing I want is pieces falling off over time.

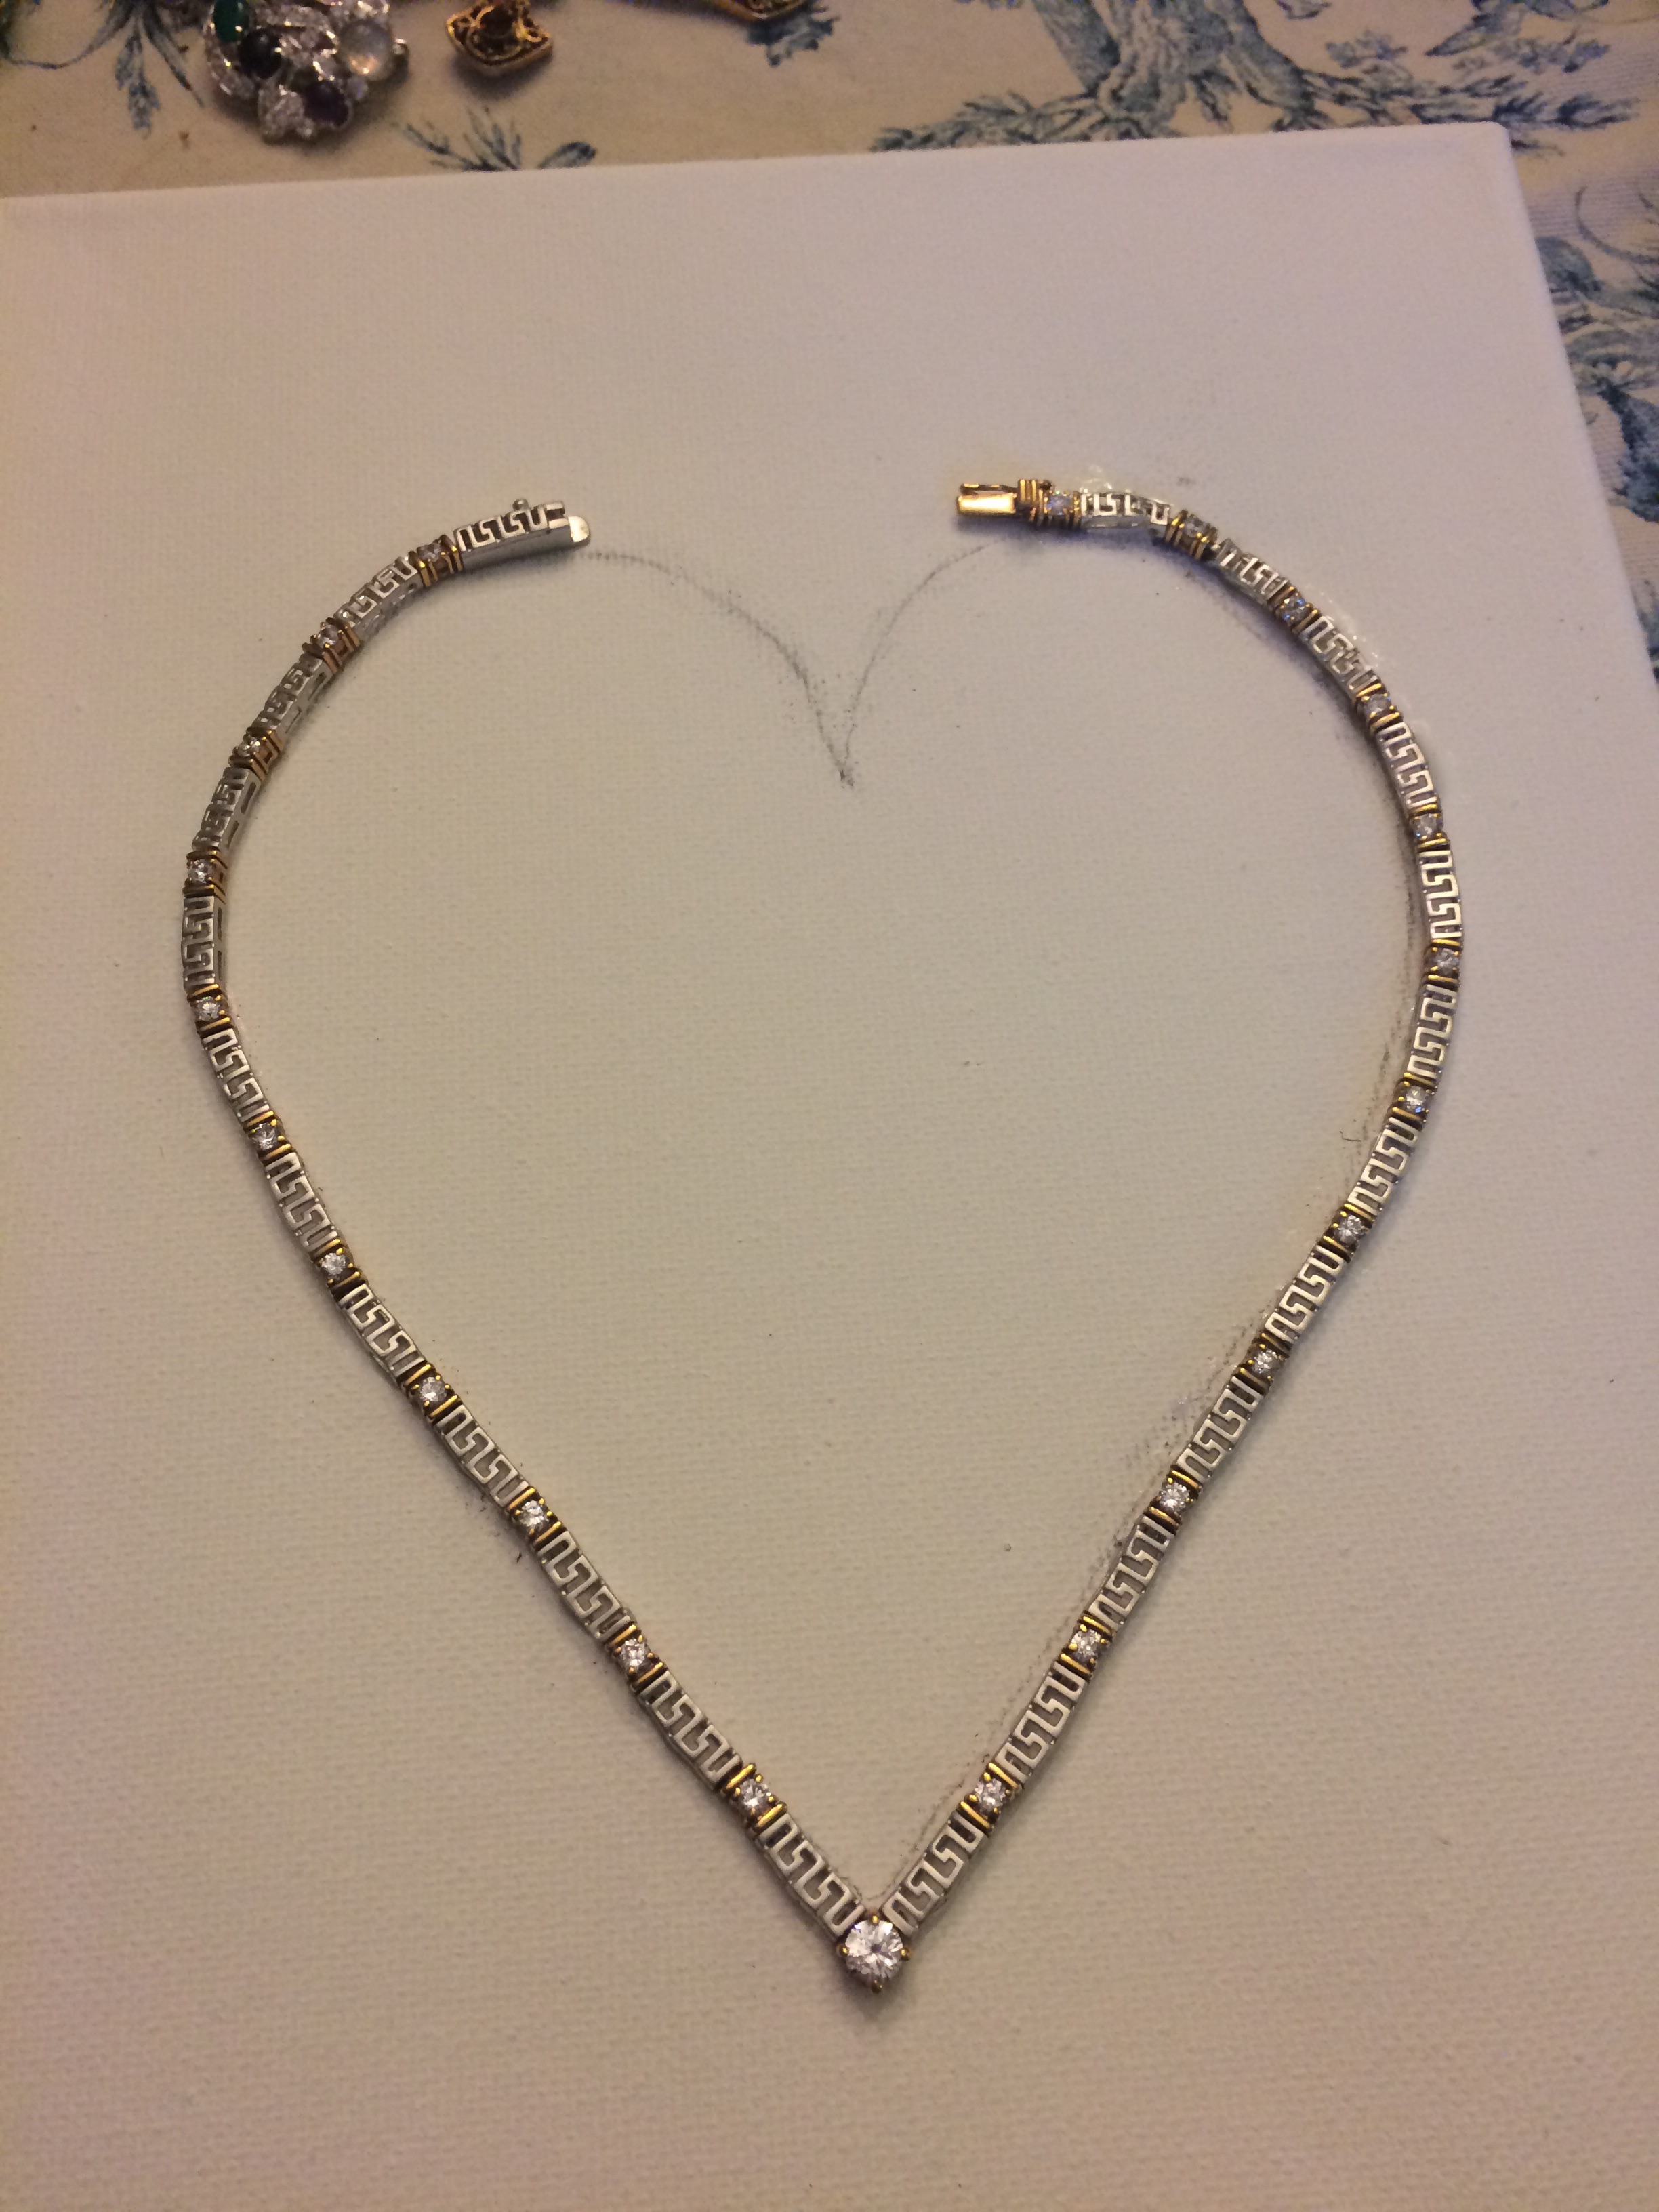
I started by drawing a heart with a pencil. I used a necklace to create a clean line with the outer walls but you don’t have to do it like that. You can just use the jewelry to form the shape.

image

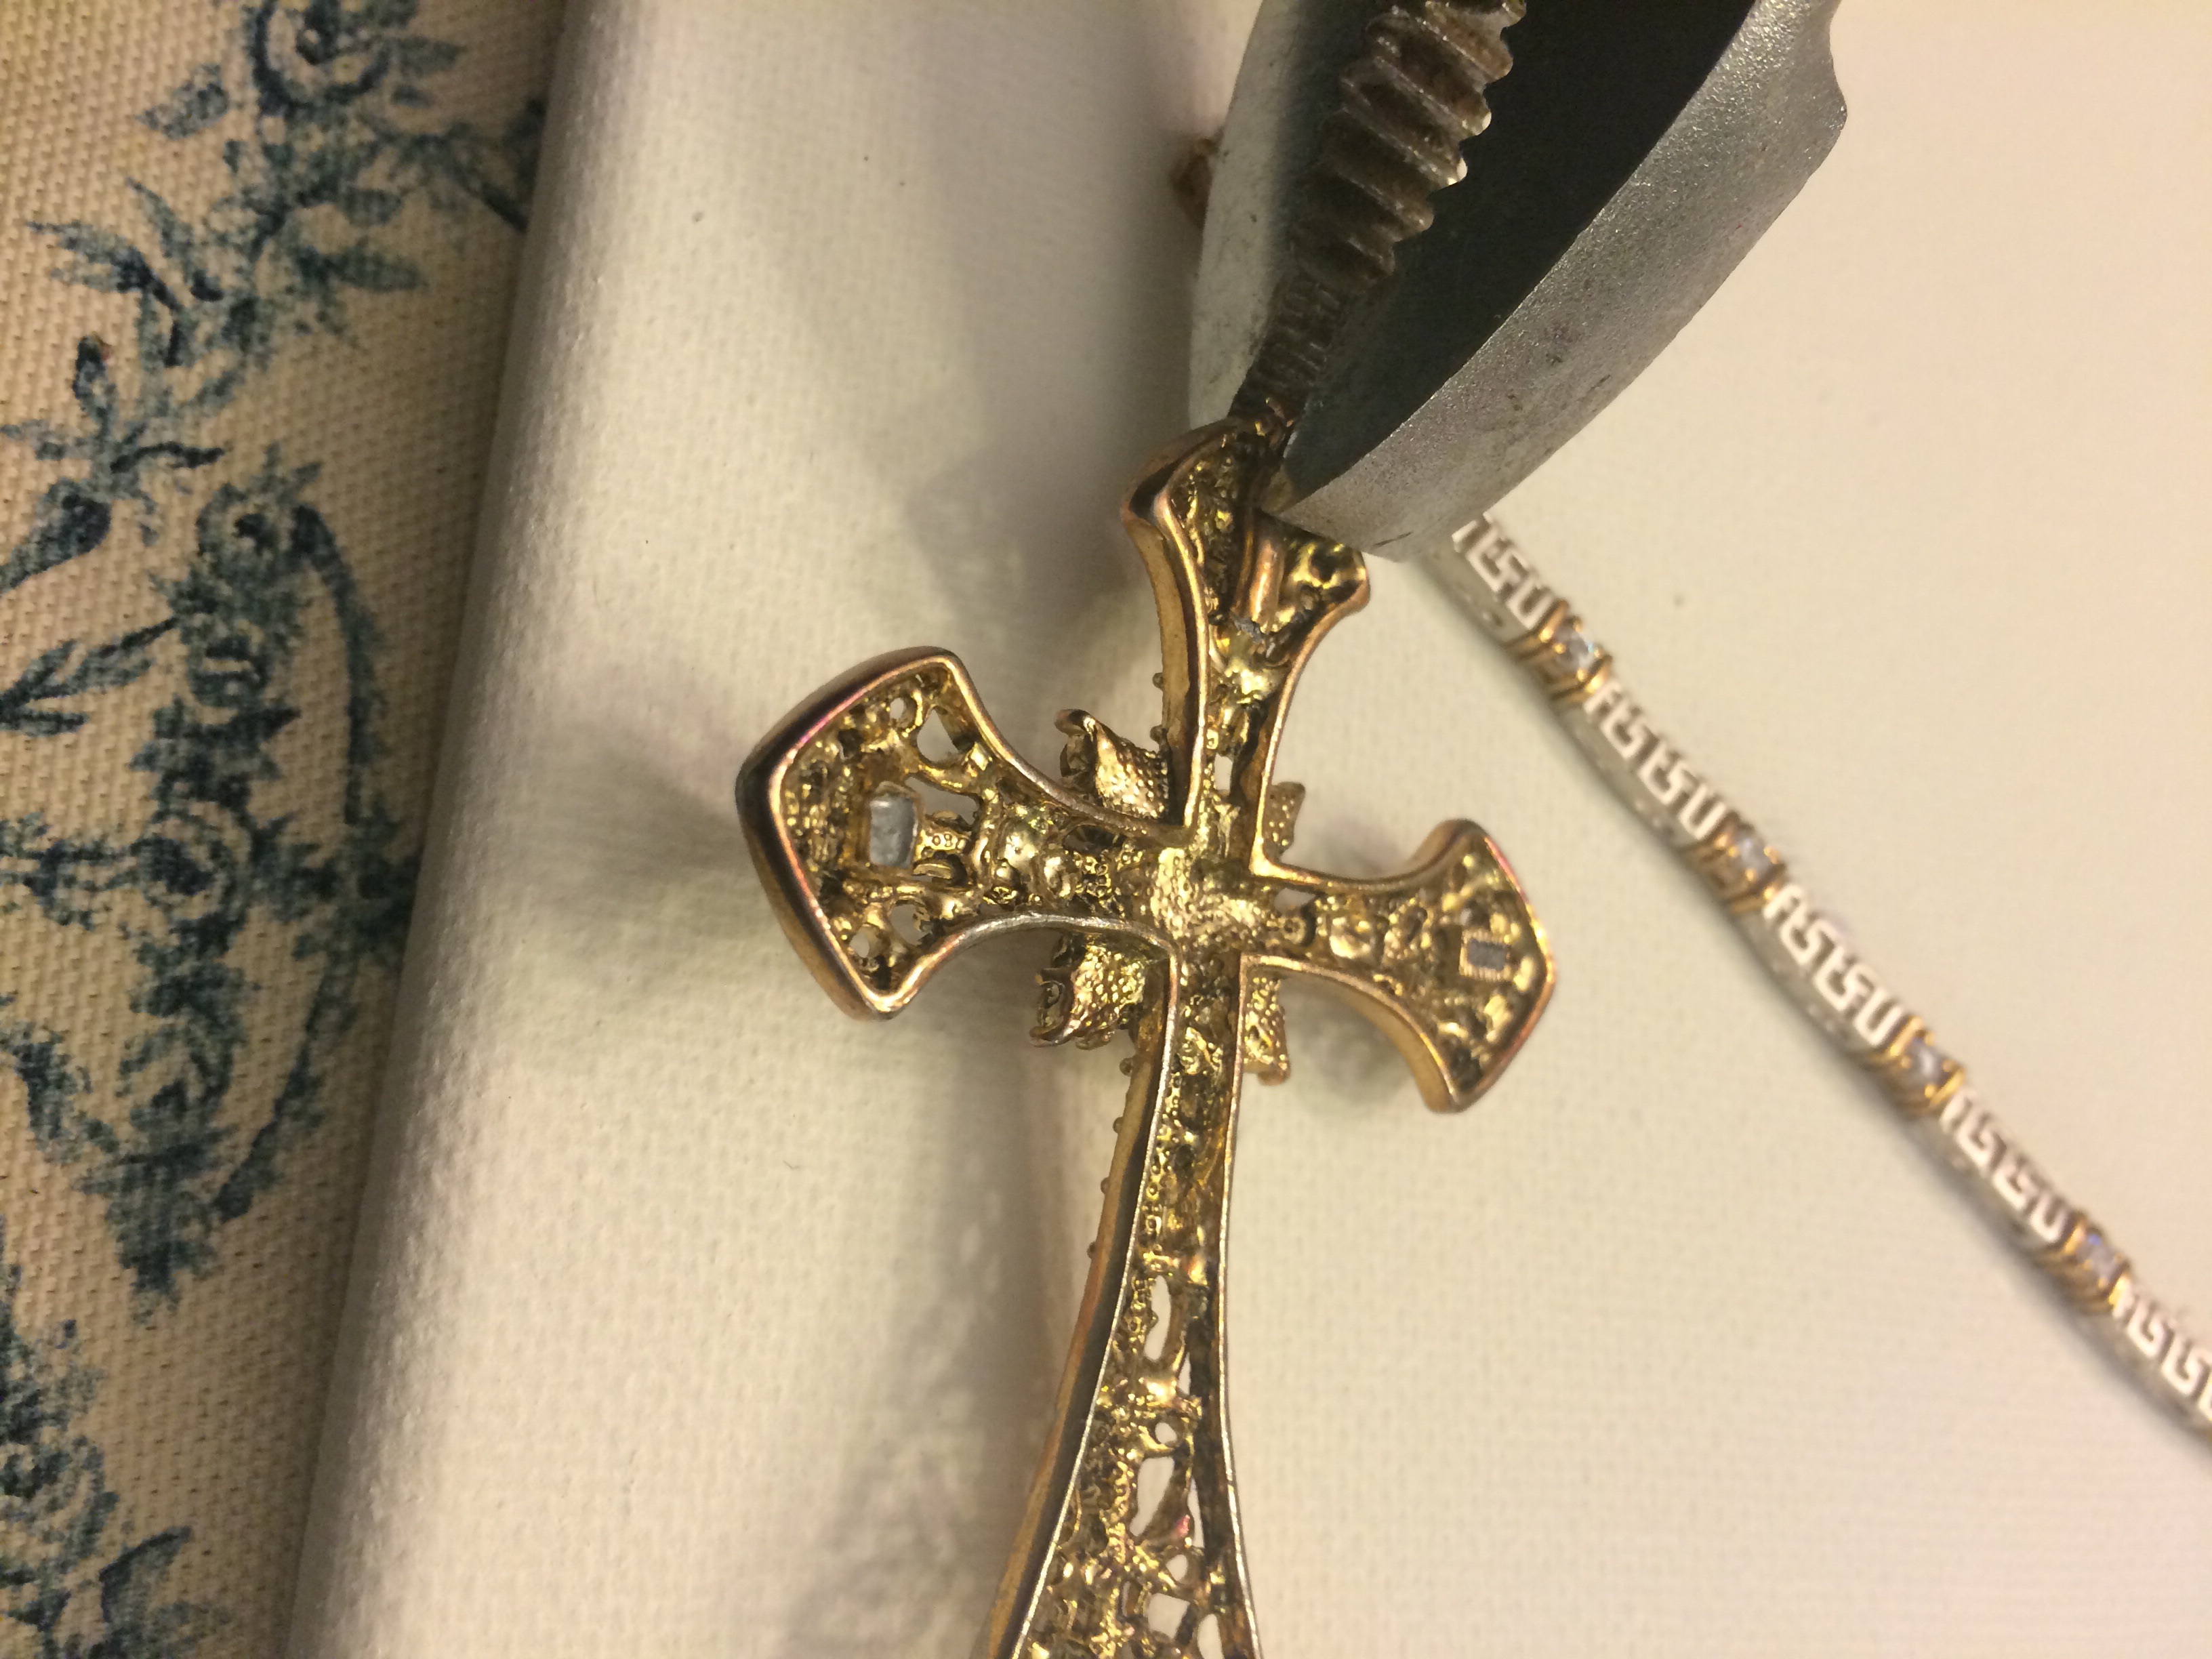
Now place your larger pieces down first so that you can build around them with the smaller ones. I wanted the cross in the center so I placed that one first.

image

It had a pin back AND a hook to wear it as a necklace, so I popped that off very easily with my pliers.

imageimage

Once I had my largest pieces arranged and used their natural curves to make the top of the heart then I placed smaller pieces. Some I broke down even more so I can use a single stone to fill in a void. I had a bracelet with my moms name, so I tore that up so I just had the name part and placed it within the heart. It really makes it super special having her name in it. I even tore up an old Brighton watch that she wore and just included the watch face.

image

The finished product! Took a total of 45 minutes. Now I’m off to Hobby Lobby to get a really cool frame for it. I absolutely love it! You can easily recreate this with broken jewelry, jewelry from thrift stores, antique stores. It’s a cool way to make art.

image

image

Lego Mini Fig Display

I have a 9 year old son that loves Legos. He loves the mini figs even more than the actual sets so he has tons of mini figs. In an effort to organize the chaos, I decided to try to make him a mini fig display. I tried looking on Pinterest and all I could find were shelves and I could see those easily coming down with the shut of a door. So on a recent trip to the Lego store I filled up a tub of 8 bricks in different colors to come up with our own and it’s pretty awesome! Now, of course he needs another since this one is filled!

image

I filled up a tub of 8 point bricks at Lego store. It was $14.99 for the large size and I used about 3/4 of them. I alternated colors. The frame was something he used to have an old poster in and I took out. I glued the bricks right to the glass with a 99 cent tube of super glue in the dollar bin from Target. I used painters tape to keep me level. A small amount of glue across the brick locks it in place. I did leave a good amount of space between rows for things the mini fig was holding and your hand wouldn’t bump into the next row. I wanted to test the glues holding power before I posted about it. But one month later and nothing has fallen off. He uses it daily to take things off and put back as he plays. It’s a great organization, plus display for a boys rooms.

DIY: My first time chalk painting.

You’ve seen it everywhere, all over Pinterest, DIYers across the board are raving about Annie Sloan chalk paint. I was surprised to hear it has been around for 20 years in England and America has only recently gotten ahold of the chalk paint craze. I was naive in my pursuits, simply walking into a Hobby Lobby and asking for it. I was simply told “we don’t carry it”. What?! Well after a little internet research is when I saw it’s origins and how you have to purchase it through a select few boutique DIY stores across the country. It’s got a high price at $34.99 for a quart. And shipping doesn’t help either. But I really wanted to try it, so I ordered several colors and received it within 48 hours from a store called The Purple Painted Lady.

Of course I couldn’t simply just paint one solid color, I was all in. I was desperate to try to achieve this subtle multi colored finishes. In the end, I was thrilled. I had one little hiccup but it was easily fixable. I don’t usually do “finishes”. I like solid clean looking colors but I really wanted to try something different. It was hard at first to get ahold of the concept of just simple brush strokes, not heavy and full coverage, but once I saw the effect, I got the hang of it and really liked it. I will say even with the hefty price, everything where it says it covers 50% more is accurate. I was blown away by that. You can add water for washes or if you do full color it covers and covers WELL. By the time this desk was done, I think I chalk painted pretty much everything in my house. I tried it on fabric, candle sticks, frames and other furniture. I felt like for a $130 investment I was able to revamp some old furniture and give it that “boutique” look that I love. Annie Sloan chalk paint lived up to its hype which is pretty cool since few things ever do. But here’s my DIY with chalk paint. Give it a try and let me know. If you have questions, feel free to ask!

image

DIY : Jeweling your shoes like Gap and JCrew

I ordered these heels from Target in silver and black just so I could try my hand at DIY jeweled heels. I love the versions that are sold by JCrew and Gap but they can be pretty pricey. I have a handful of broken necklaces that I’ve been saving in case the jewels might come in handy. So I took out a couple of broken JCrew knock-off necklaces and started taking the jewels off with needle nose pliers. So easy. I use E6000 glue which really is the best crafting glue on the market. I played around with the jewels until I achieved a look I liked and then glued them in place. It took maybe 10 minutes and I’ll have a fabulous pair of heels to wear tonight! I’m ready to jewel some sandals next!

Finished

Just break some jewelry and have fun creating your own jeweled shoe brooches!

4th of July Mason Jar Craft

So I’m a TOTAL and COMPLETE Pinterest addict. I love getting inspiration on everything from home design to outfits to makeup to how to decorate for a party. I’ve seen these 4th of July mason jar crafts on pinterest for the last couple summers and have been waiting to try it. I intend on using them on my deck with tealights to add some cute summer decor. Who doesn’t love a mason jar craft?! I swear I’m ready to make vases and soap dispensers and all kinds of things. Now I’m not a hard core crafter so don’t expect perfection. I guess I’m more of the “wanna be” crafter so my stuff has flaws and it’s far from perfect. But through my trial and error, I may be able to offer some better alternatives to what I did. And, of course, you can always take this and do a different spin on it. My different spin was the monogram that I added. Us southern girls sure like to monogram everything!

The finished version

I used stand paper to gently scrap the Ball Mason letters to pop back out of the paint and LOVE how the striped one came out. It was harder to see the edging with the navy and since I applied so many layers of paint to the stars trying to correct my previous mistakes it pulled hunks of paint off the stars instead of light scrapings. But if you did white paint first (like I recommended above) then when you scrape the navy the white would come through and that would be a better effect. I trimmed the stars jar in a red glitter ribbon and finished it off with a wooden B that I painted with the silver glitter paint.