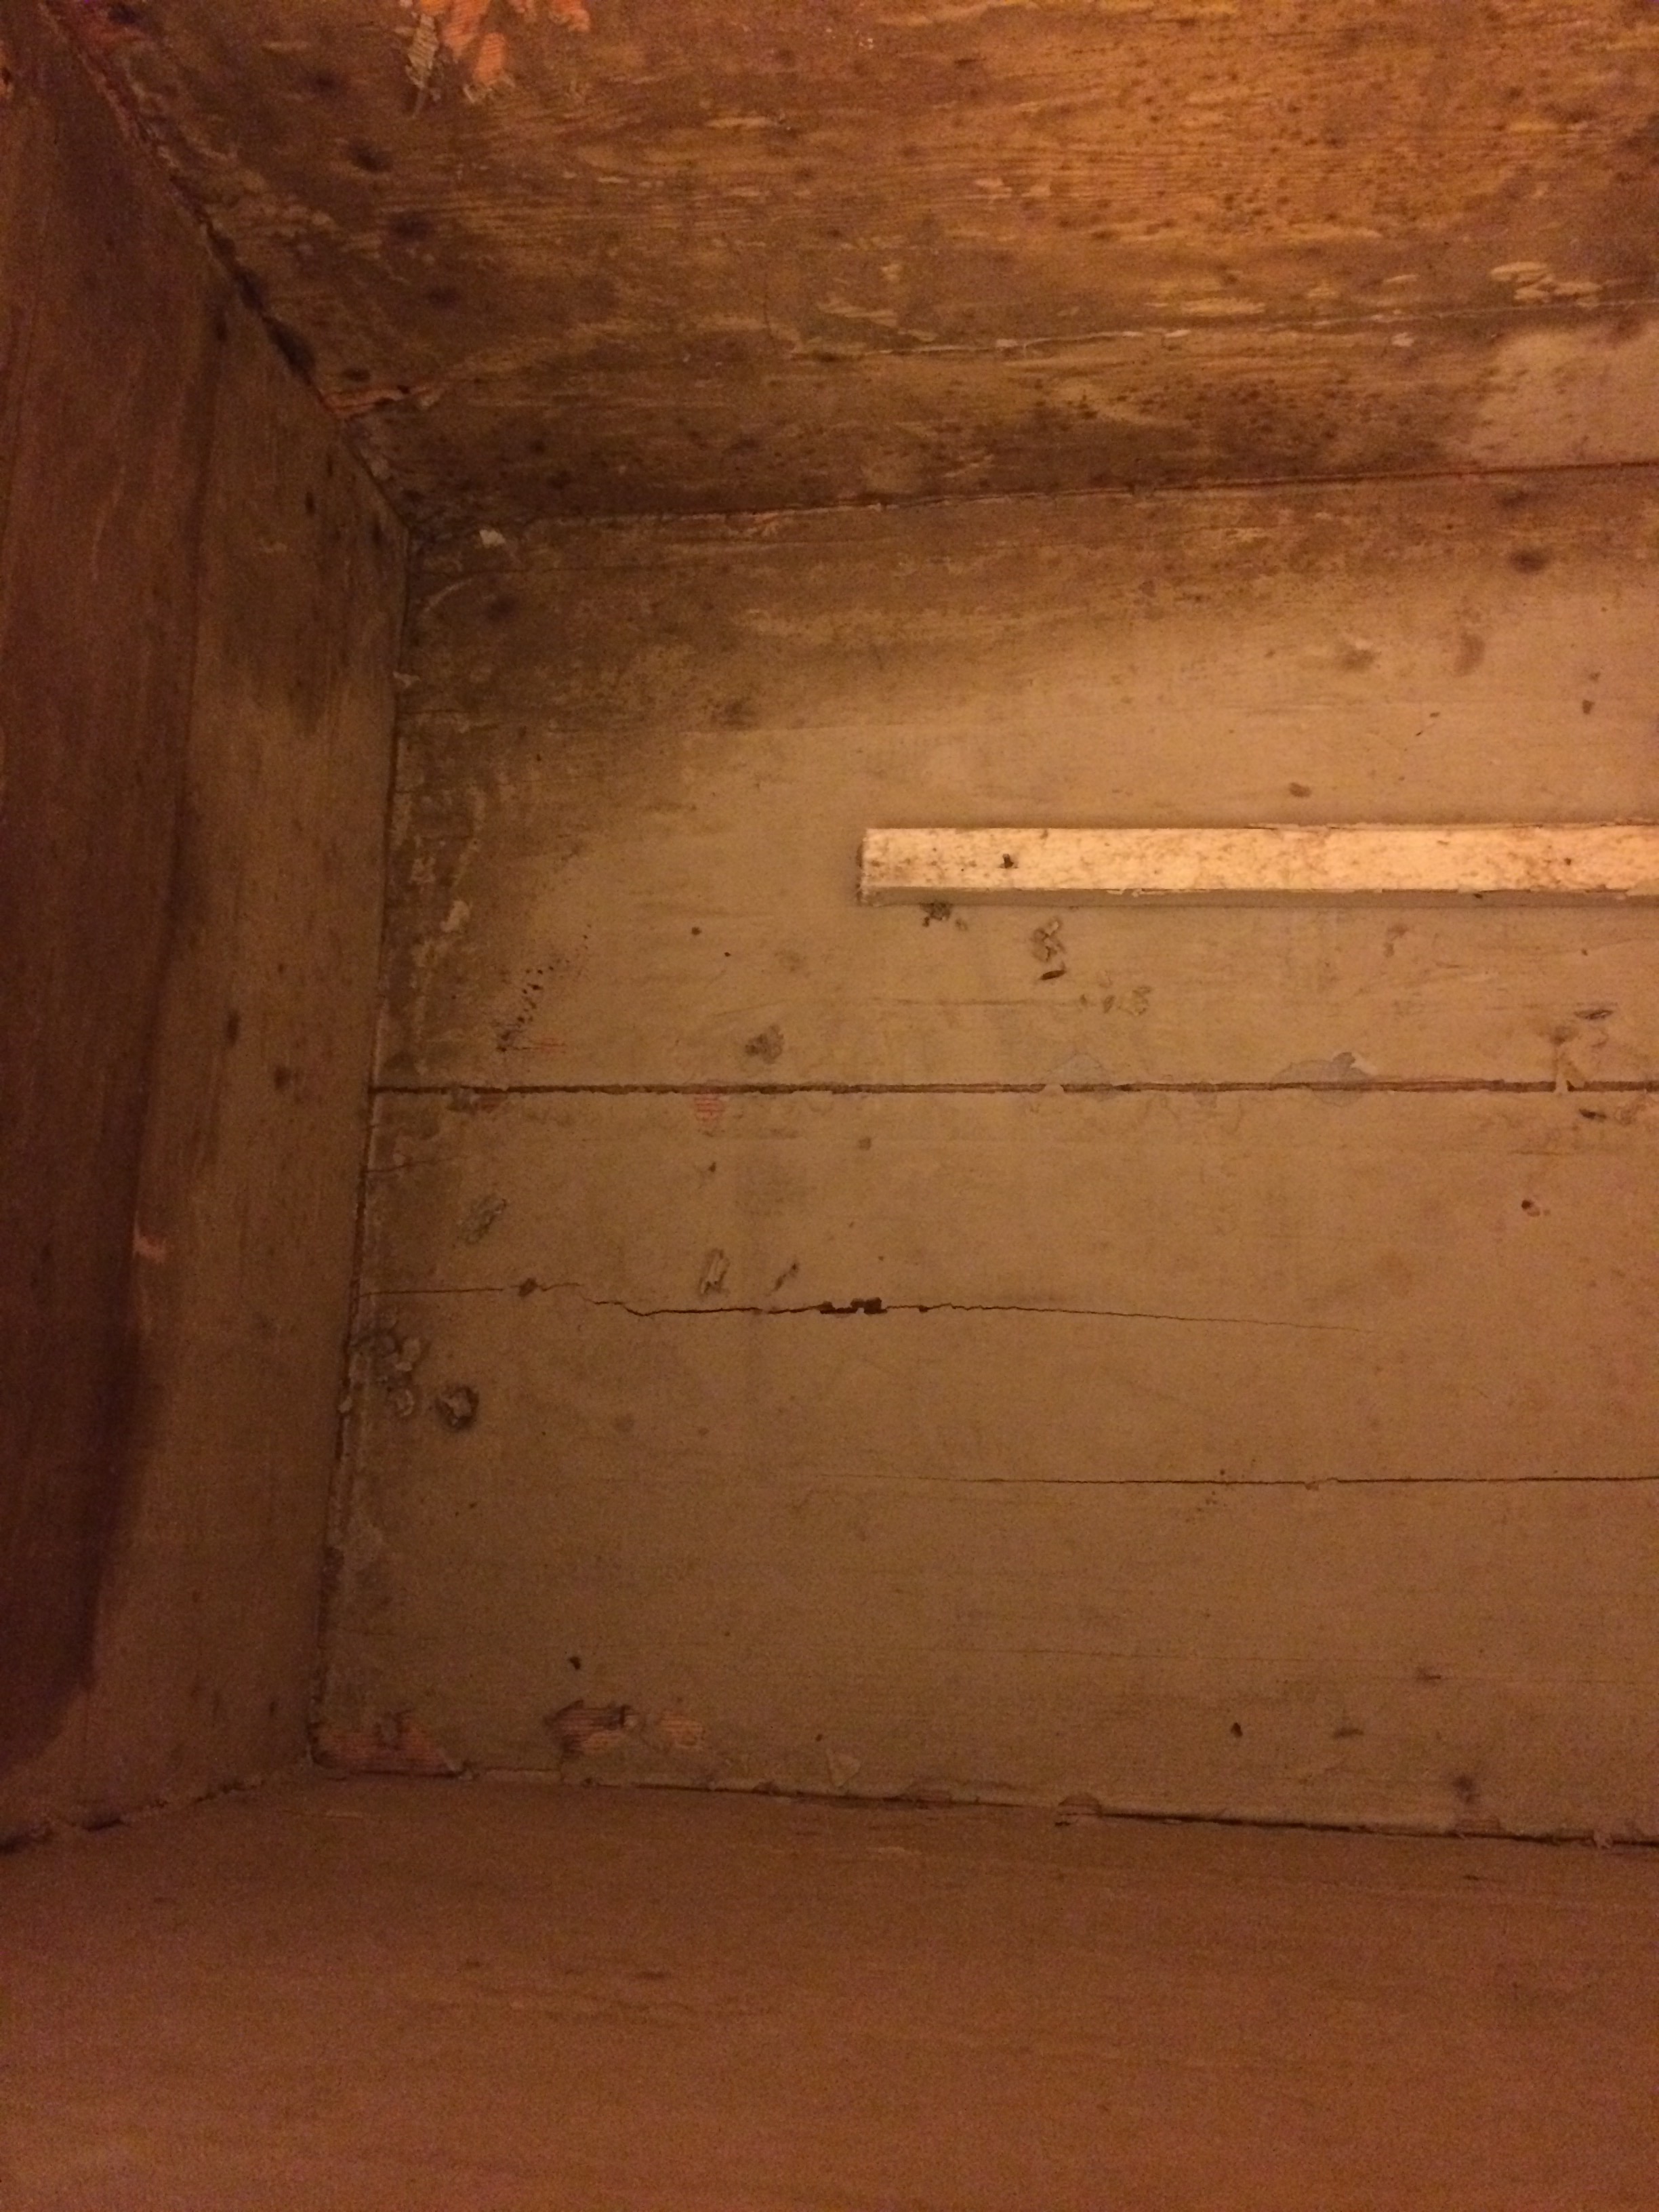
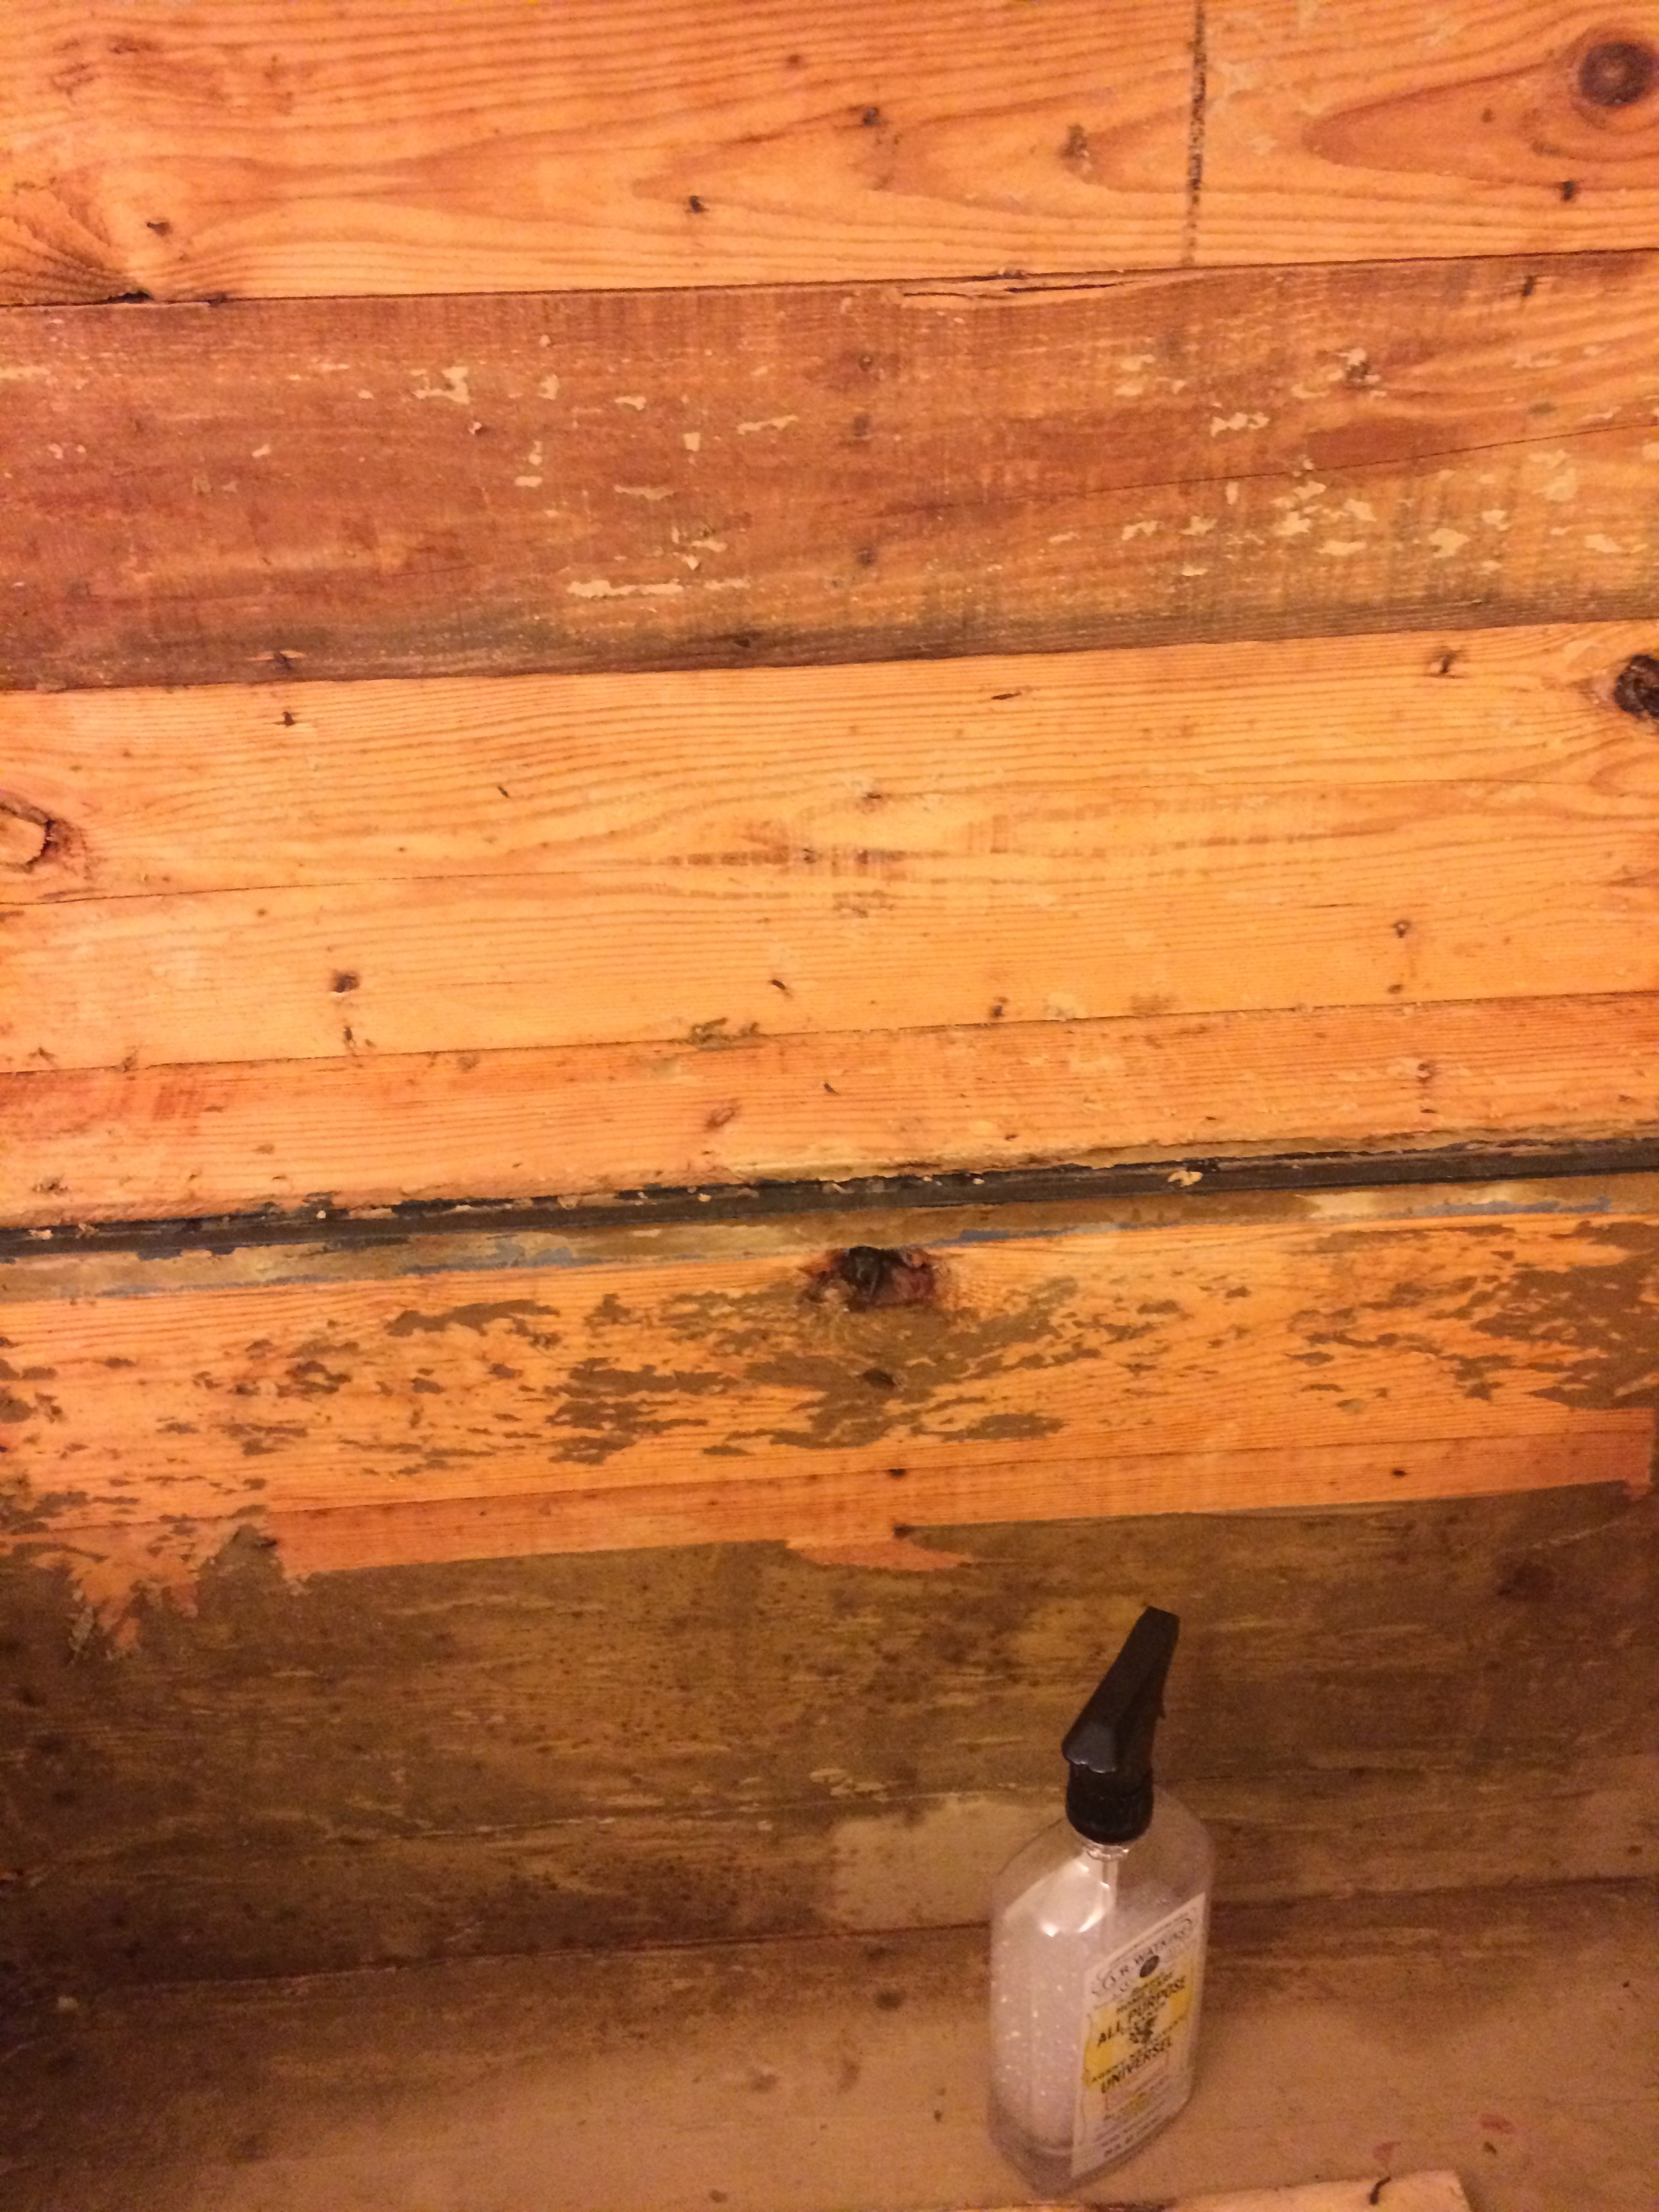
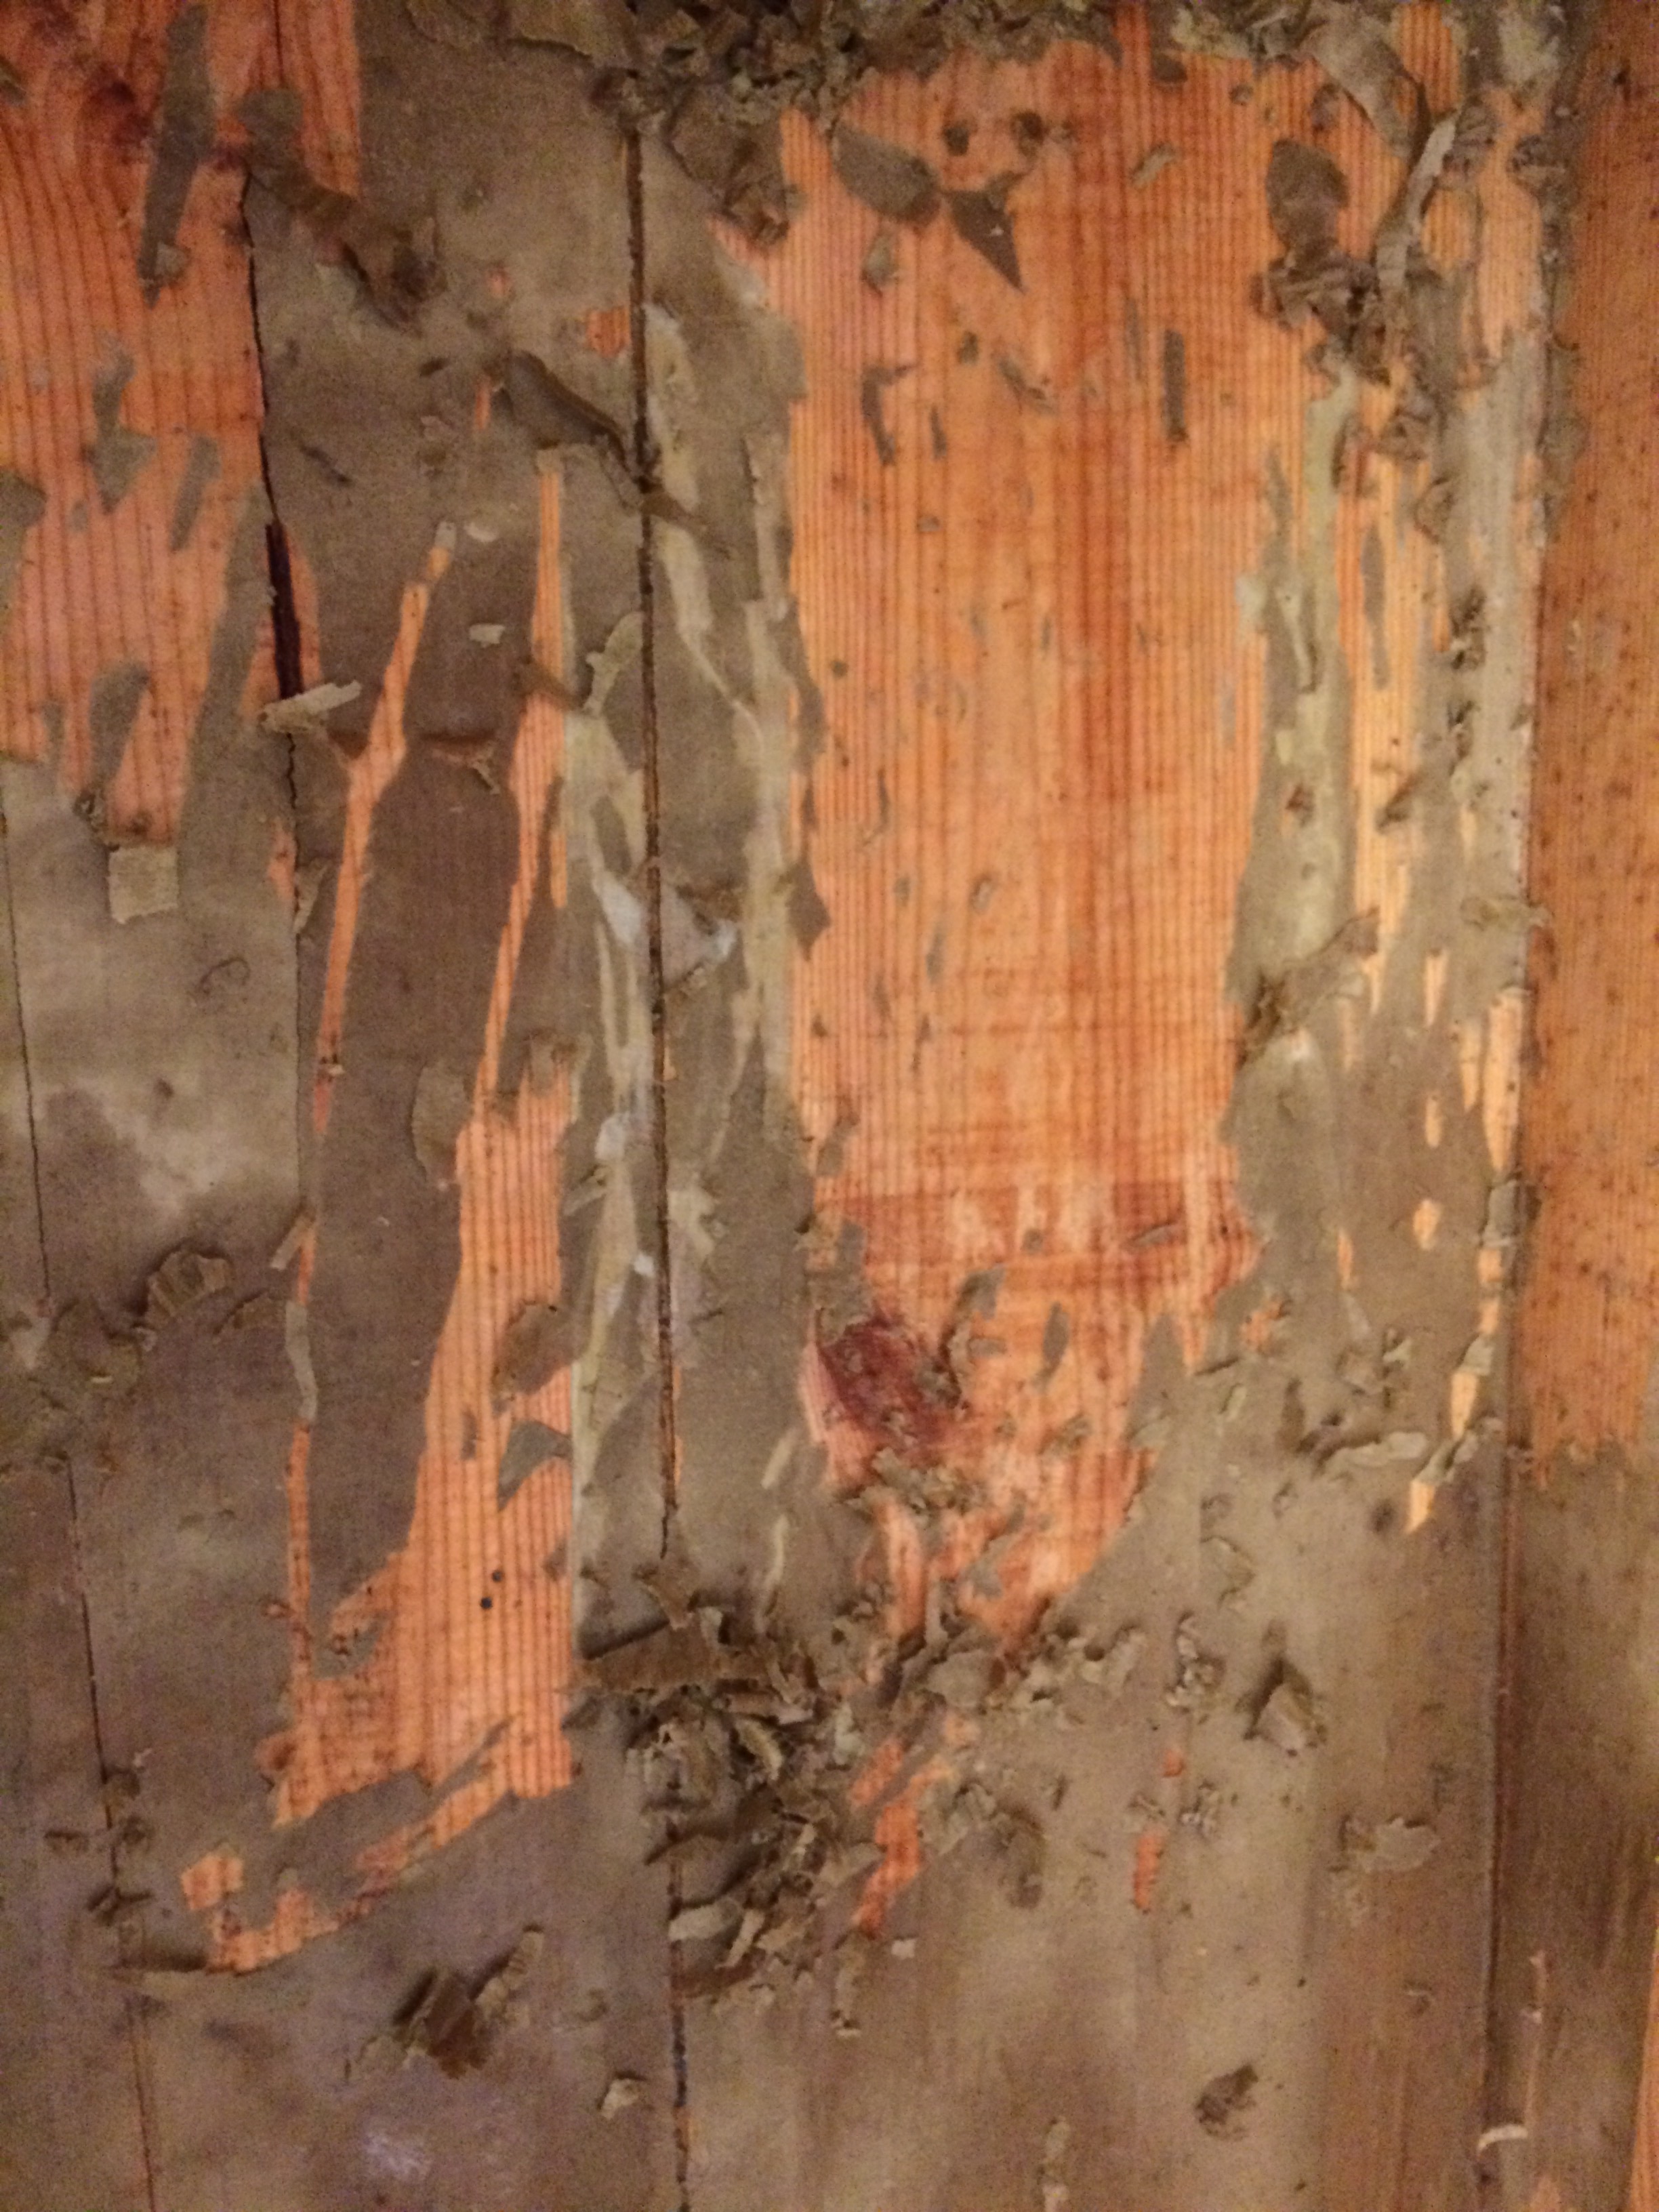
In December I was doing a little antiquing with a friend when I stumbled on a really great find….an 1895 steamer trunk for $60. It was in really good condition. Most trunks you find have to have the canvas removed because it’s in such bad shape, which leads to many many hours of removal. This trunk’s canvas was in good condition and didn’t need to be removed. Now, I’m a huge fan of Annie Sloan Chalk Paint and love doing something fun with antiques but I really wanted to stay true to this trunk. So if you’re looking for that look there are many other blogs about restoring with chalk paint. I just wanted to enhance its beauty to a more original state and not do anything that compromised its original look. It took me about 4 weeks to finish it. And here are some of my tips and tricks. Here is the BEFORE shot… 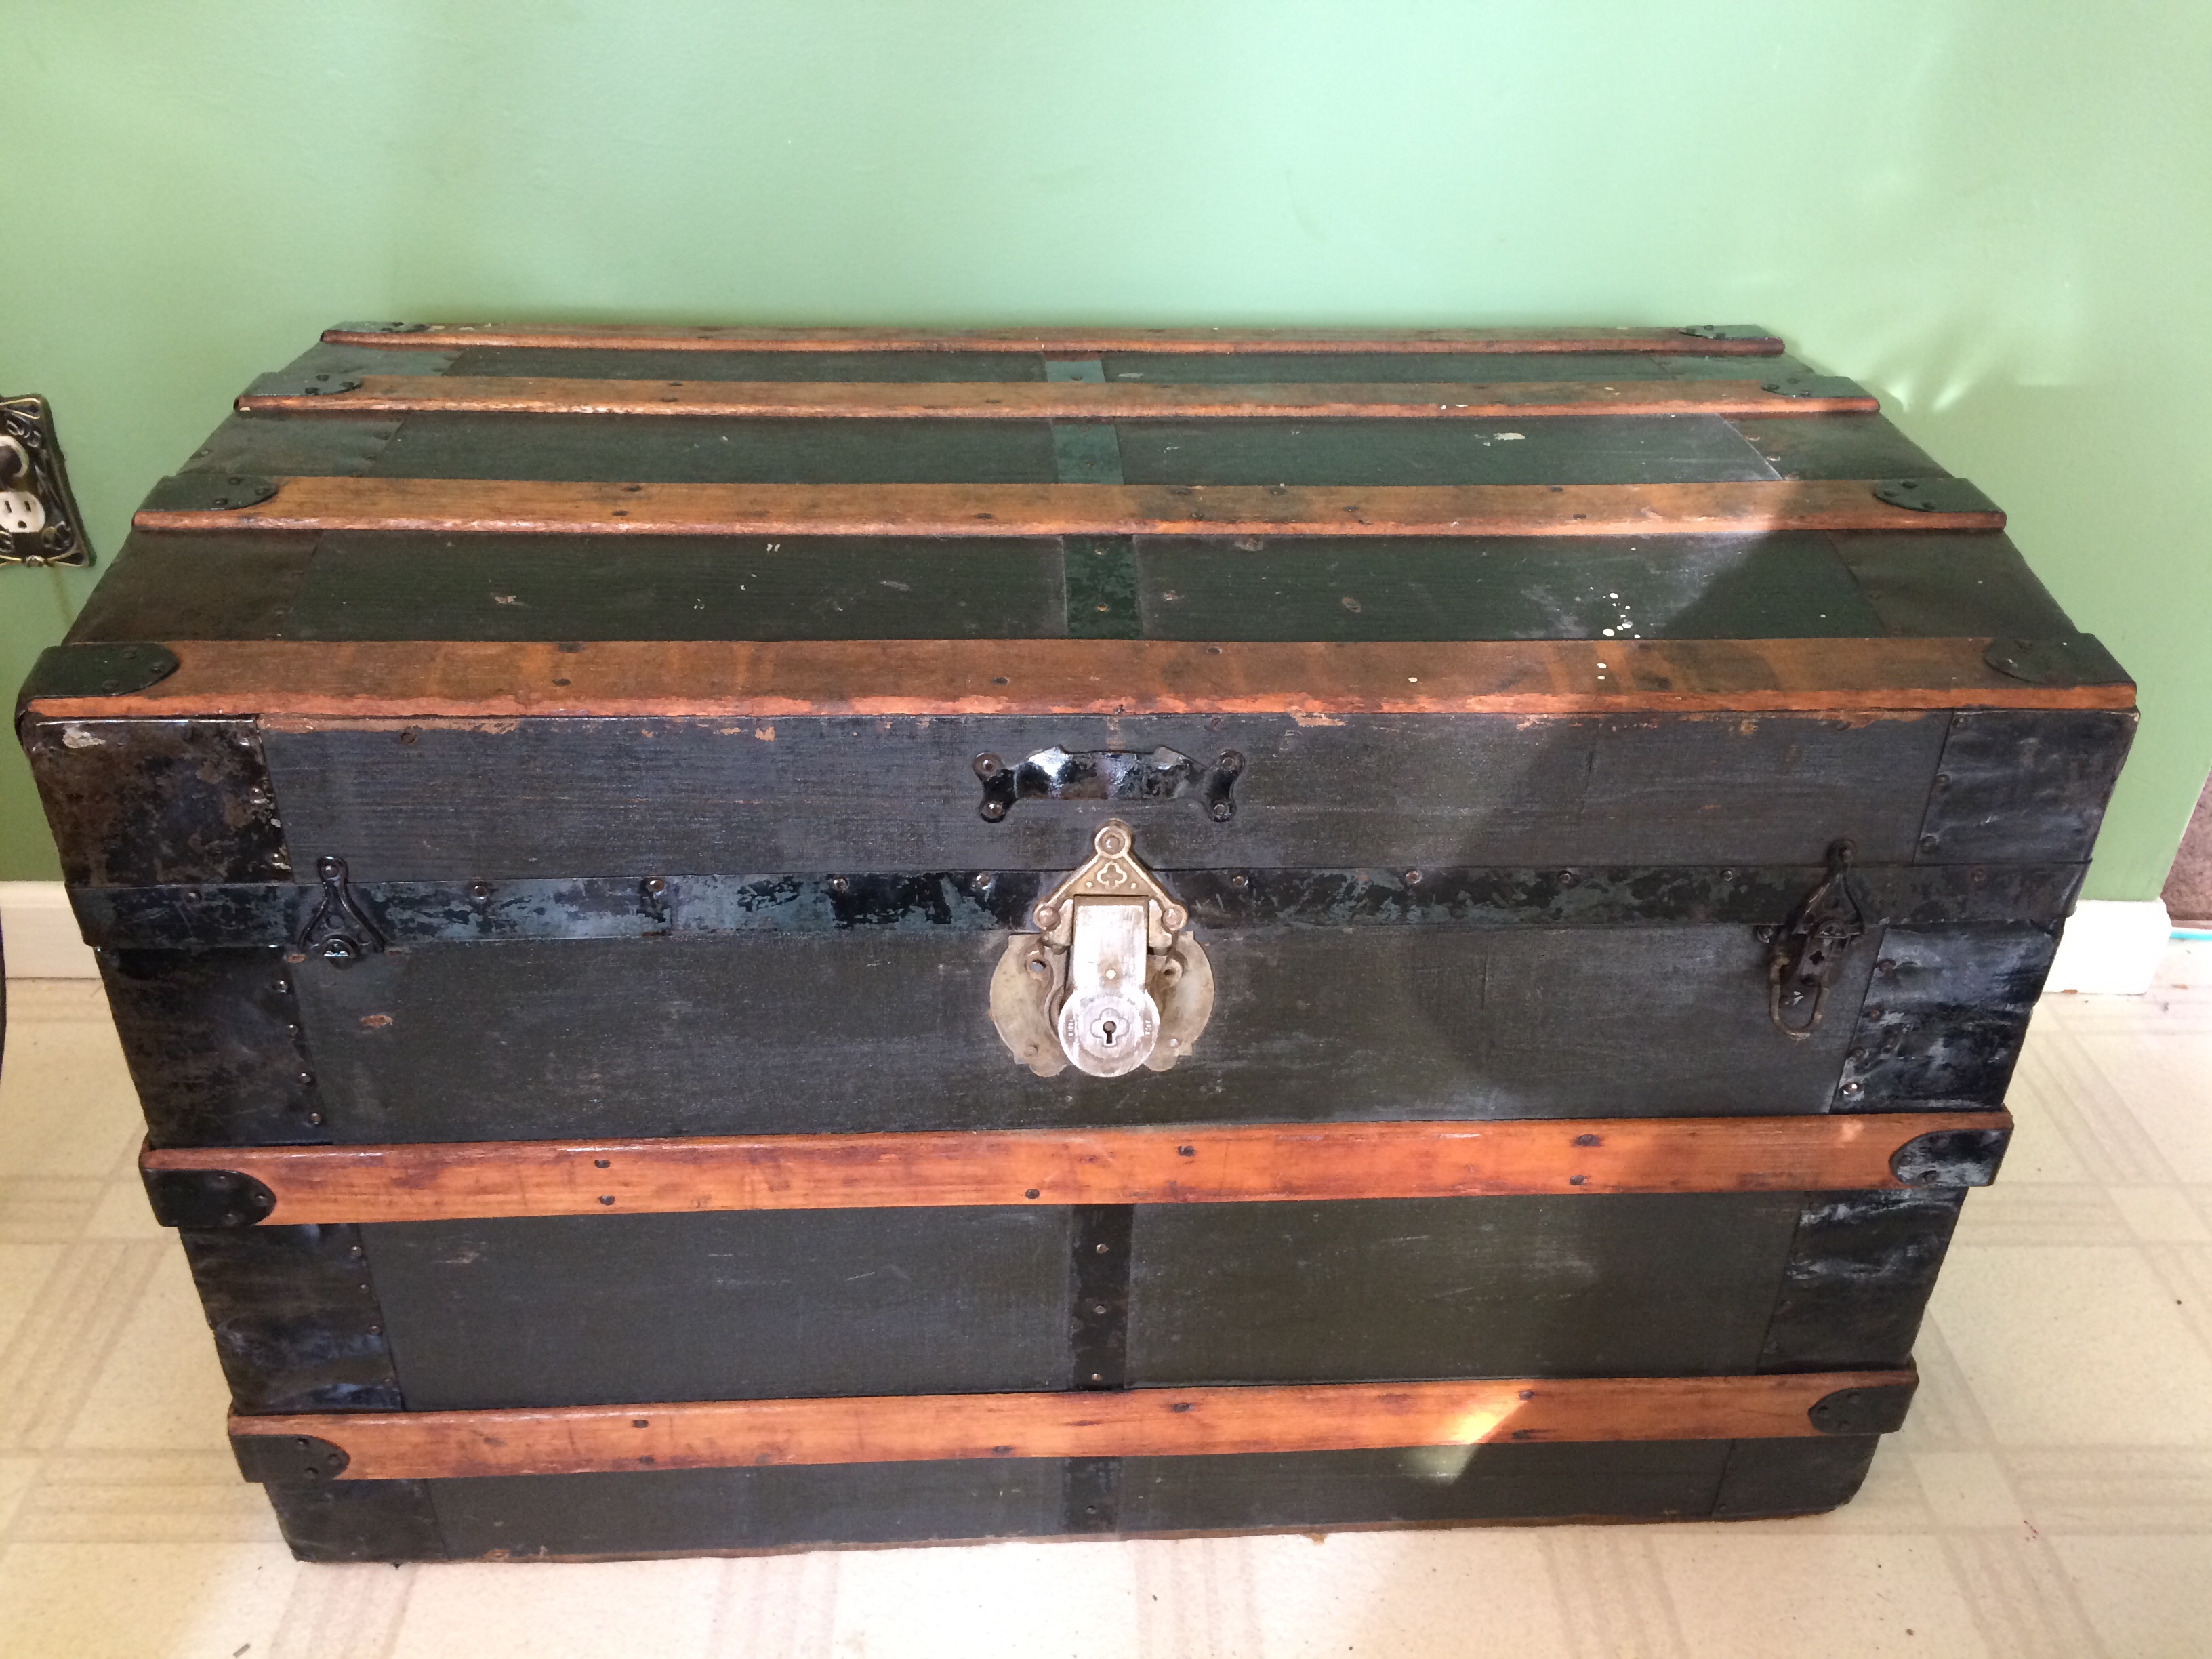 The first step was to remove all the old wallpaper that was on the inside. The old paper was making the inside smell terrible too. The wood underneath the paper was in beautiful condition. But this was the hardest part of the restoration. I don’t know how many hours I spent scrapping paper out of it. All you need is a water bottle and scraper. Spray the water, let it sit for about 30 seconds and then scrape. Sometimes you’re lucky and it’ll come off in big pieces but mainly its a lot of little pieces to remove.
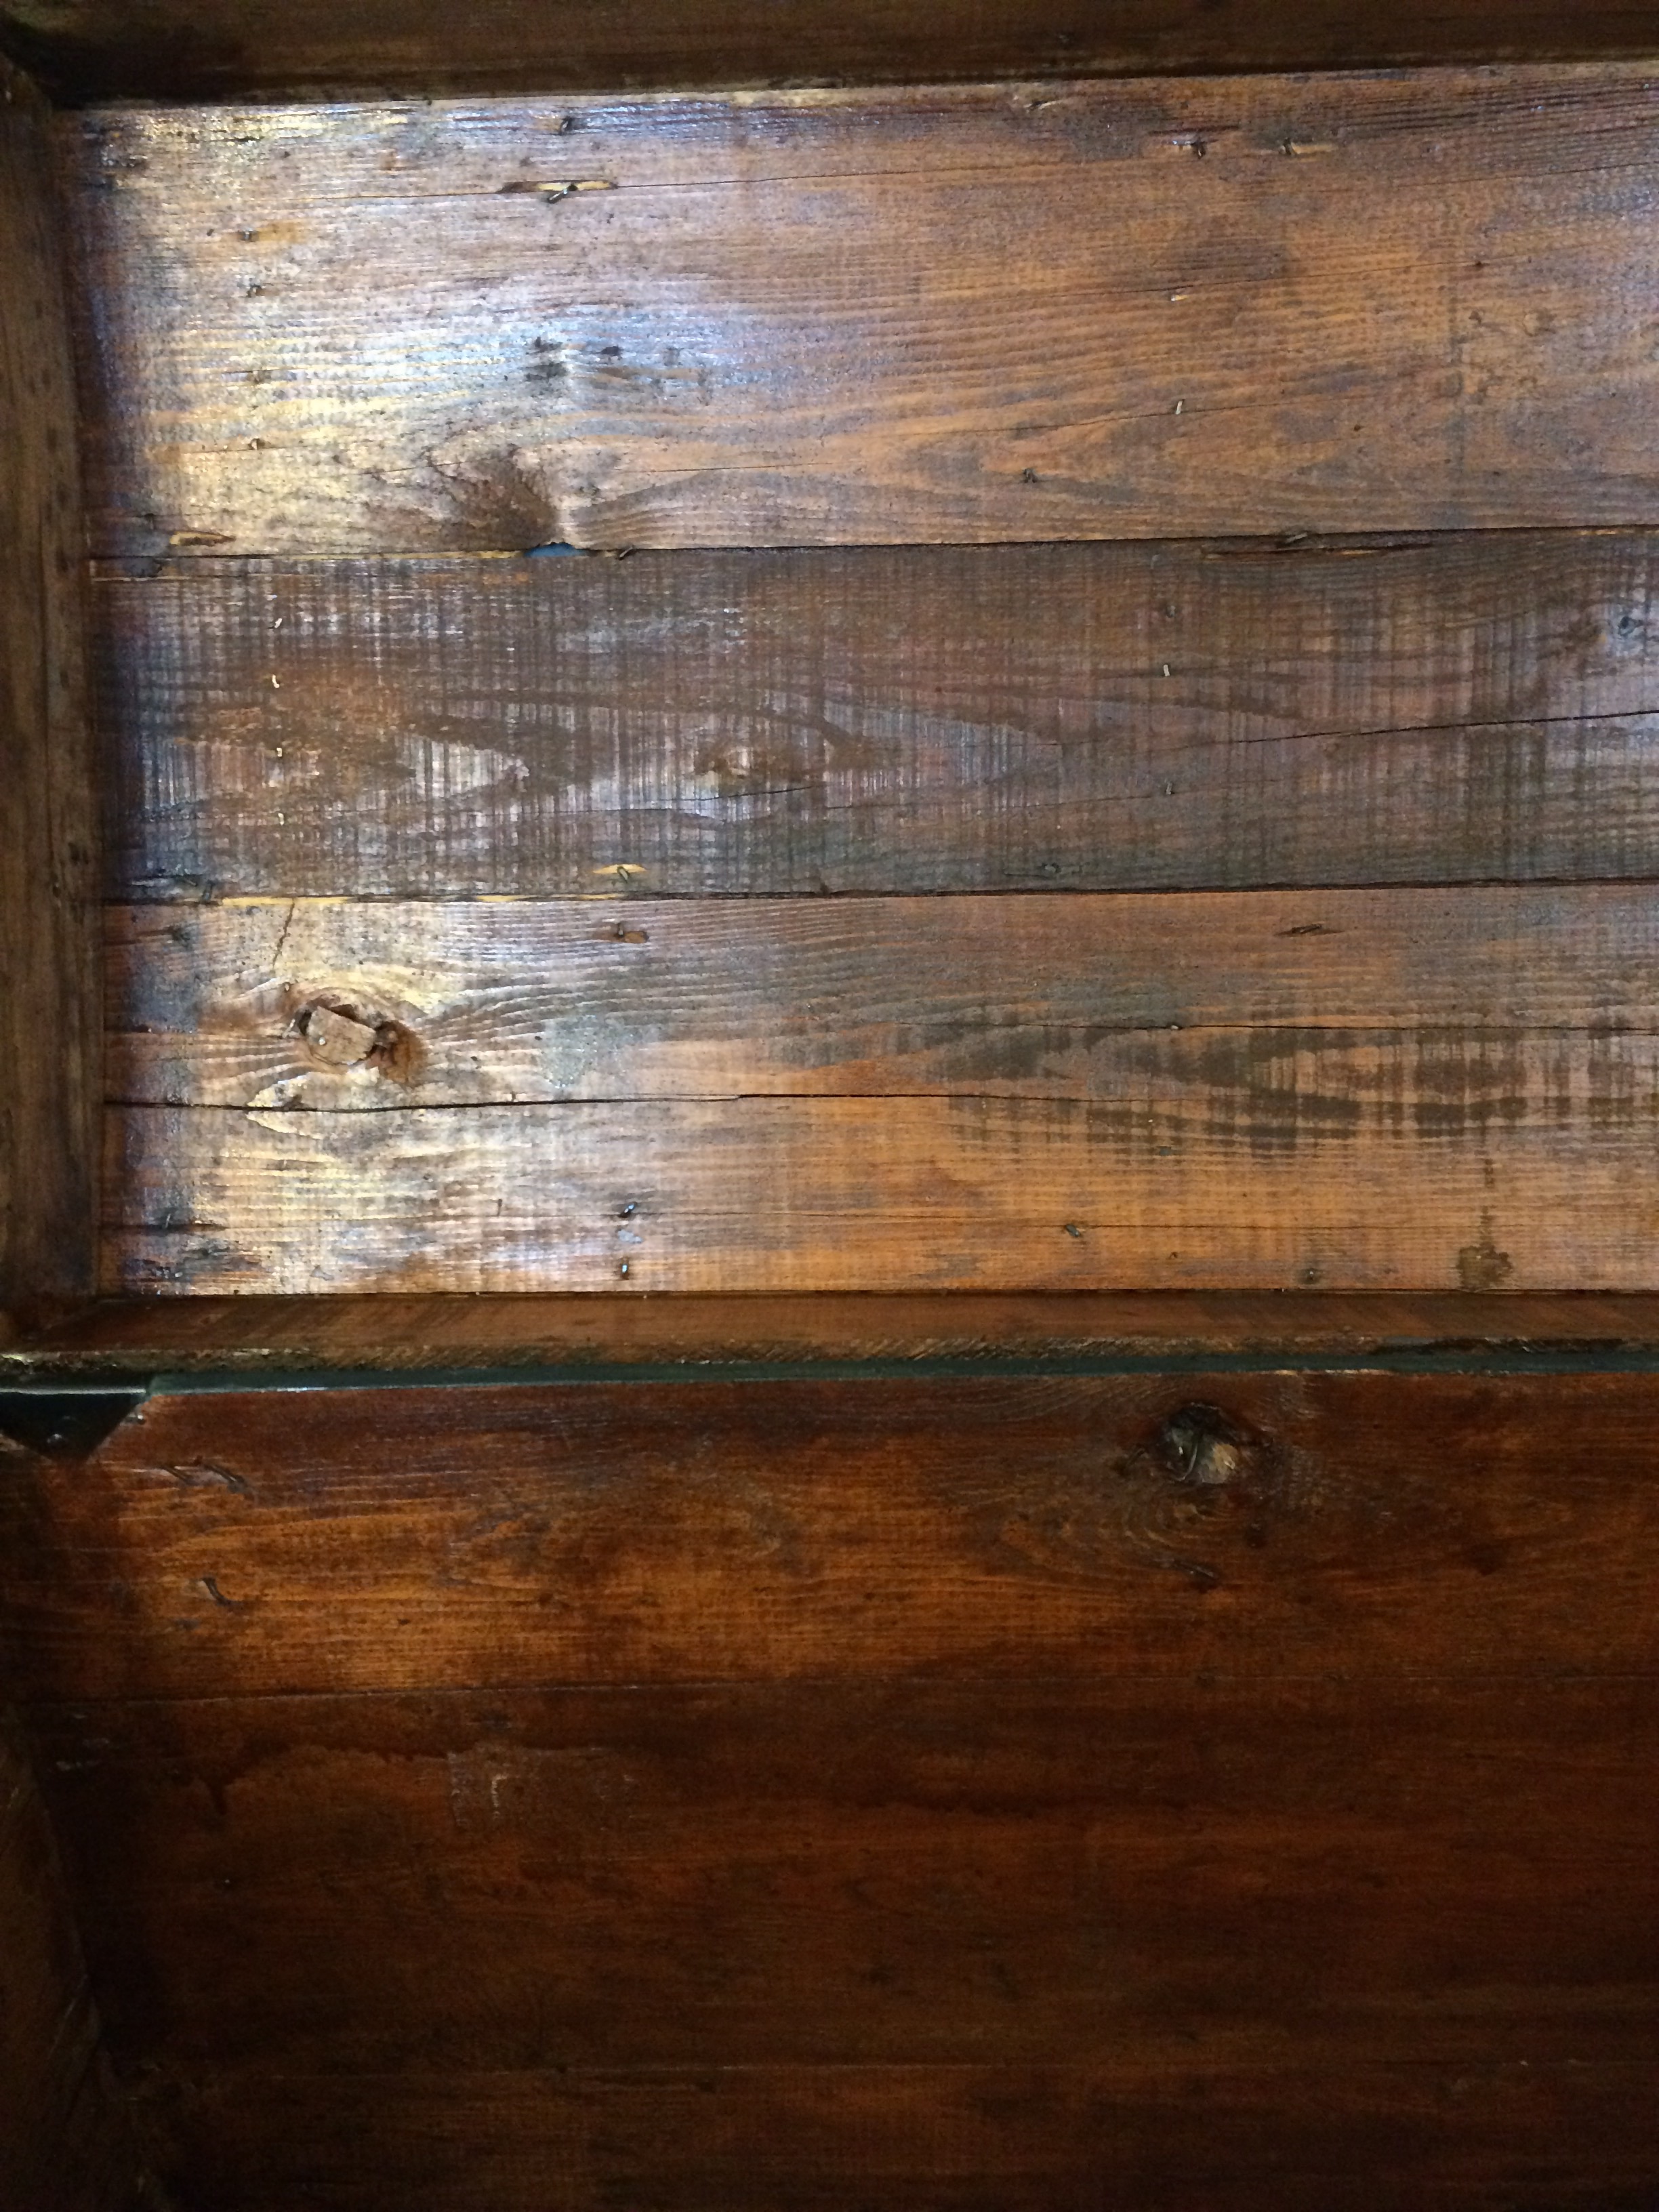
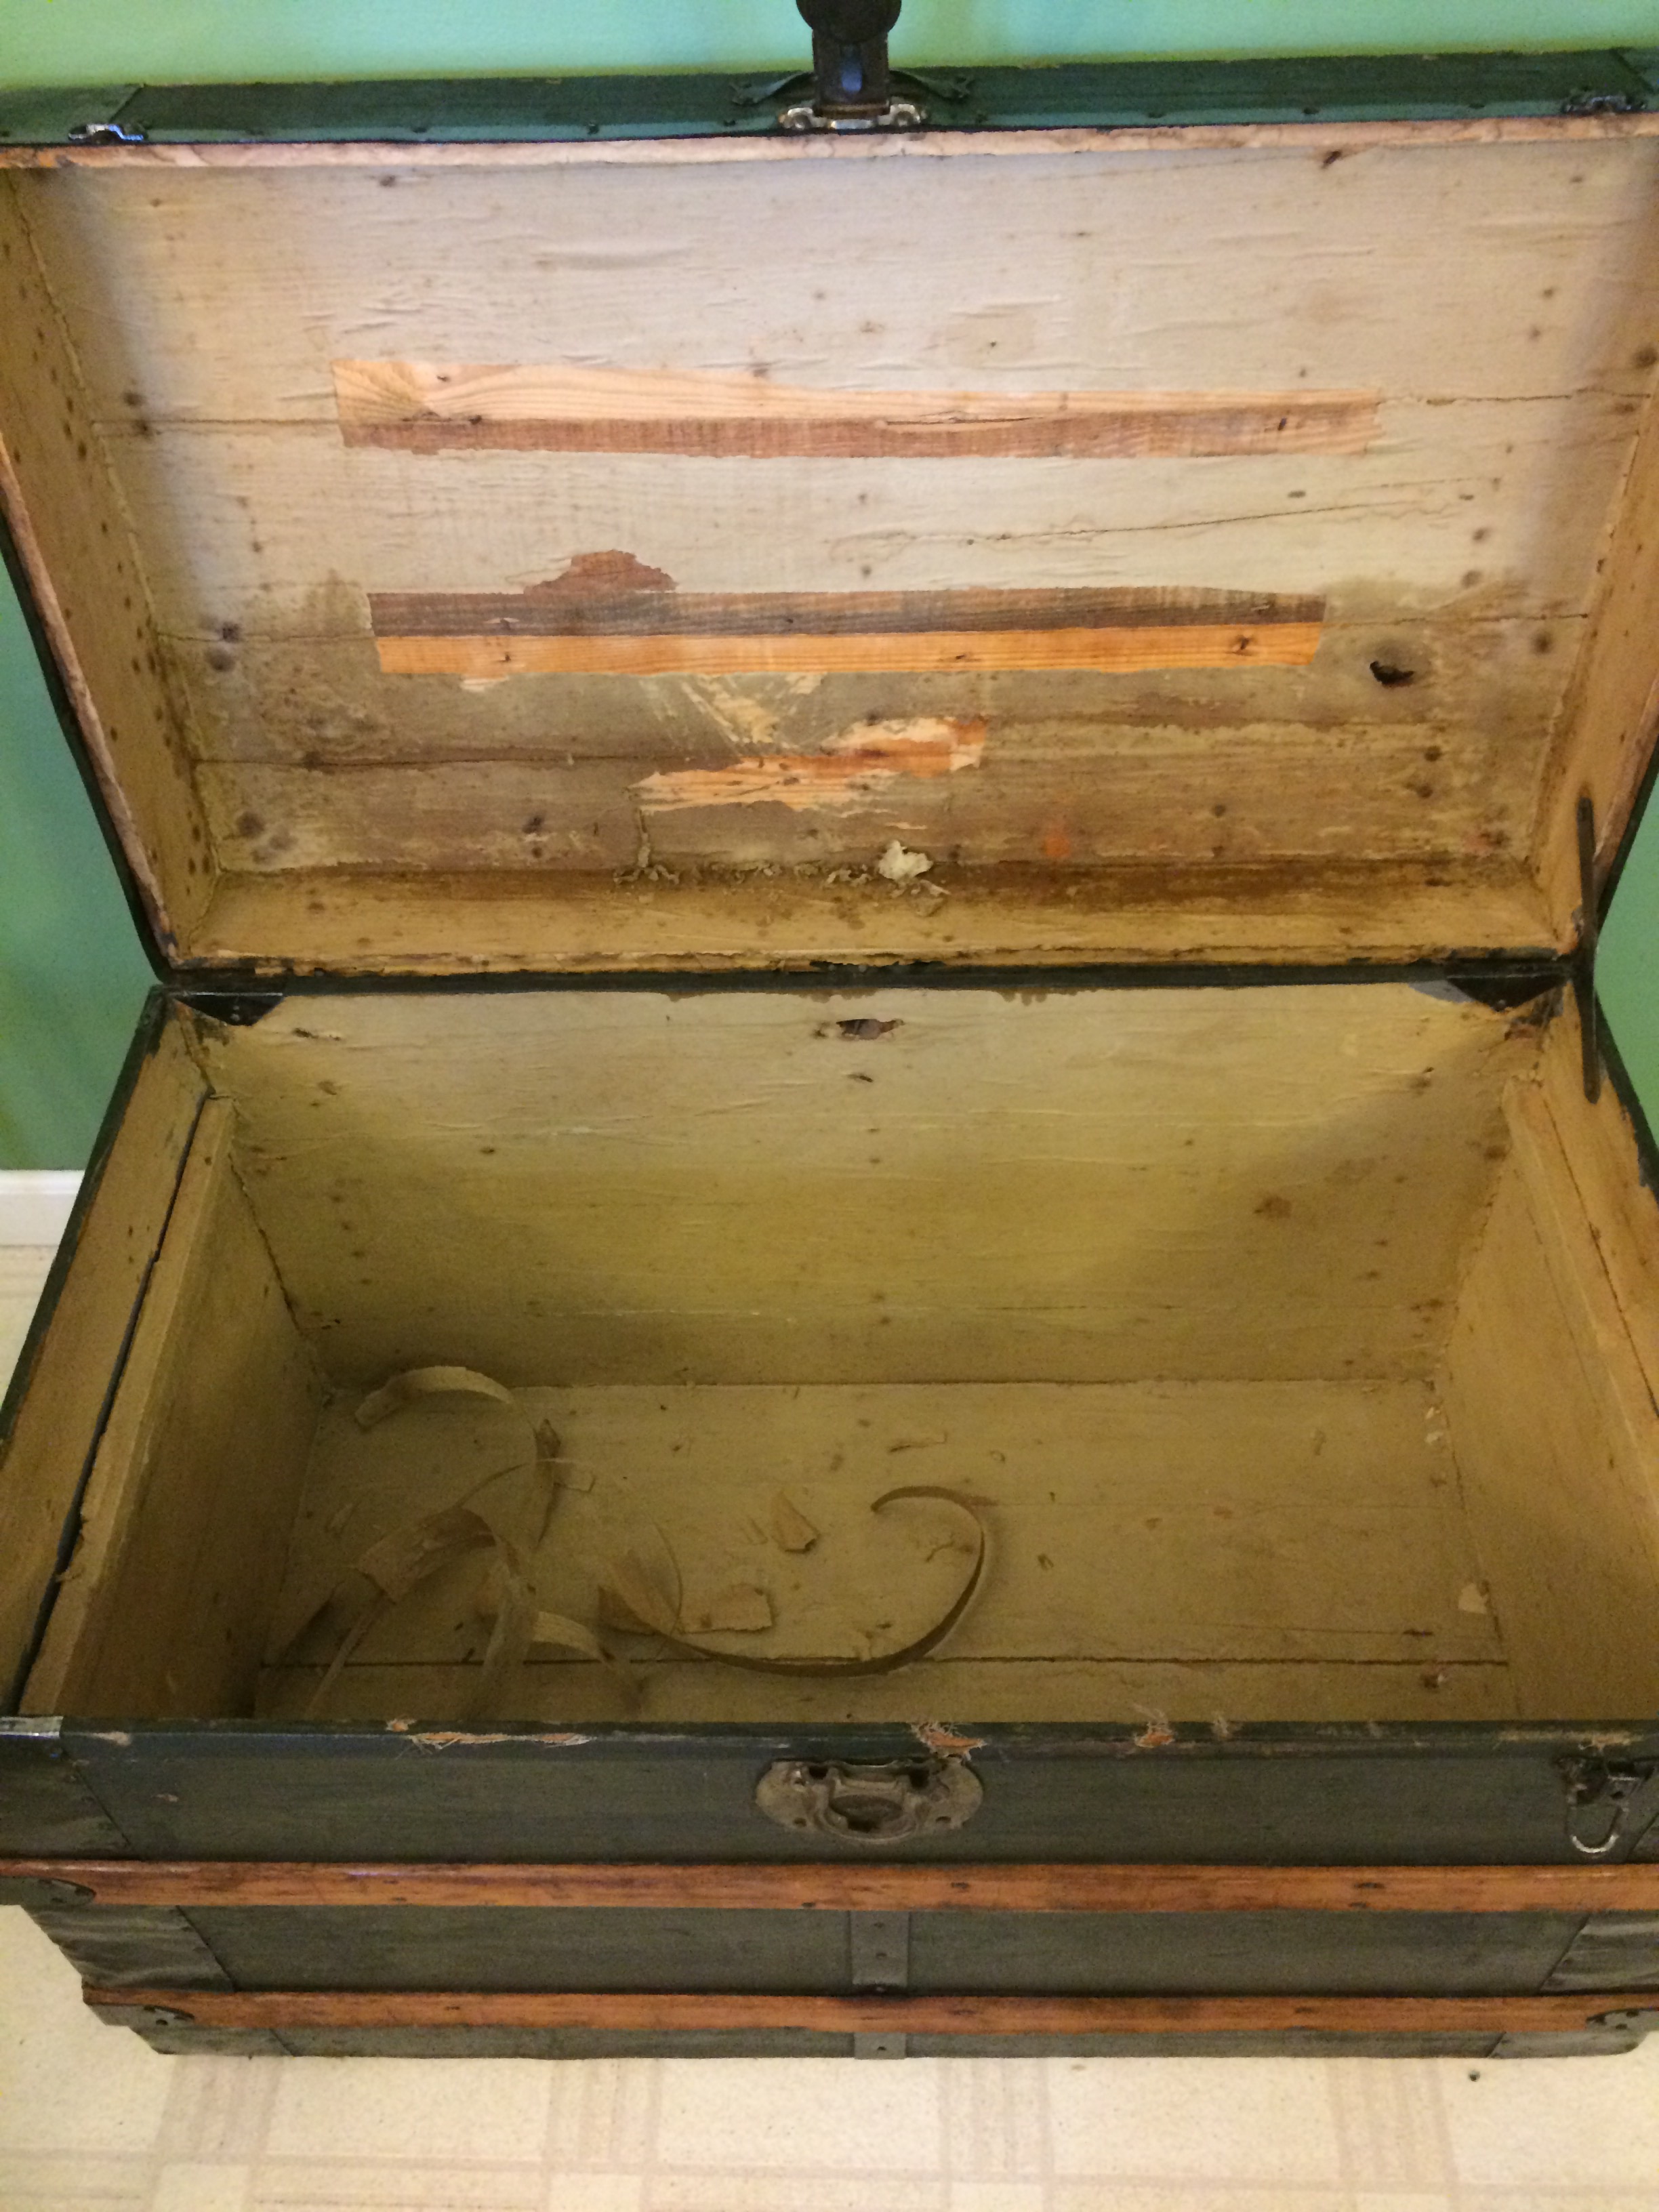
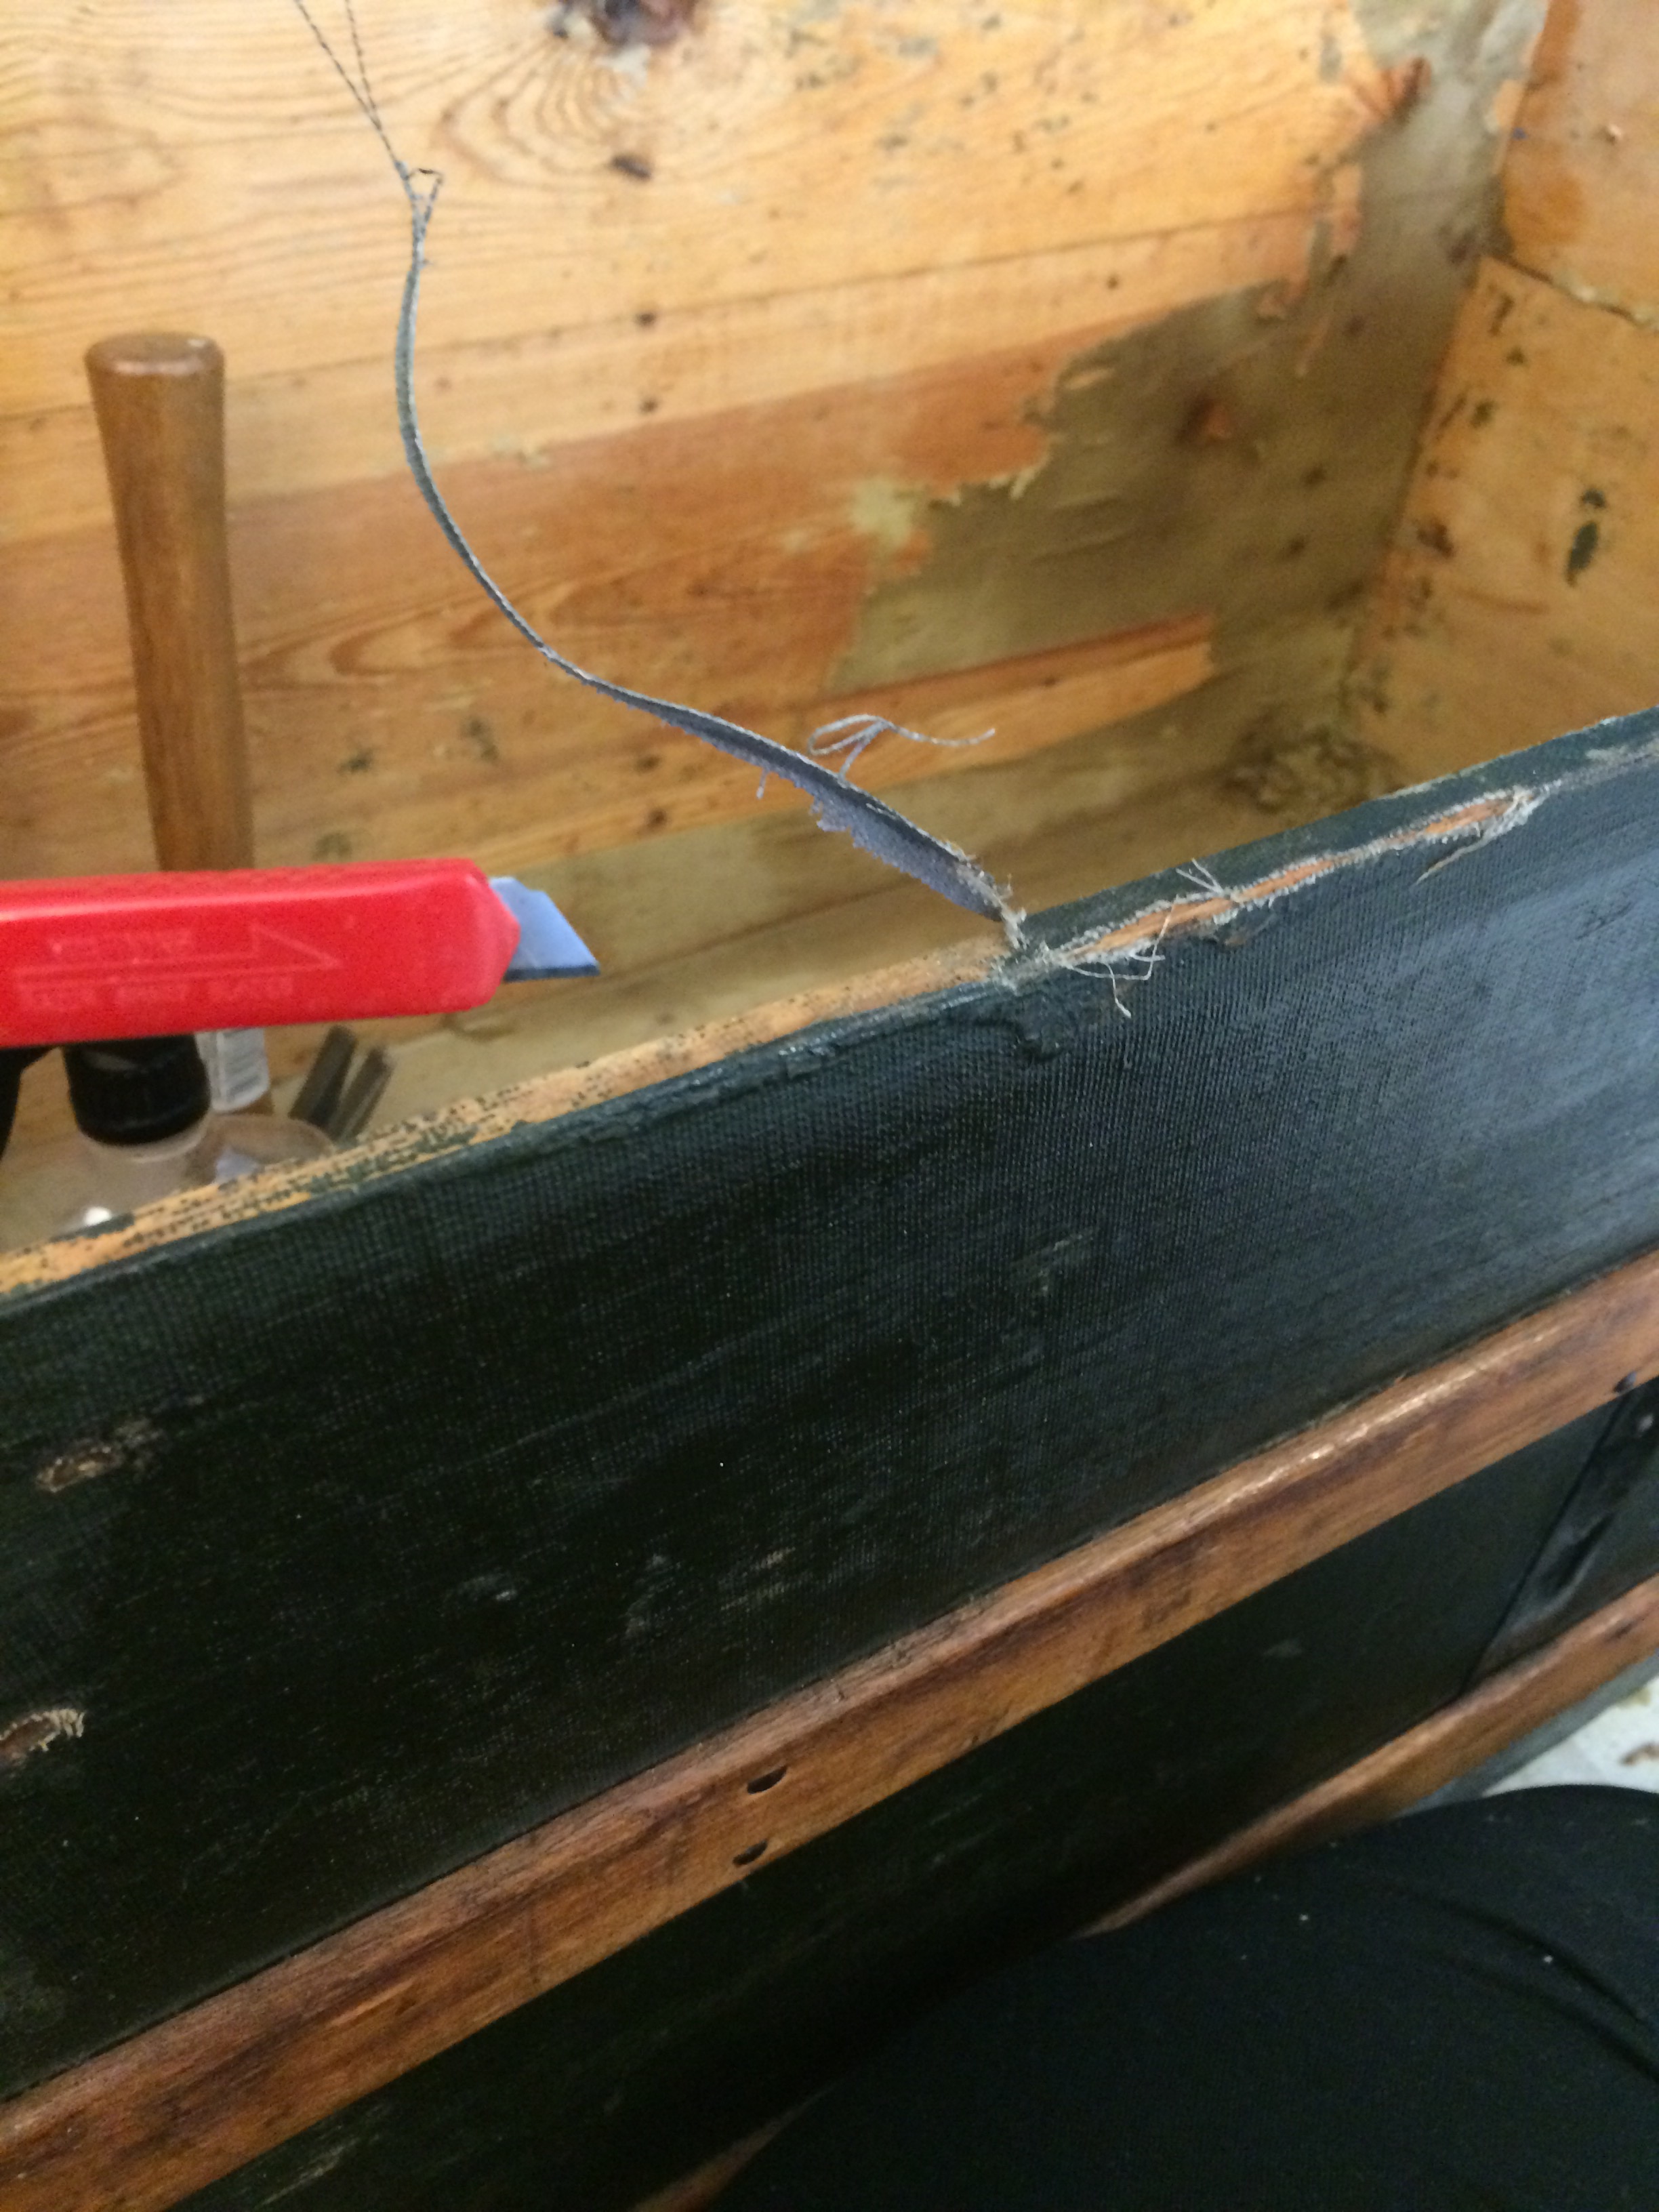
 I was lucky to not have to remove the canvas but there were some noticable rips on the inside lip. I used a razor and just trimmed it to give a more clean appearance. And then I was just going to stain that inside lip the same as the interior.
 Next I sanded all of the wood on the exterior of the trunk. It had some leftover varnish that I wanted to remove. I did not sand the interior since it was raw unstained wood and didn’t need it. Here are some pictures from that process.
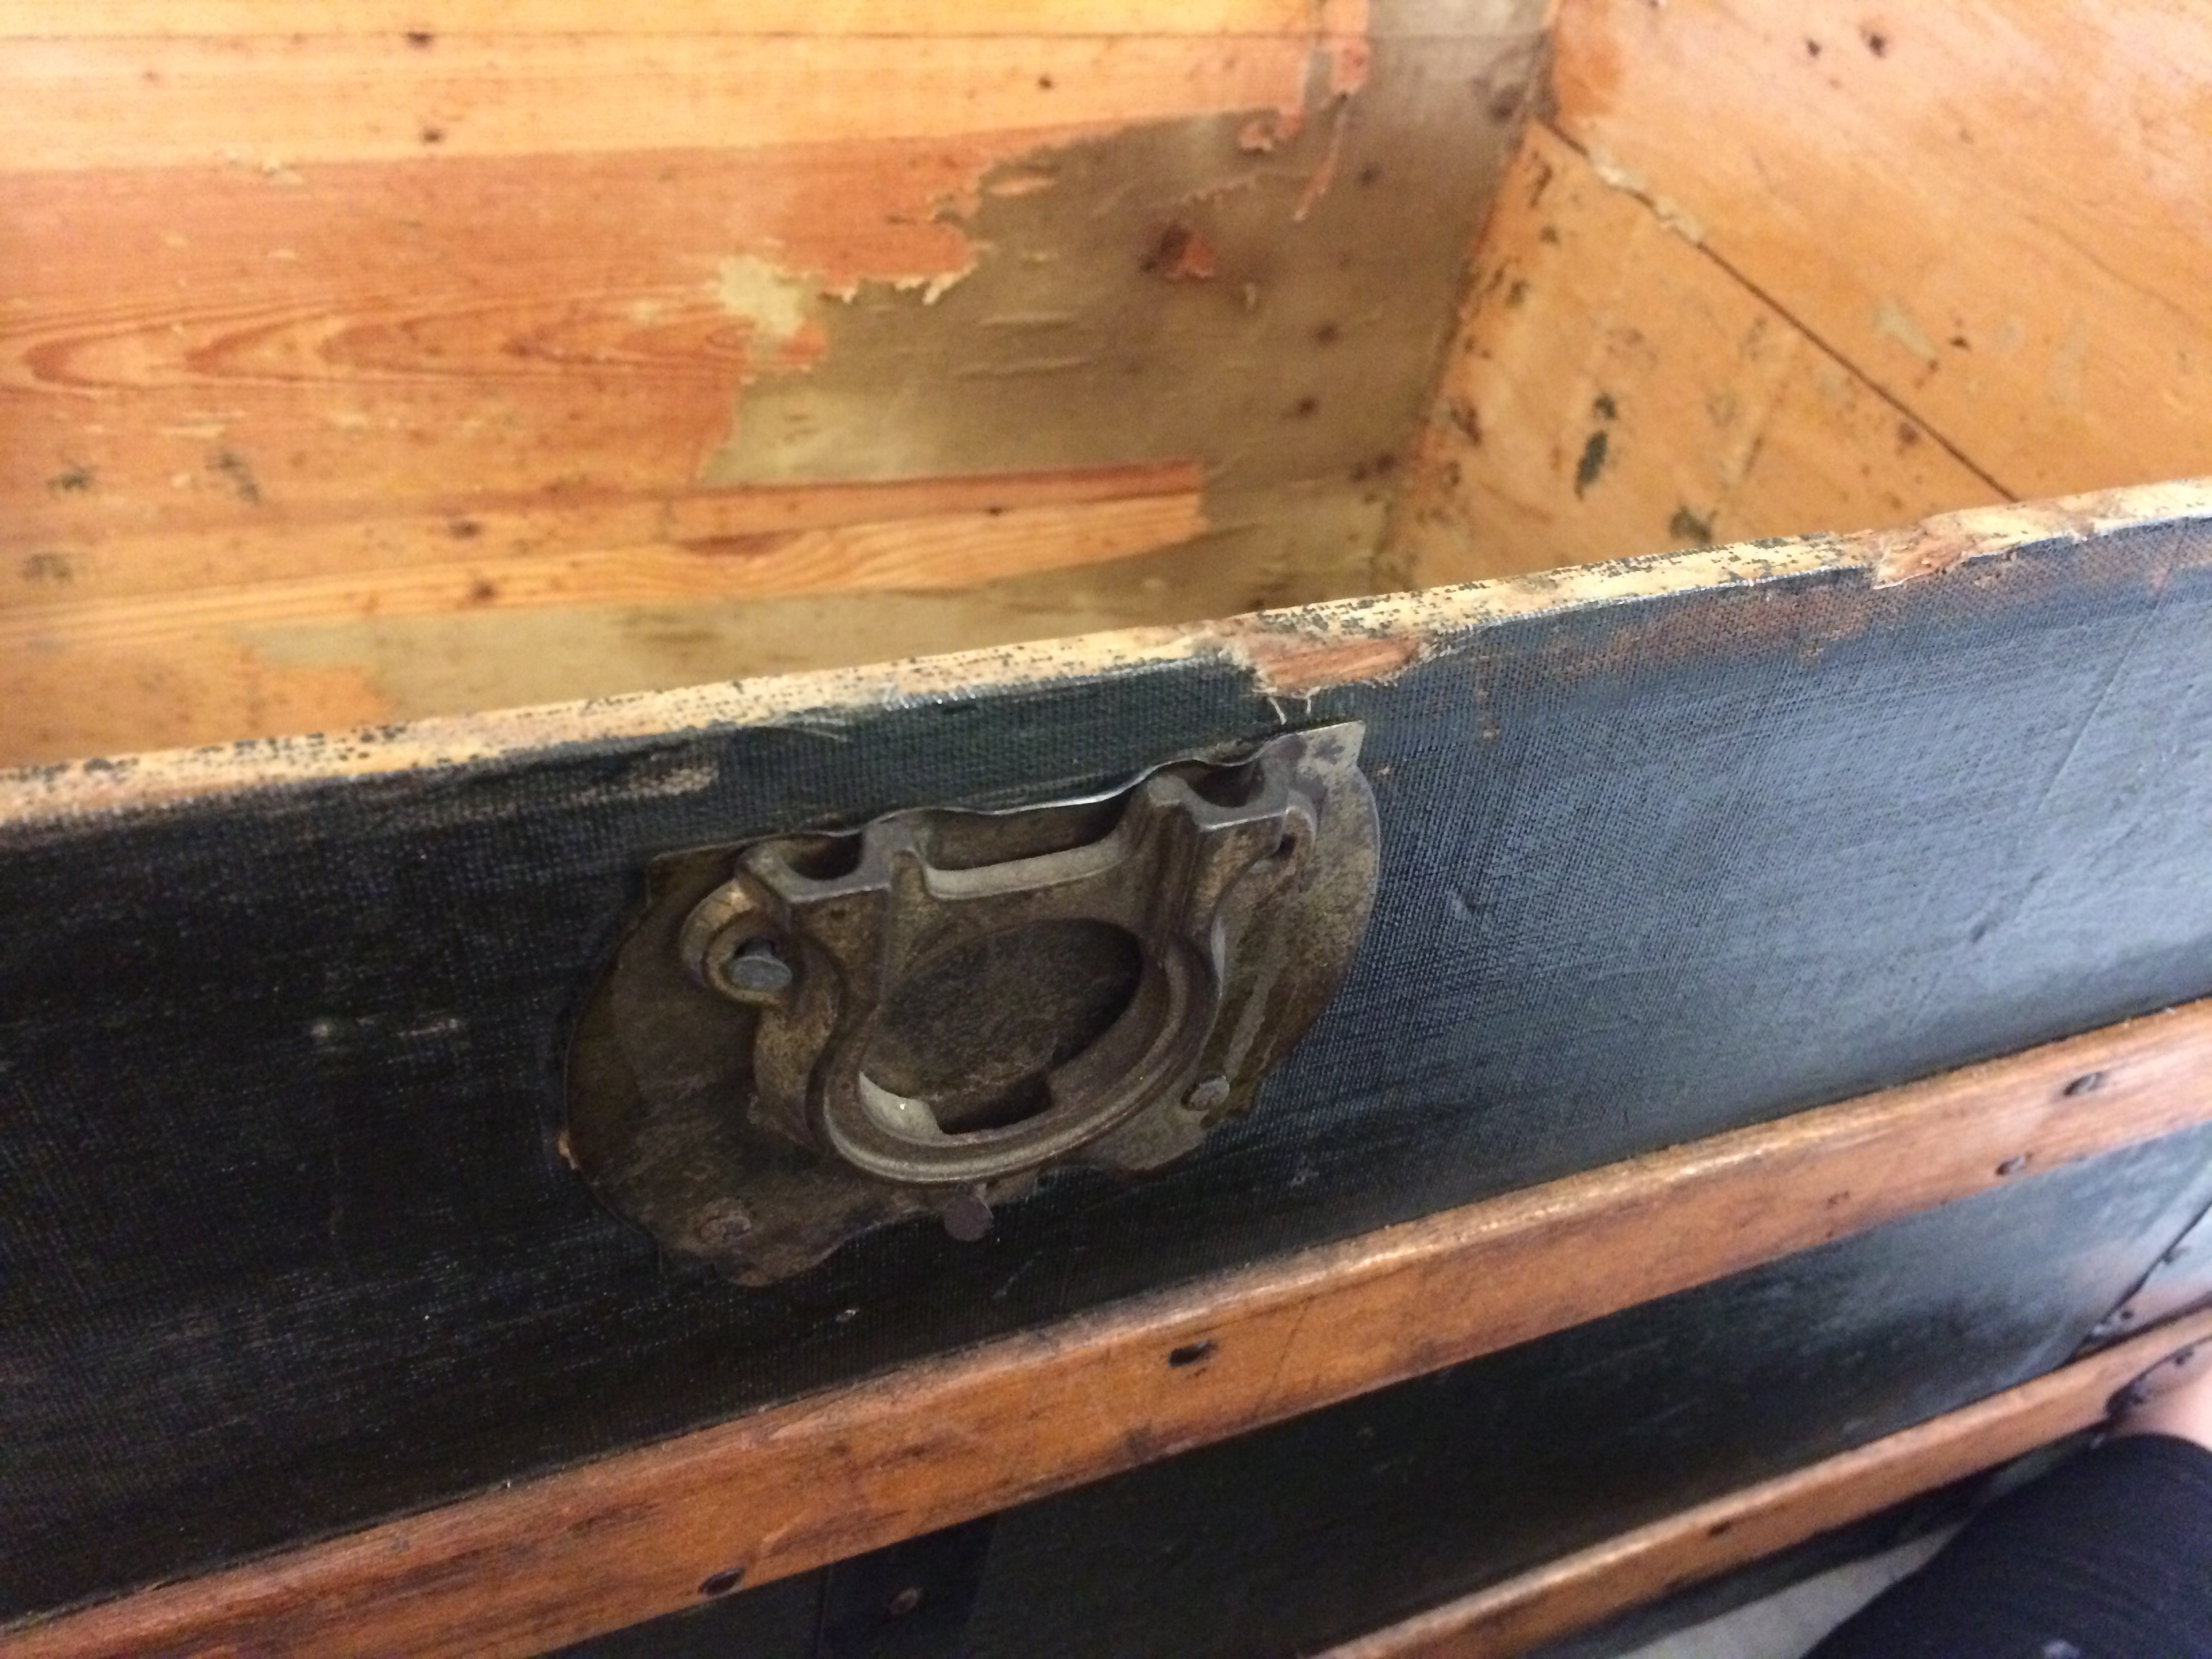
 I also spent some time gently sanding the lock on the trunk that had a pretty heavy covering of rust. It’s an amazing old lock. One of the things I’d like to do later is get a key that fits it. There are several websites online that will sell you old keys.
  Next I used a black paint to paint the metal on the sides. It was pretty banged up and the new paint really helped. This top corner is with the paint versus the other portions you see. I tapped off so you didn’t get black on that beautiful wood.

 Next I took a black craft paint and a brush and basically “dry brushed” it onto the canvas. This trunk had white paints marks on it from someone storing it in a bad location. And the canvas was a little dull in color. I didn’t want to soak my brush in paint and apply, just a little bit on the brush and brushed, brushed and brushed. Just to give it an enhanced color. Here is a picture of one side dry brushed and the other not. You definitely see how it helps enhance the canvas without completely painting it. You can see from the tiny bottle of craft paint and how little I applied to my brush basically what I’m referring to by dry brushing. Make sure your exterior has been cleaned with hot soapy water before you do any painting to remove all dirt and debris.

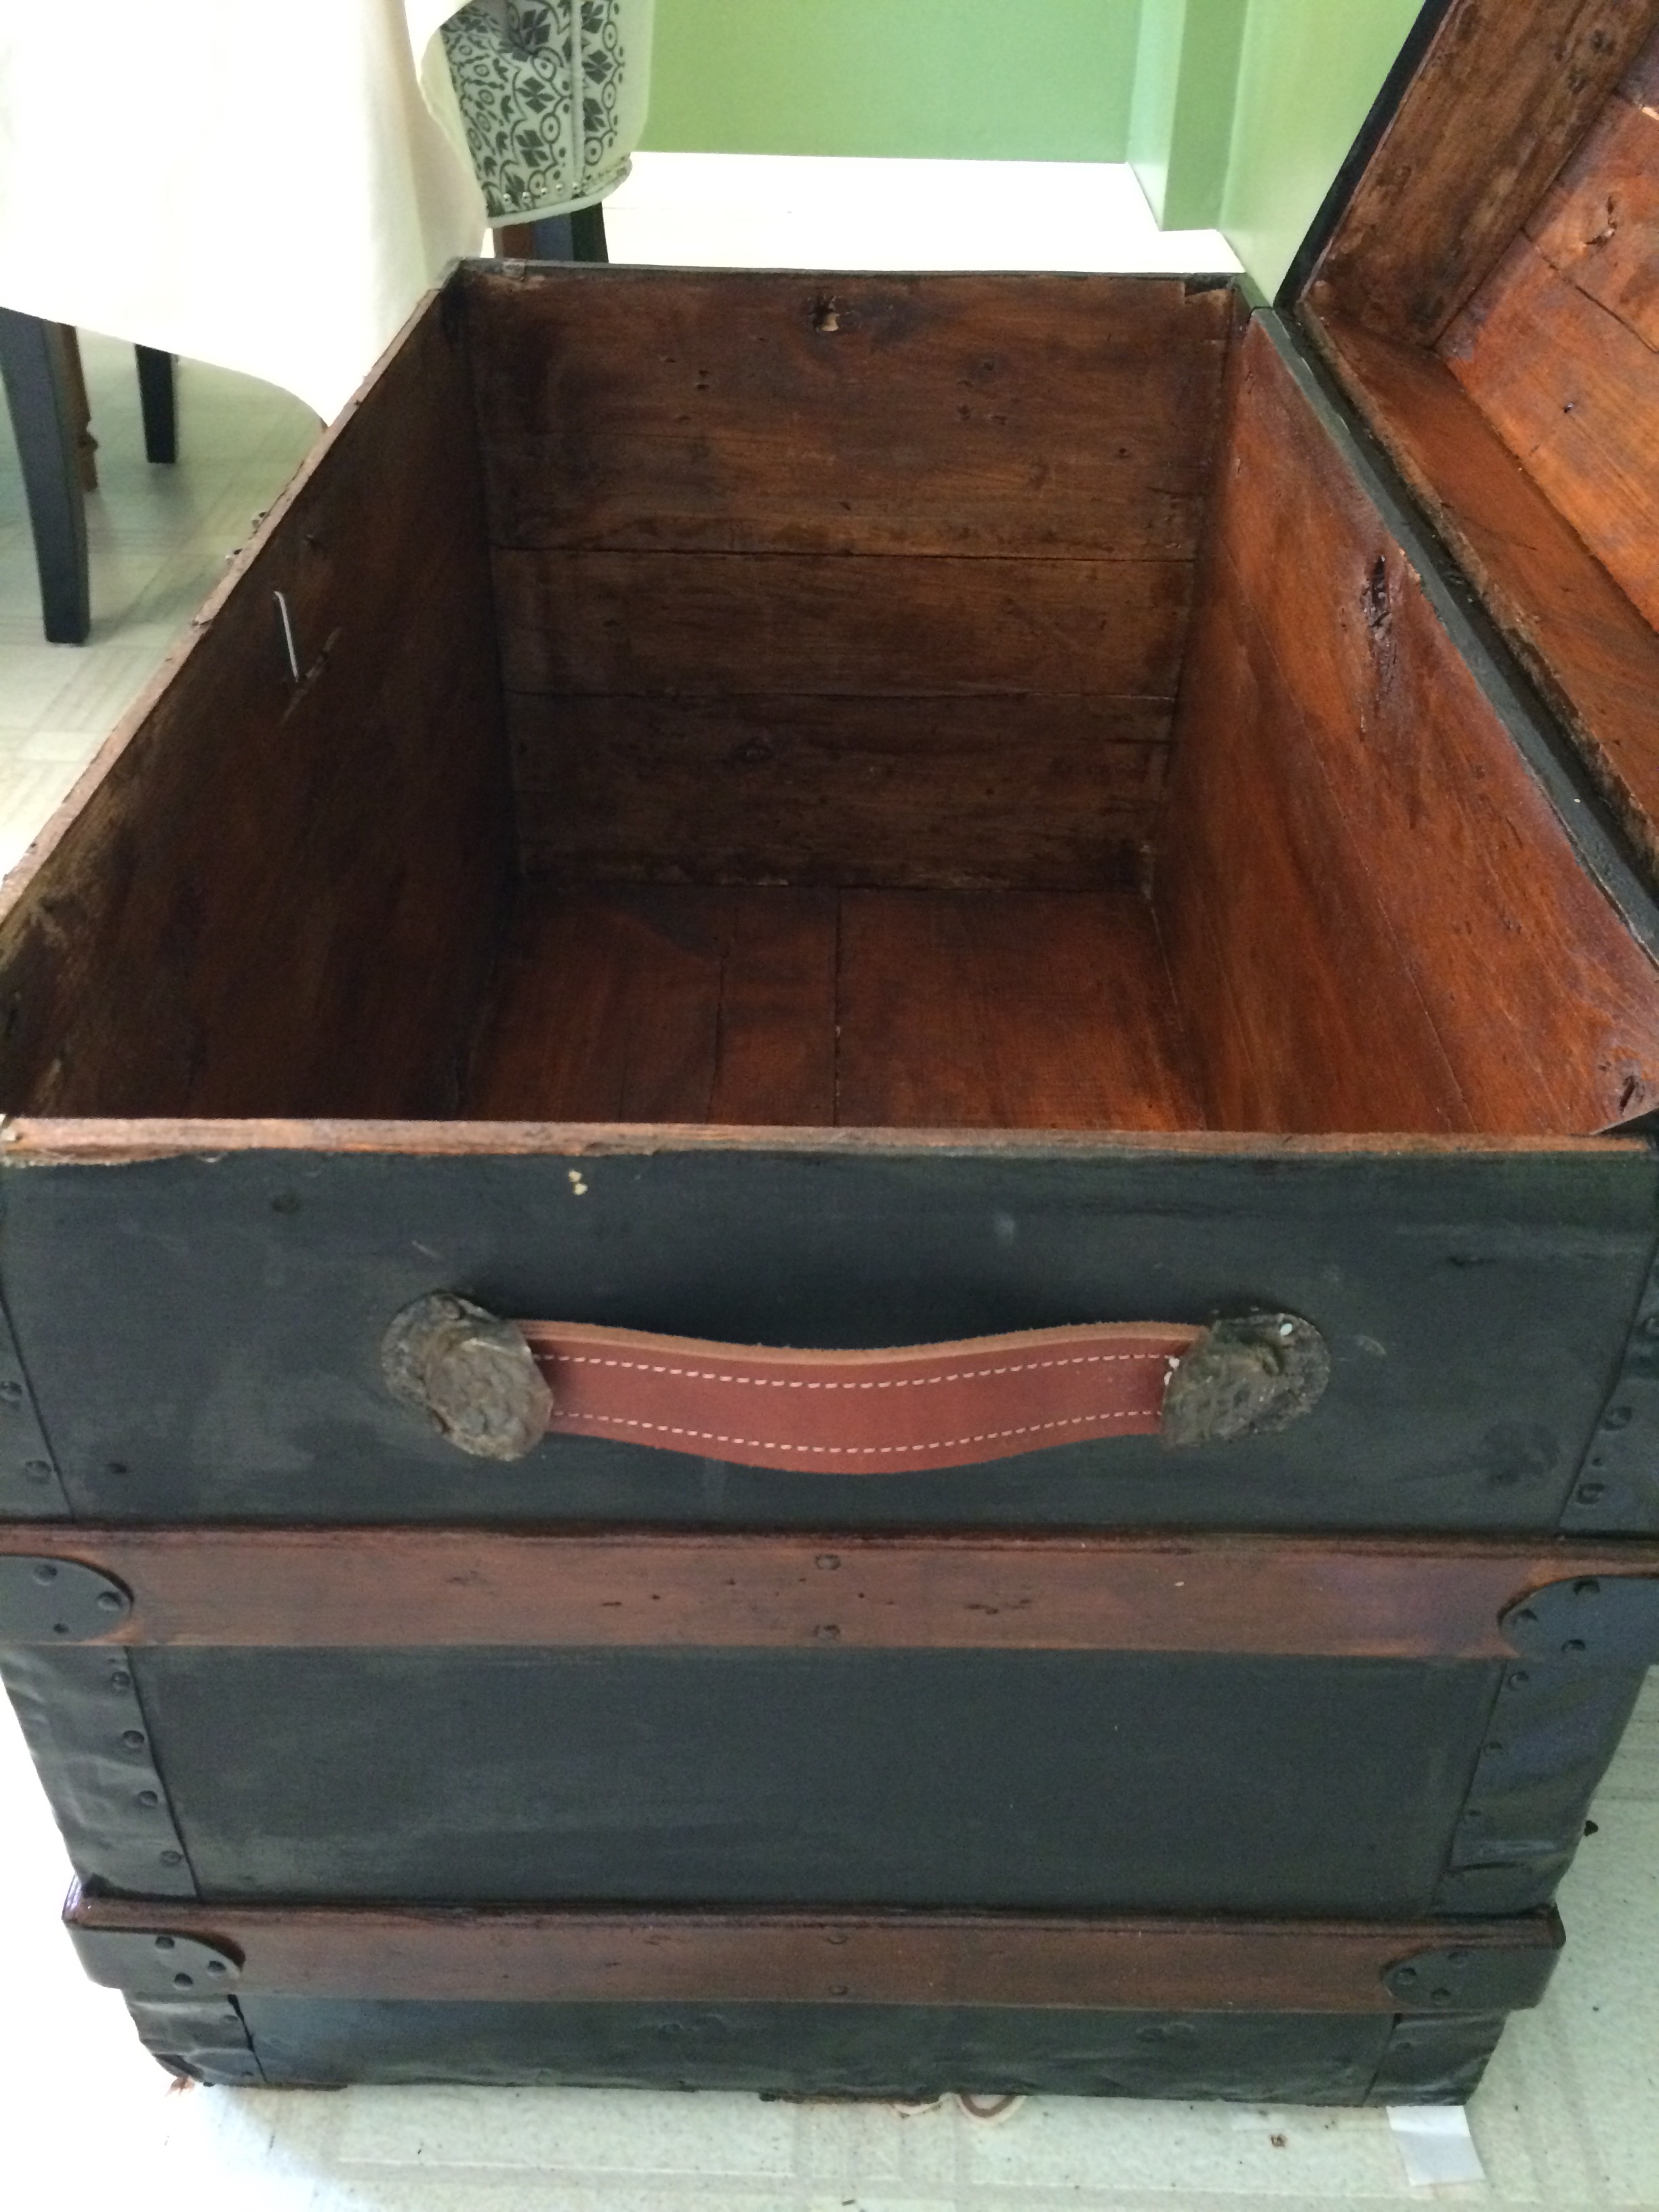
 One very common problem with trunk restoration is the leather handles are broken off. I mean it is 120 years old, those straps definitely had done all they could do! Lol! It’s very easy to order replacement handles online. I found mine for $15 for the pair and they’re real leather. You can research your trunk and find which handles are appropriate for yours since there are a lot of different style and color handles.
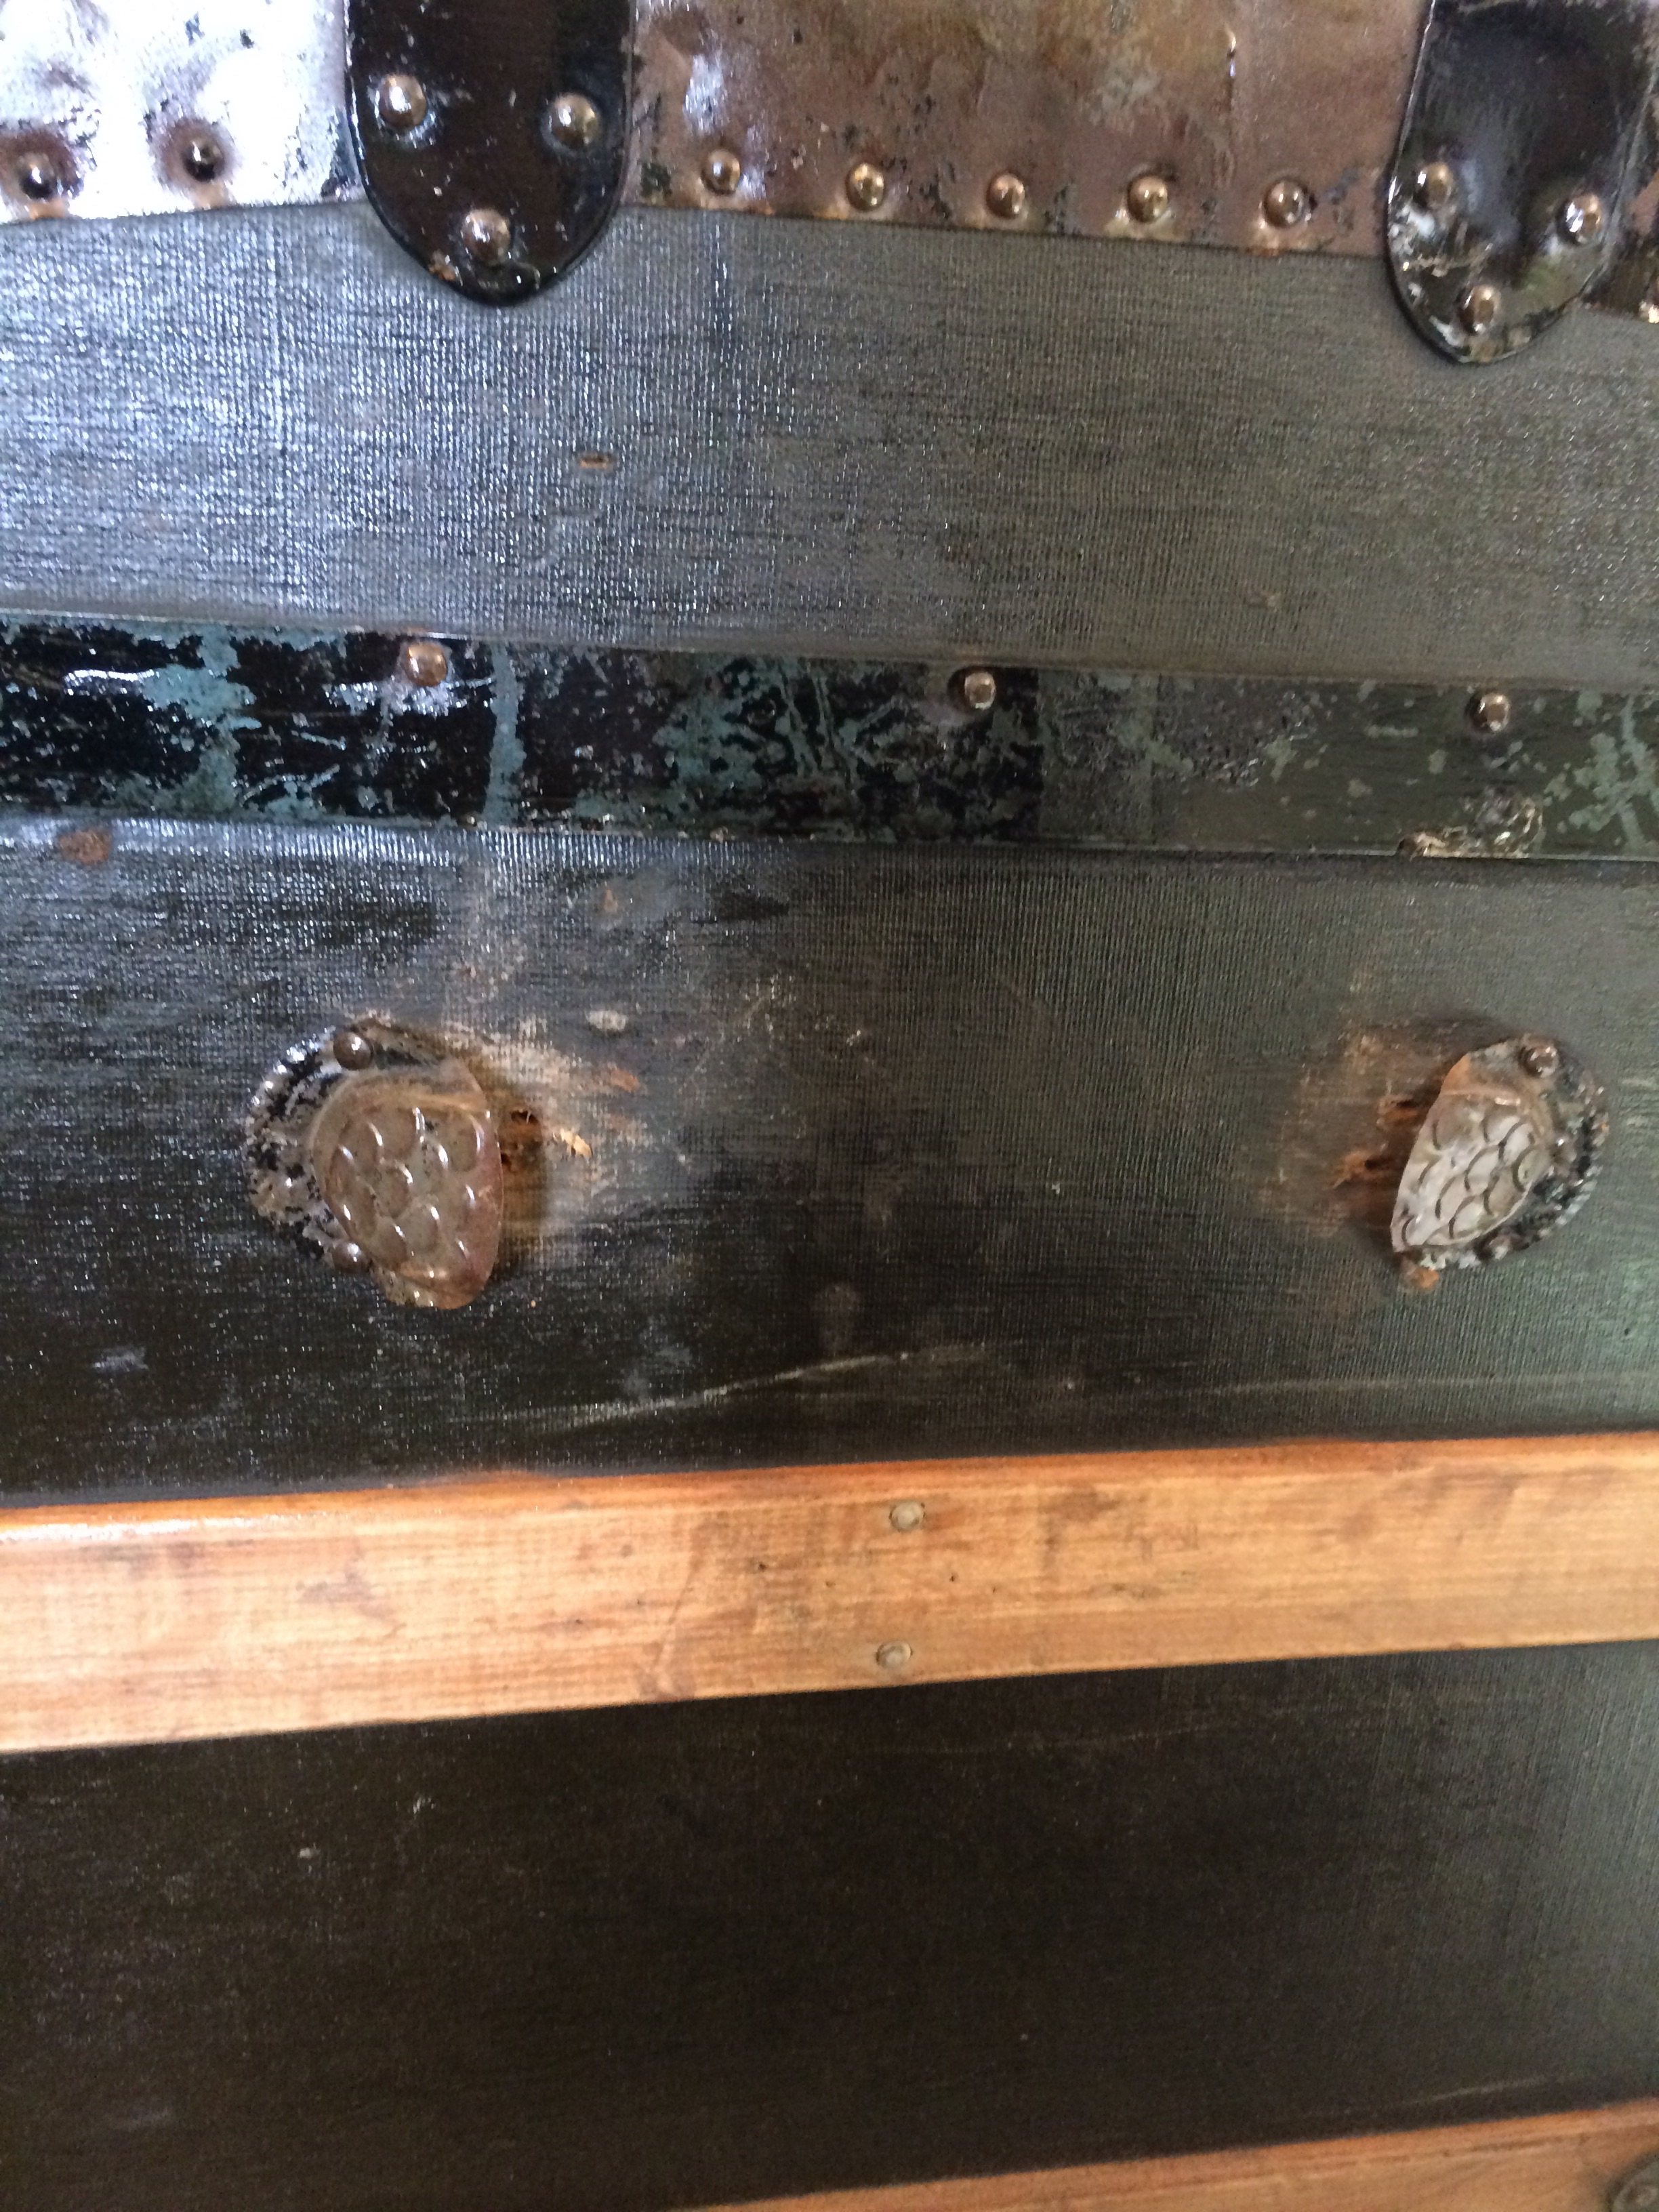
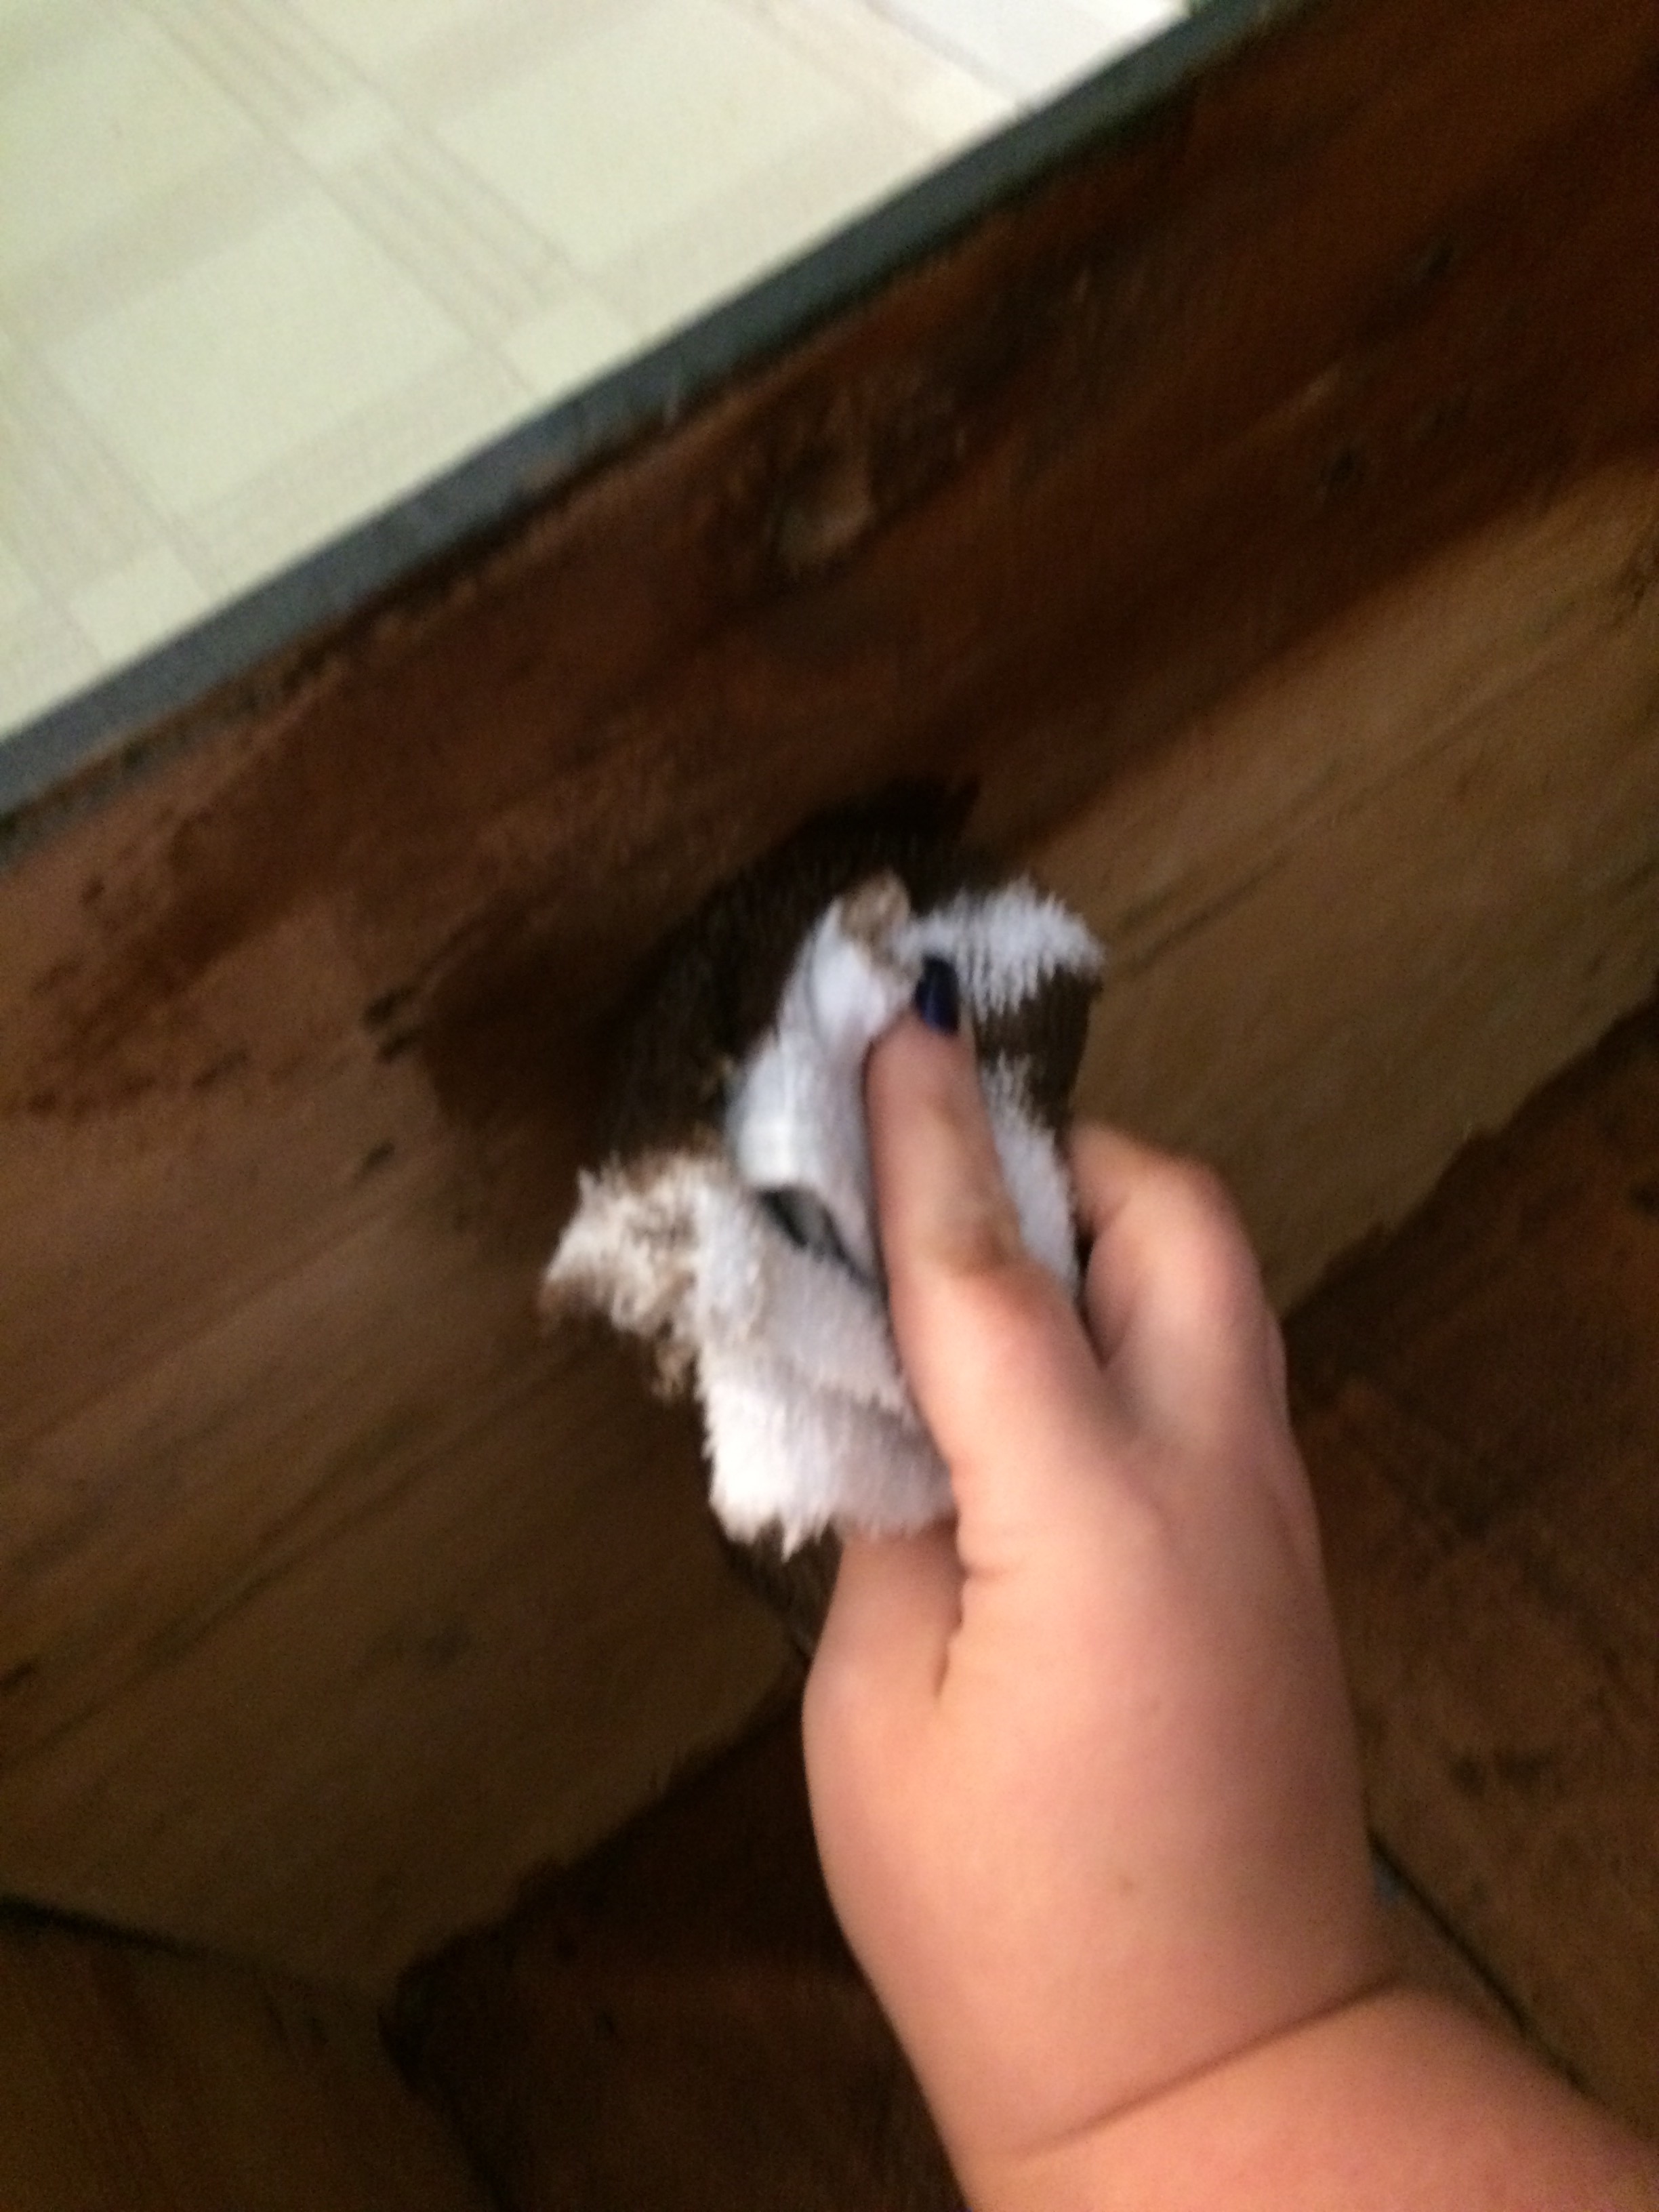
 Next thing was to stain the wood on the interior and exterior. I used a Minwax wood stain with varnish, all in one in a medium brown. I brushed and wiped. It took two coats.
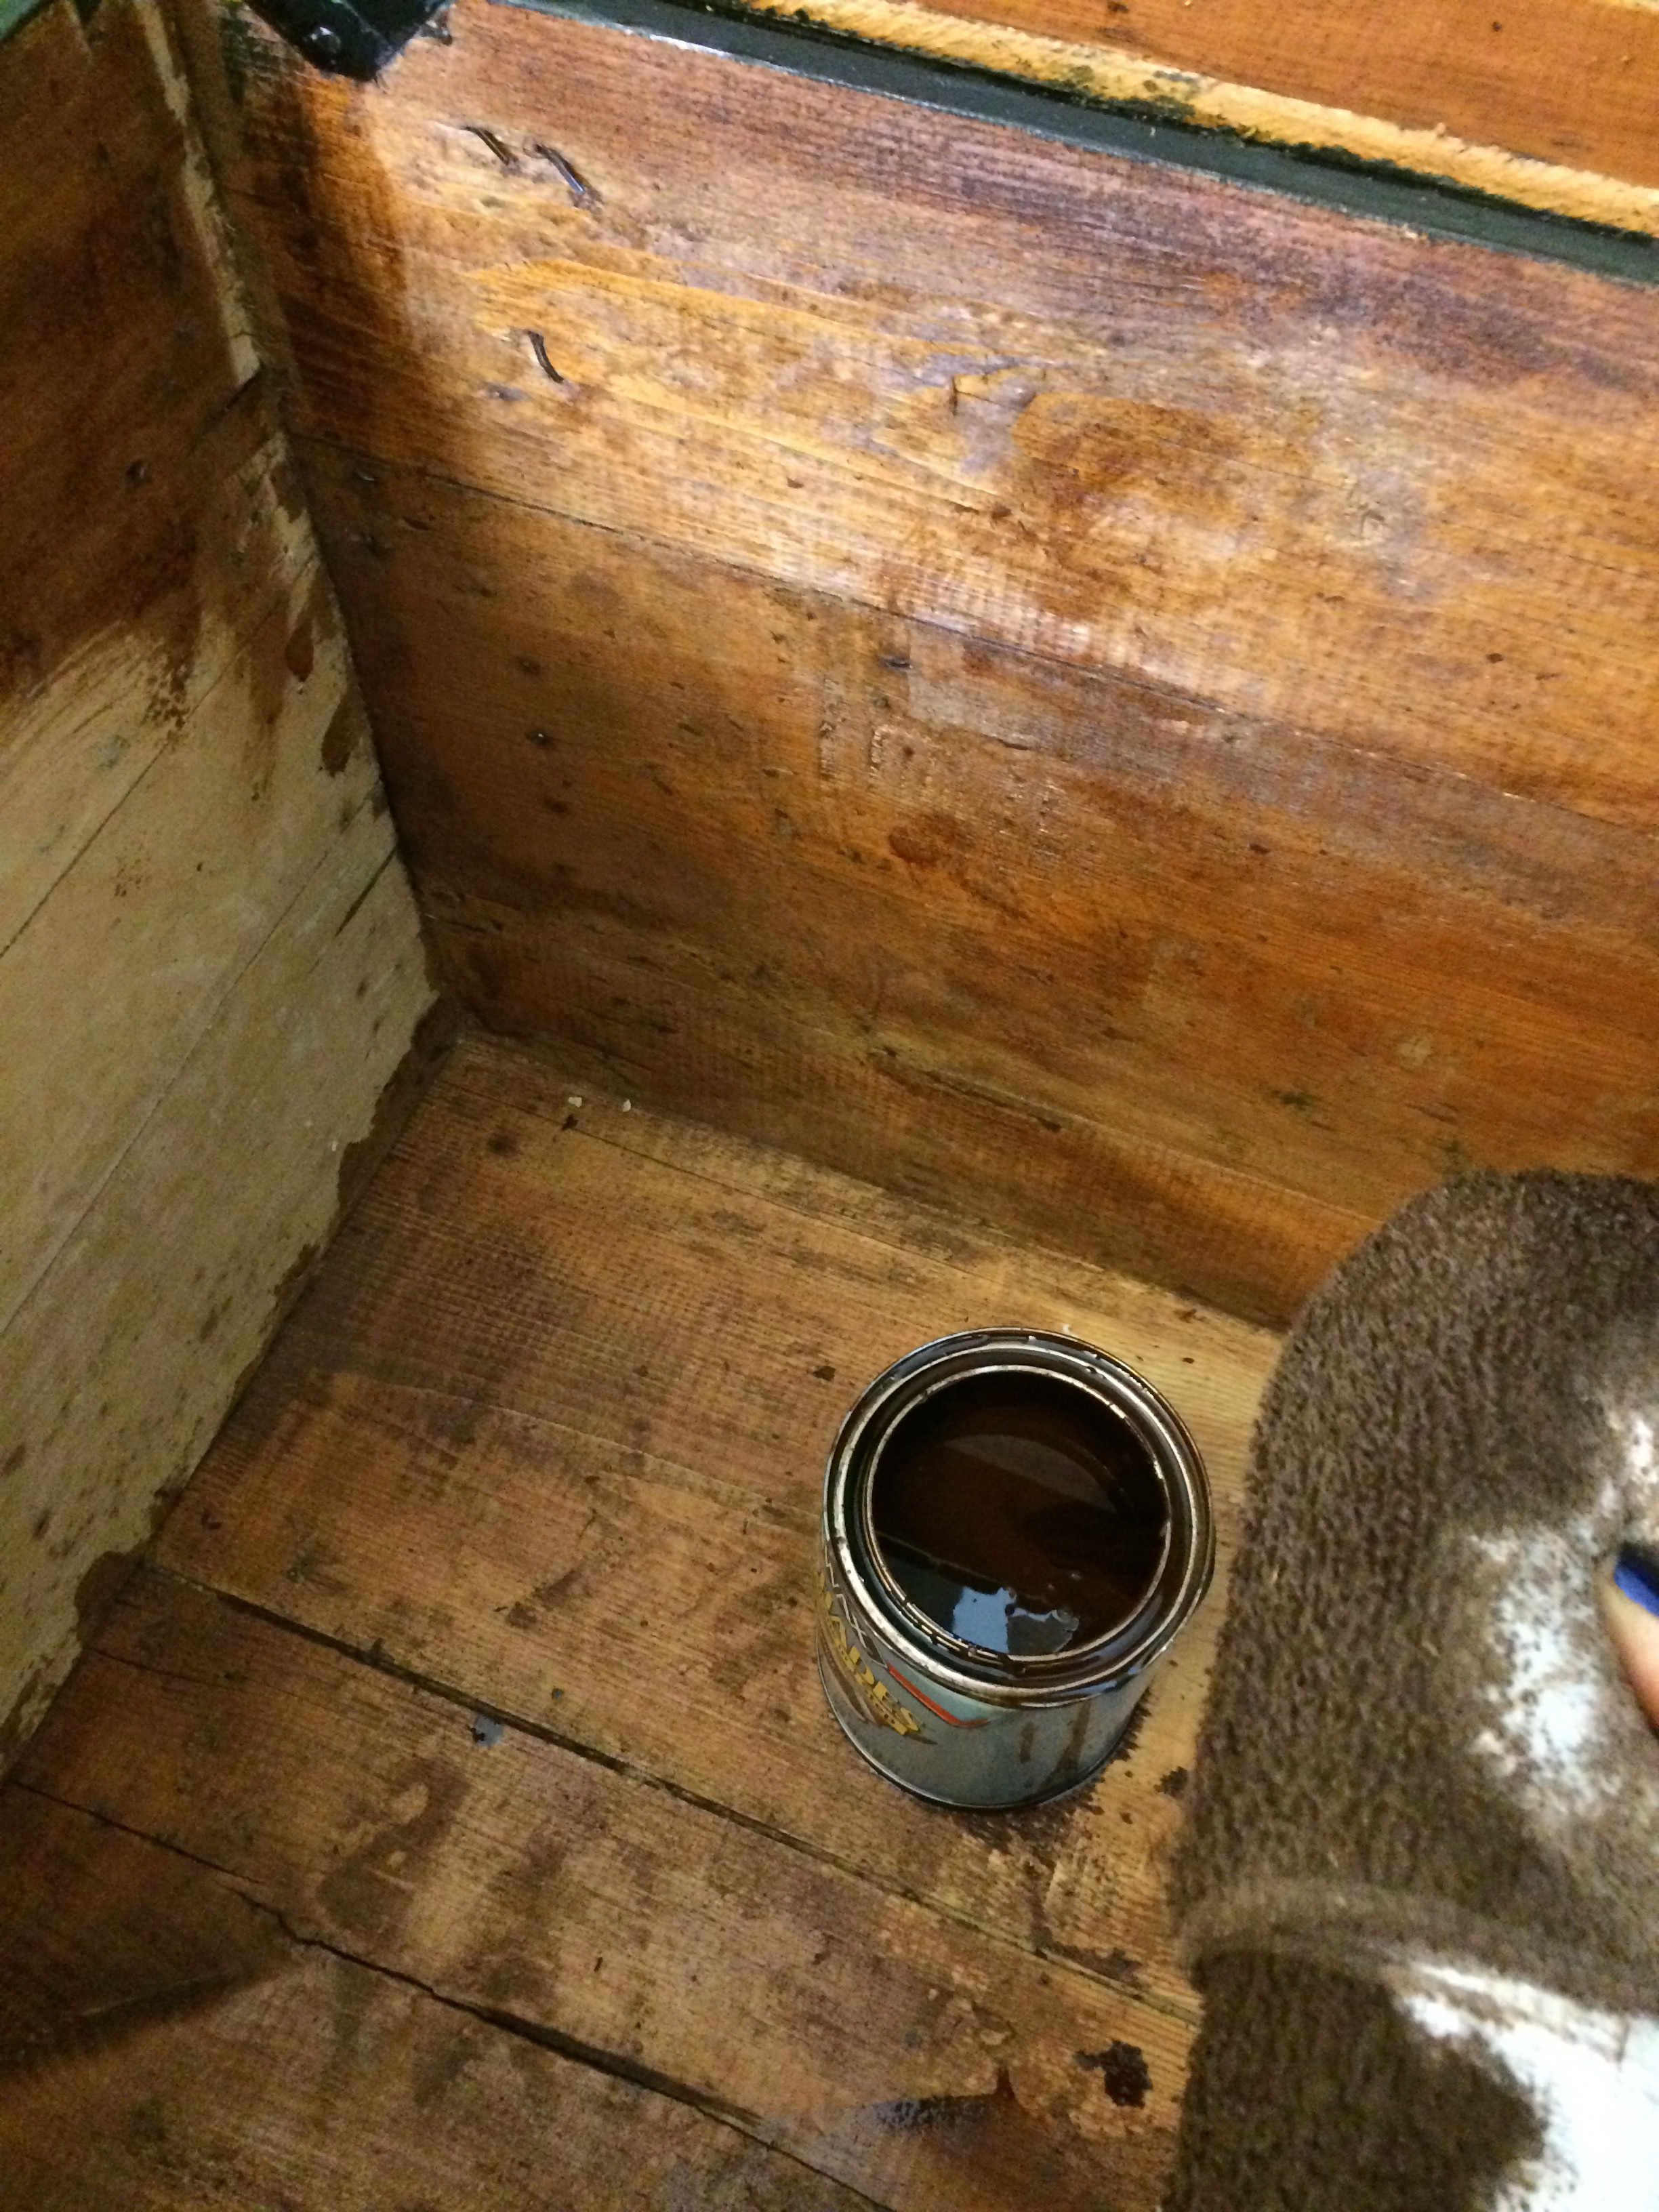
 This picture really shows the before and after on the exterior slates. The stain really made it beautiful.
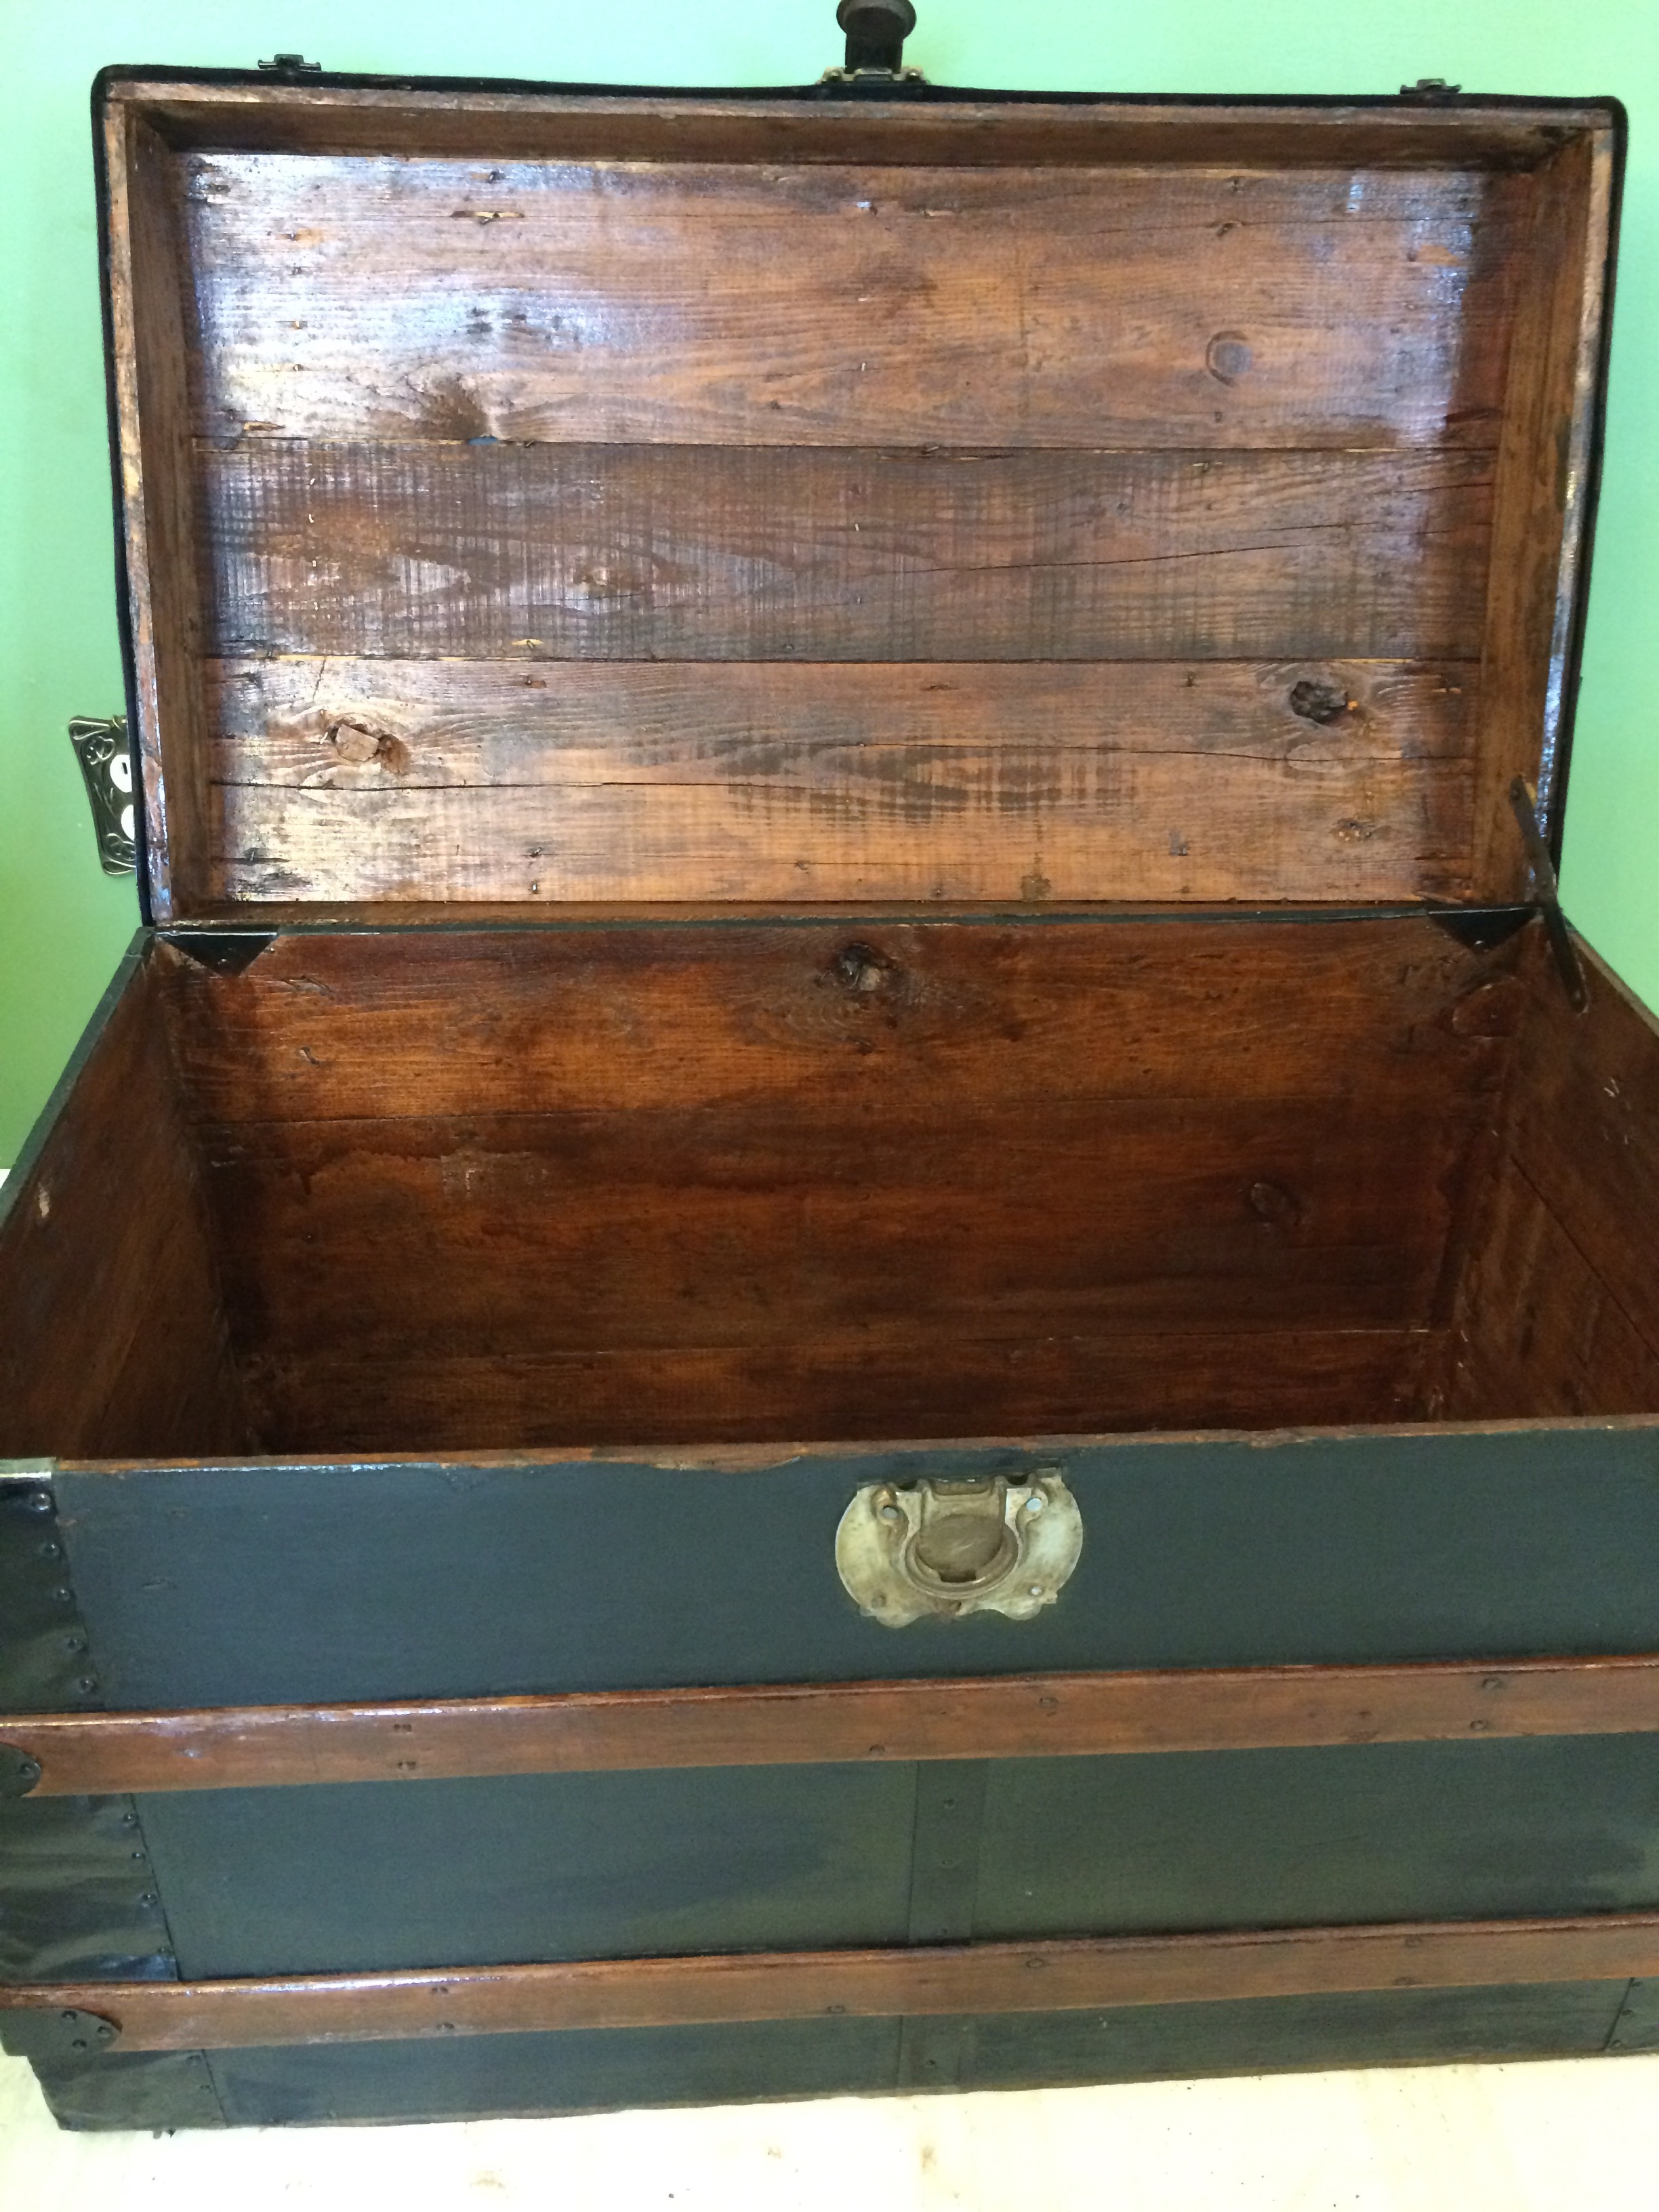
  The interior looks absolutely gorgeous!
 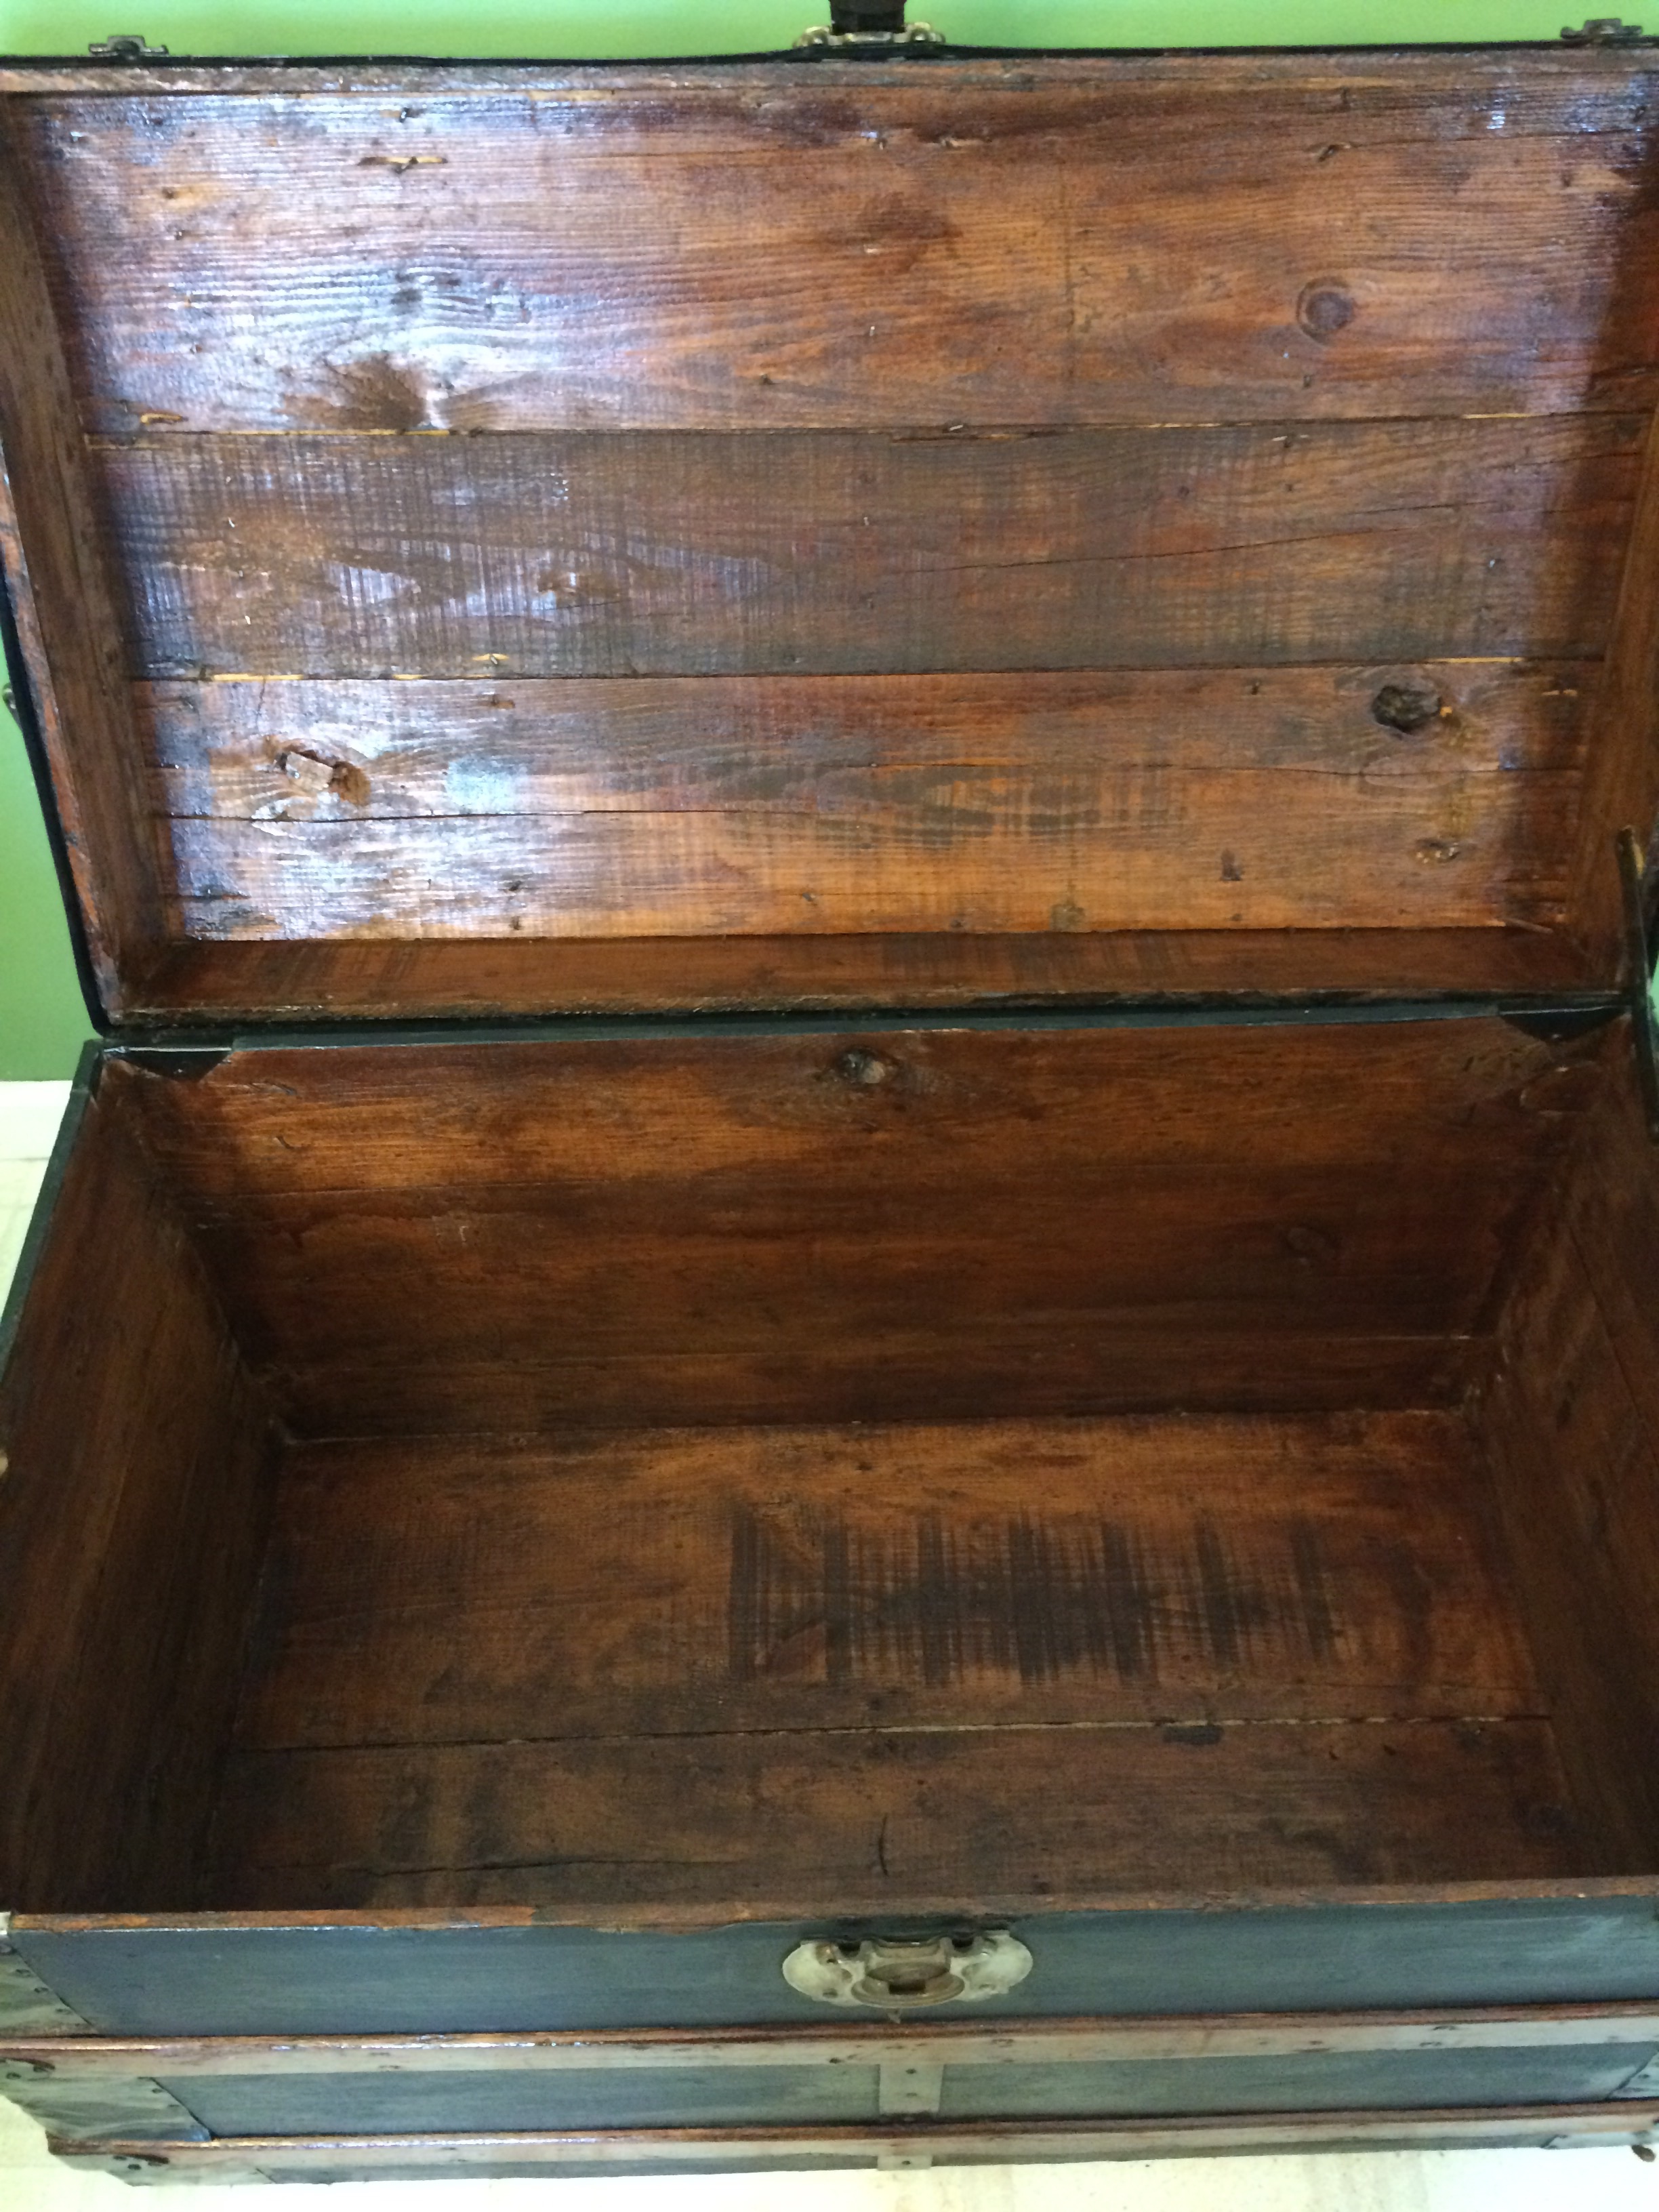 Now here’s a side-by-side of before and after. It makes me appreciate the hard work I did in scrapping off that old wallpaper.
-

- Before
-

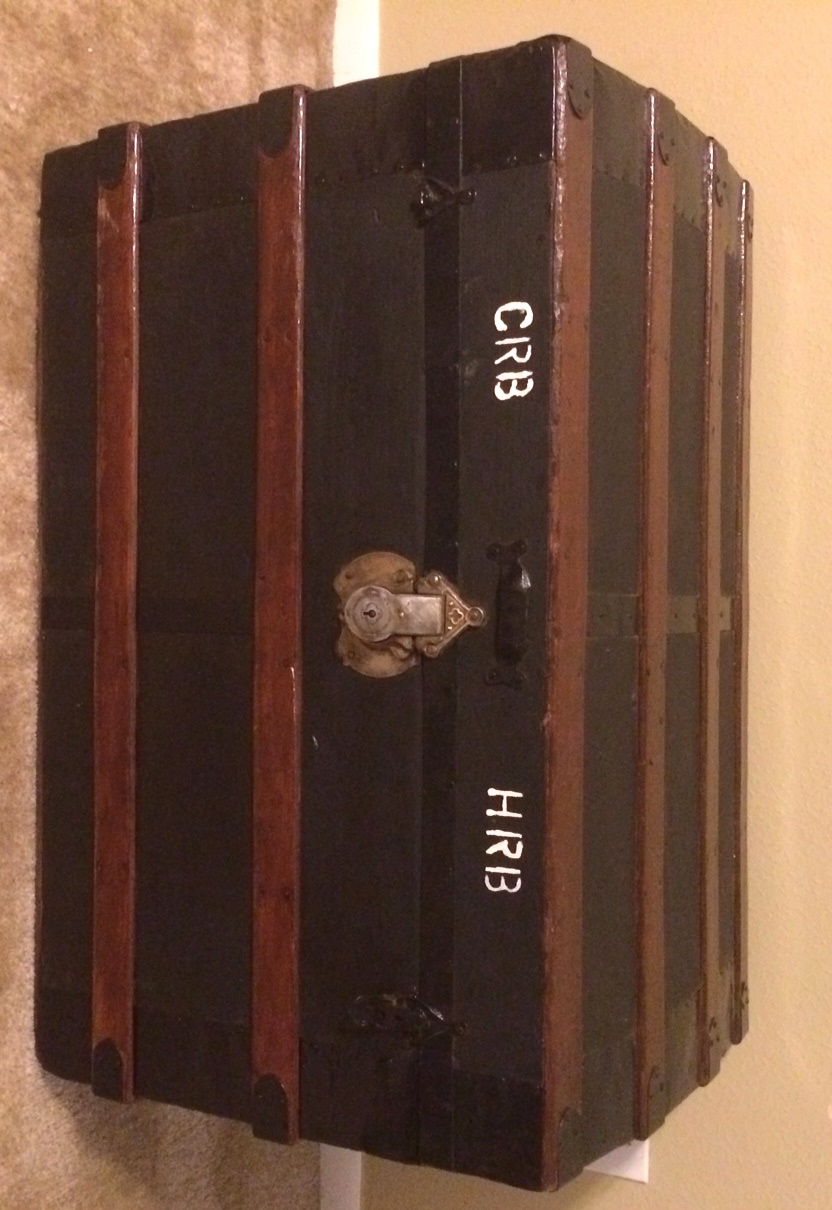
- After
One final touch I did was getting a stenciling kit and did the initials of me on one side and my husband on the other. I did not want it to appear perfect but like some old stamping. This piece was done to go in our bedroom to store extra blankets and bed linens. I’m really proud of how it came out. I definitely would like to do it again and maybe do something fun with chalk paint next time.