Are you ready for my scathing review of the Crumbs Bake Shop kit? Well here we go! Lol!
I was excited when I saw the Crumbs cupcake kit at my local Target a few months ago. I did do a little double take at the $10 price tag. Like, say whaaat? I thought “okay, so NO ONE is going to pay that price, I’ll wait till its got the red clearance sticker.” It never did get clearanced but they did lower the price point to $7.99. And since I wanted to make my son some cupcakes for his birthday before his big party he’ll have next weekend, I thought this was a good time to try it.
Now let me tell you, I am not a fan of boxed desserts. I think if you’re going to eat something high sugar, high fat, high calorie then at least let it be fresh and without all those preservatives. But some of them are not bad. It’s just I usually bake fresh. I do LOVE Crumbs Bake Shop. Every time I’m in NYC, I always take my kids there. Their cupcakes are seriously delicious and I’m glad to see after closing their doors that they’re reopening some of them again.
I went home to make it and realized very quickly that I was missing some ingredients. See, something important that’s missing…..oh that lovely little visual display of things you need to make this. So when I was in Target and looked, I just assumed it had all the basics which I already had in my kitchen. I do not, however, stock cream cheese unless I need it. So if you buy this, make sure to read through the first three things to check for items you may need.

So I had to get back in the car and go back for cream cheese. These instructions are no joke. I thought they were, frankly, ridiculous. I just feel like if I do buy a box kit, isn’t it supposed to be easy? Quick?
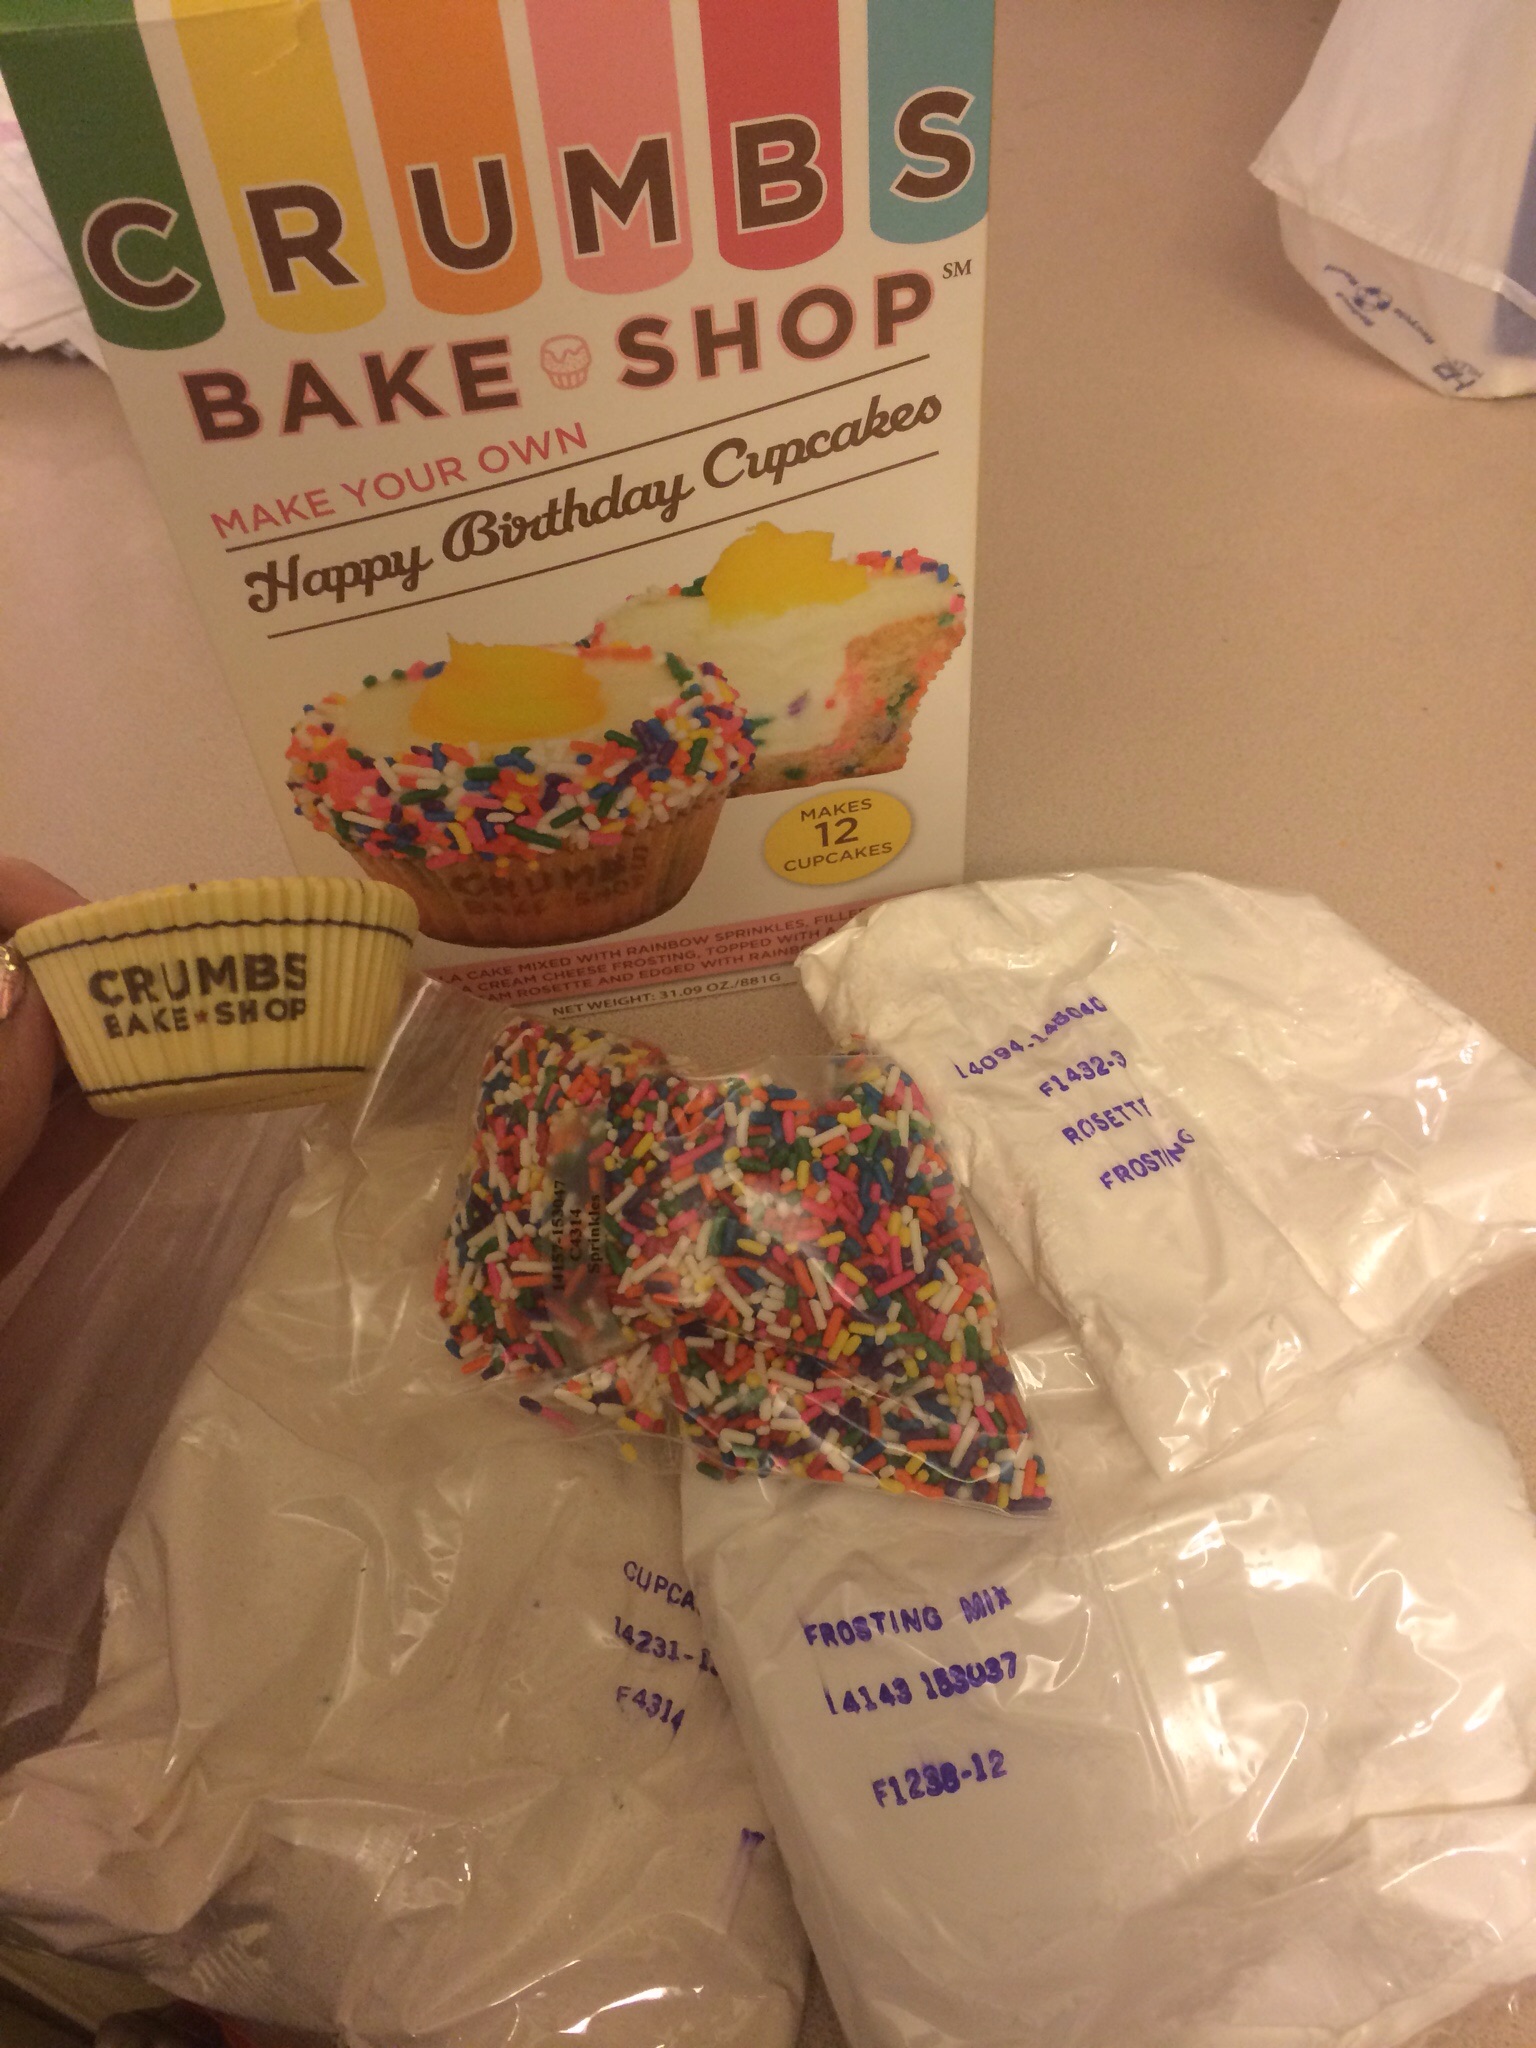
So this is everything that the kit includes.


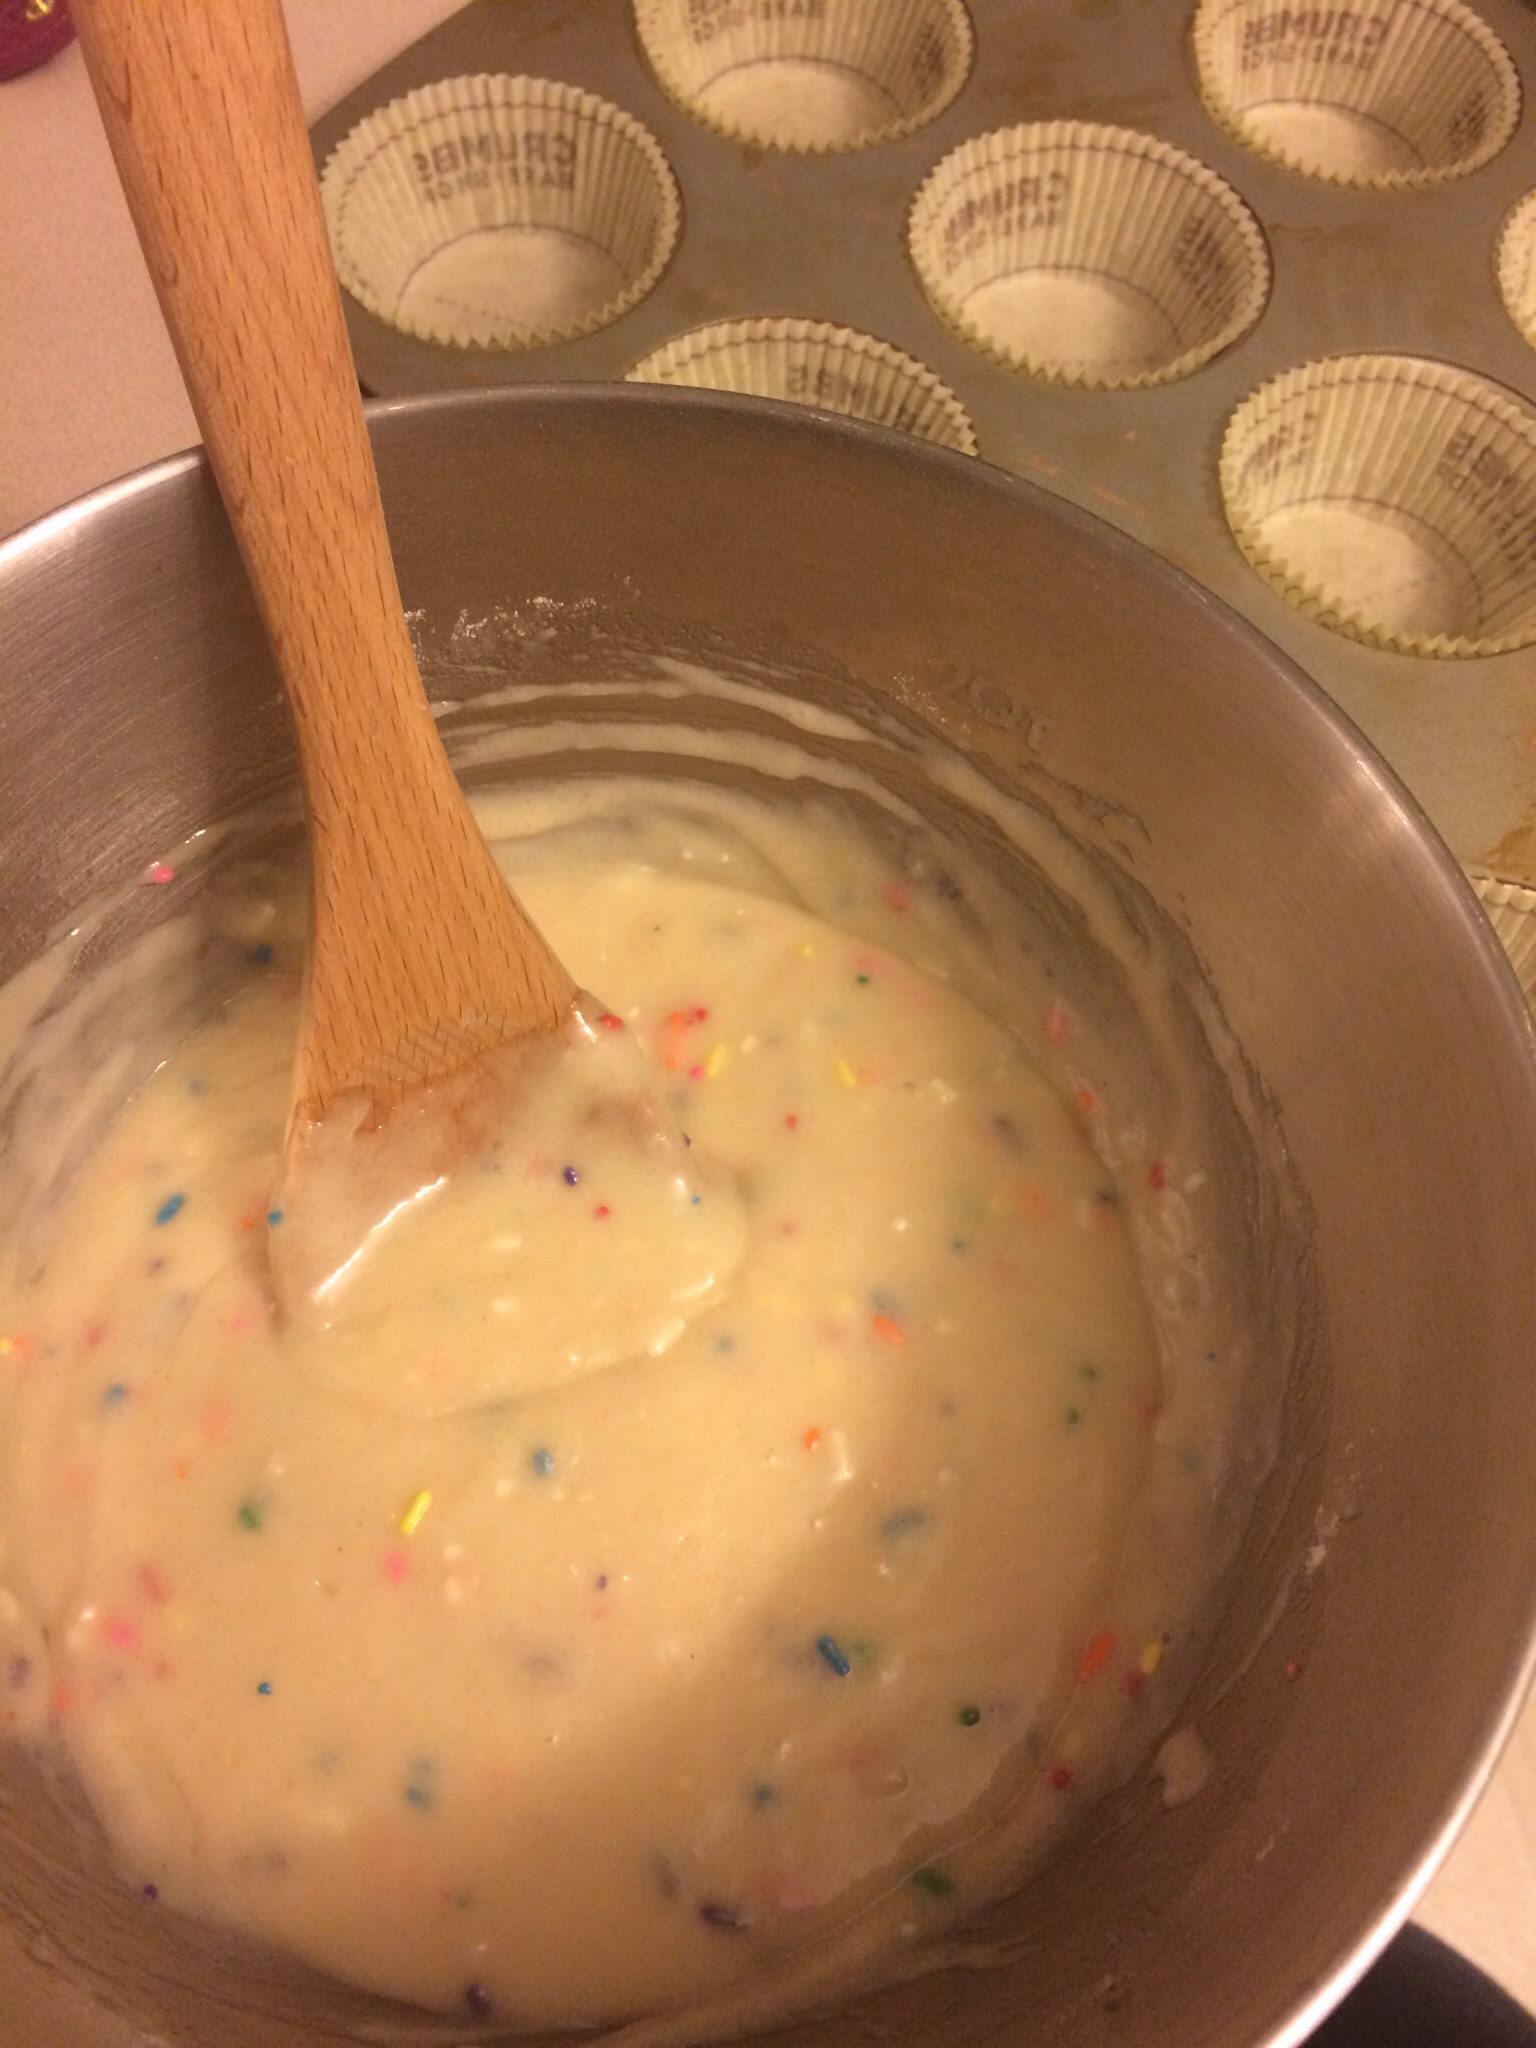
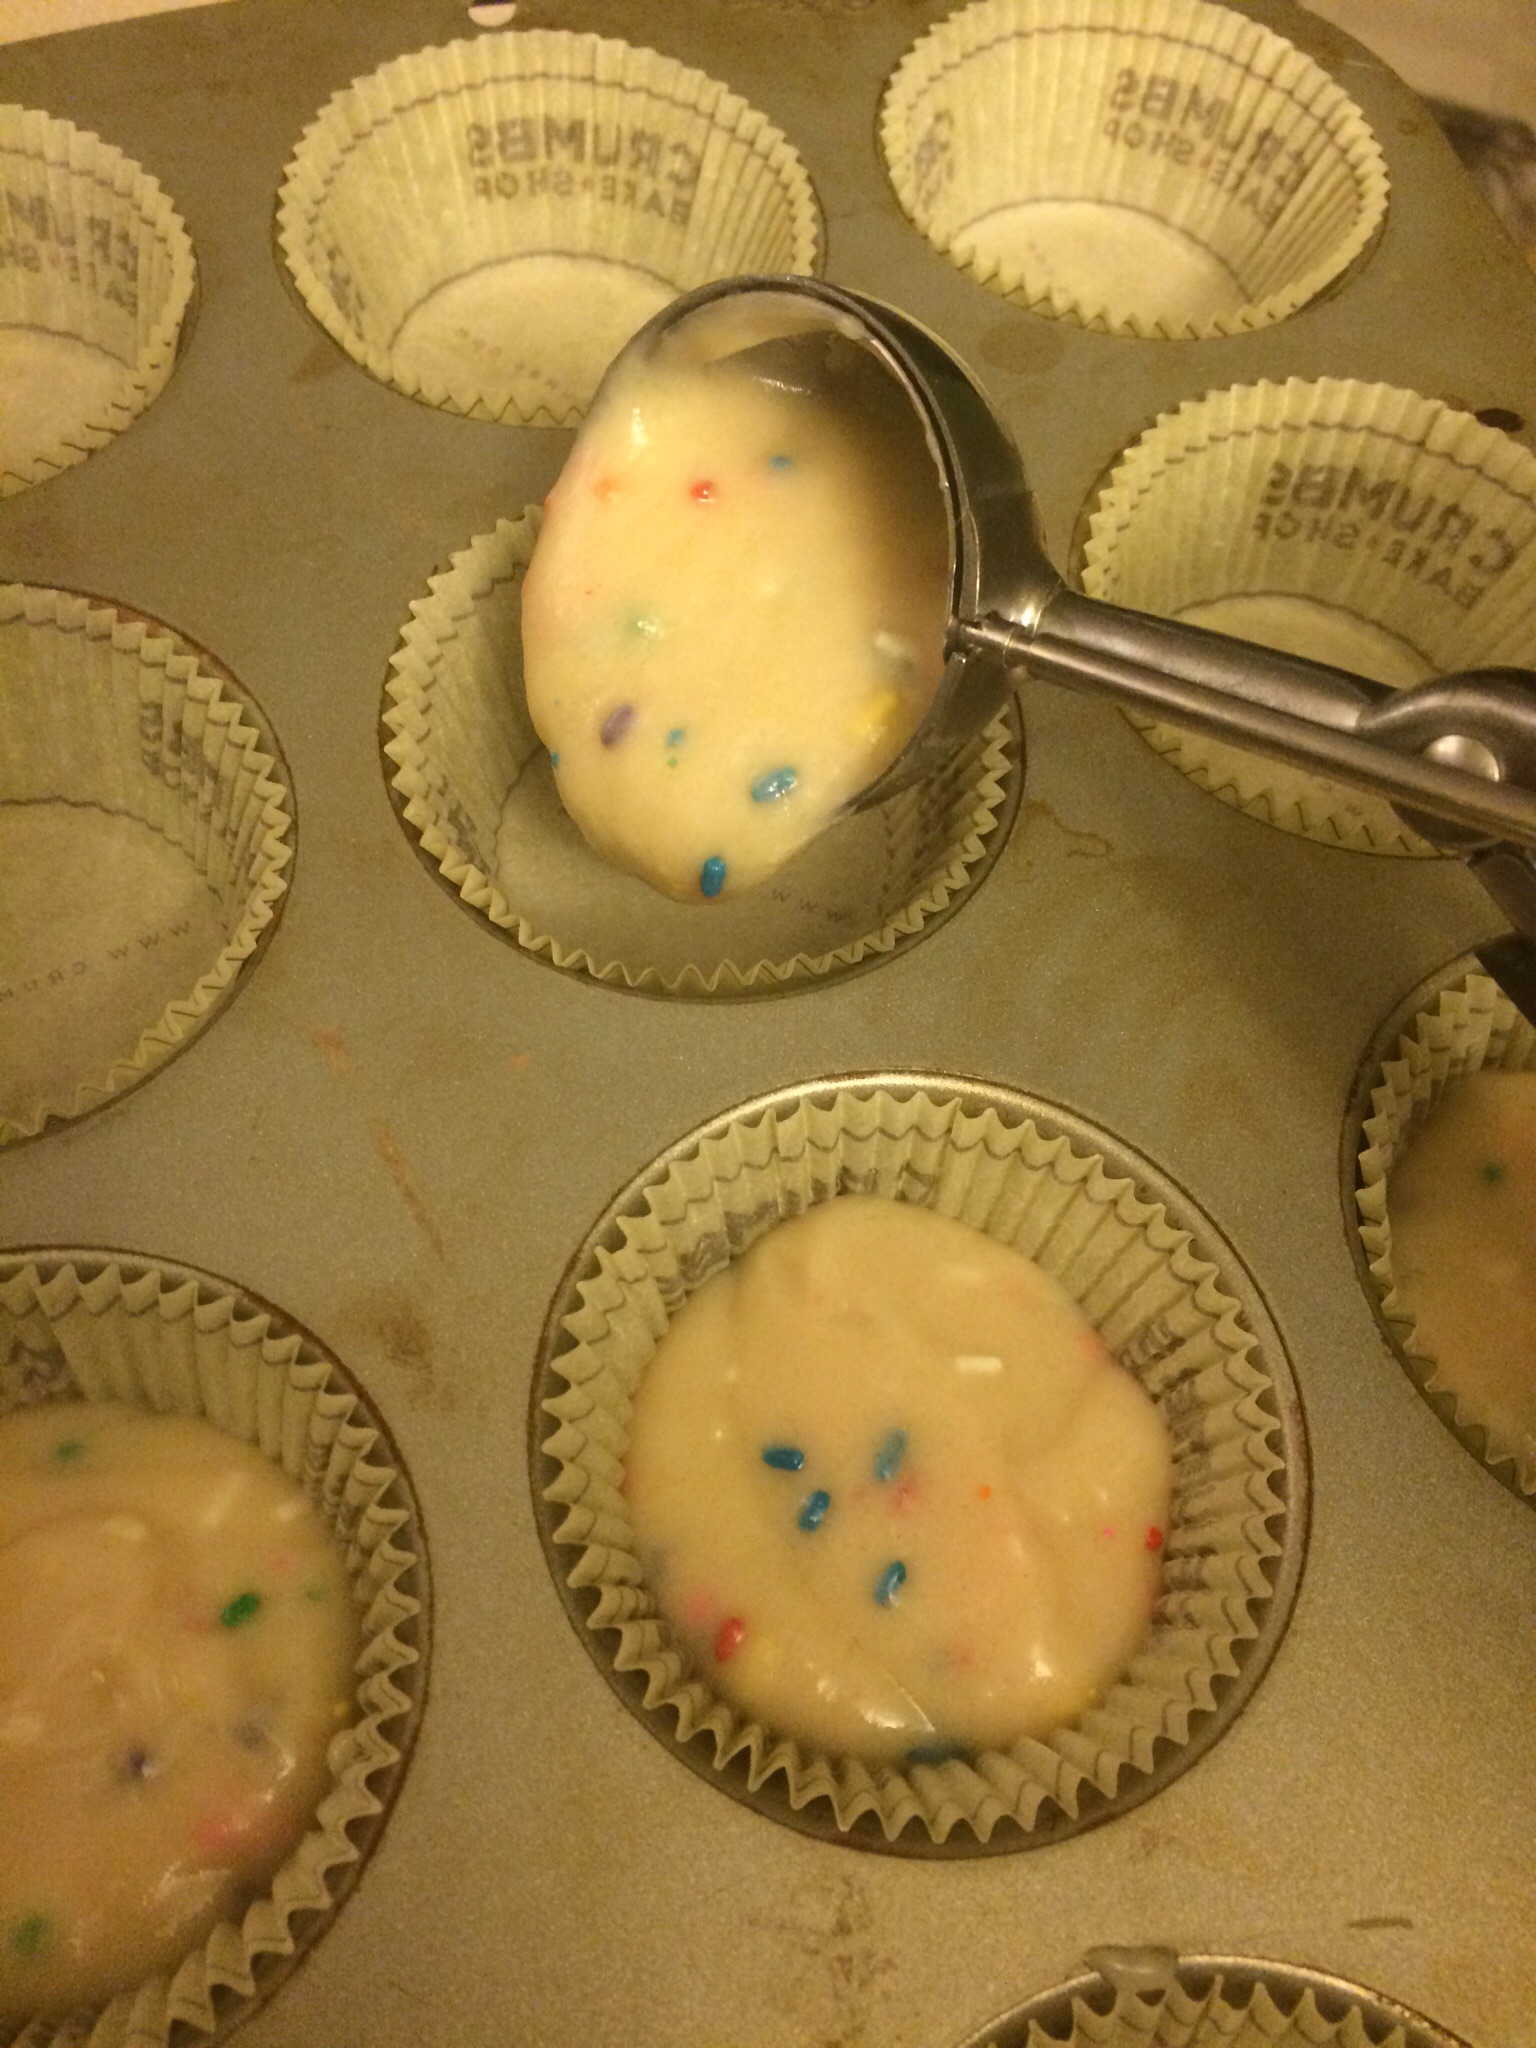
So I mixed Pouch 1 – main mix – and it had sprinkles already in the mix and it came together well. It had a weird color and consistency though…like pudding. And notice it doesn’t say “fill up to 1/3 or 1/2”, just to fill equally. So then I had some that had more by the end and I was trying to even it up. Which was a pain. I also think there’s too much oil that the recipe calls for because there’s not a lot of mix for 2/3 cup of oil. Which would explain a problem I had later on….


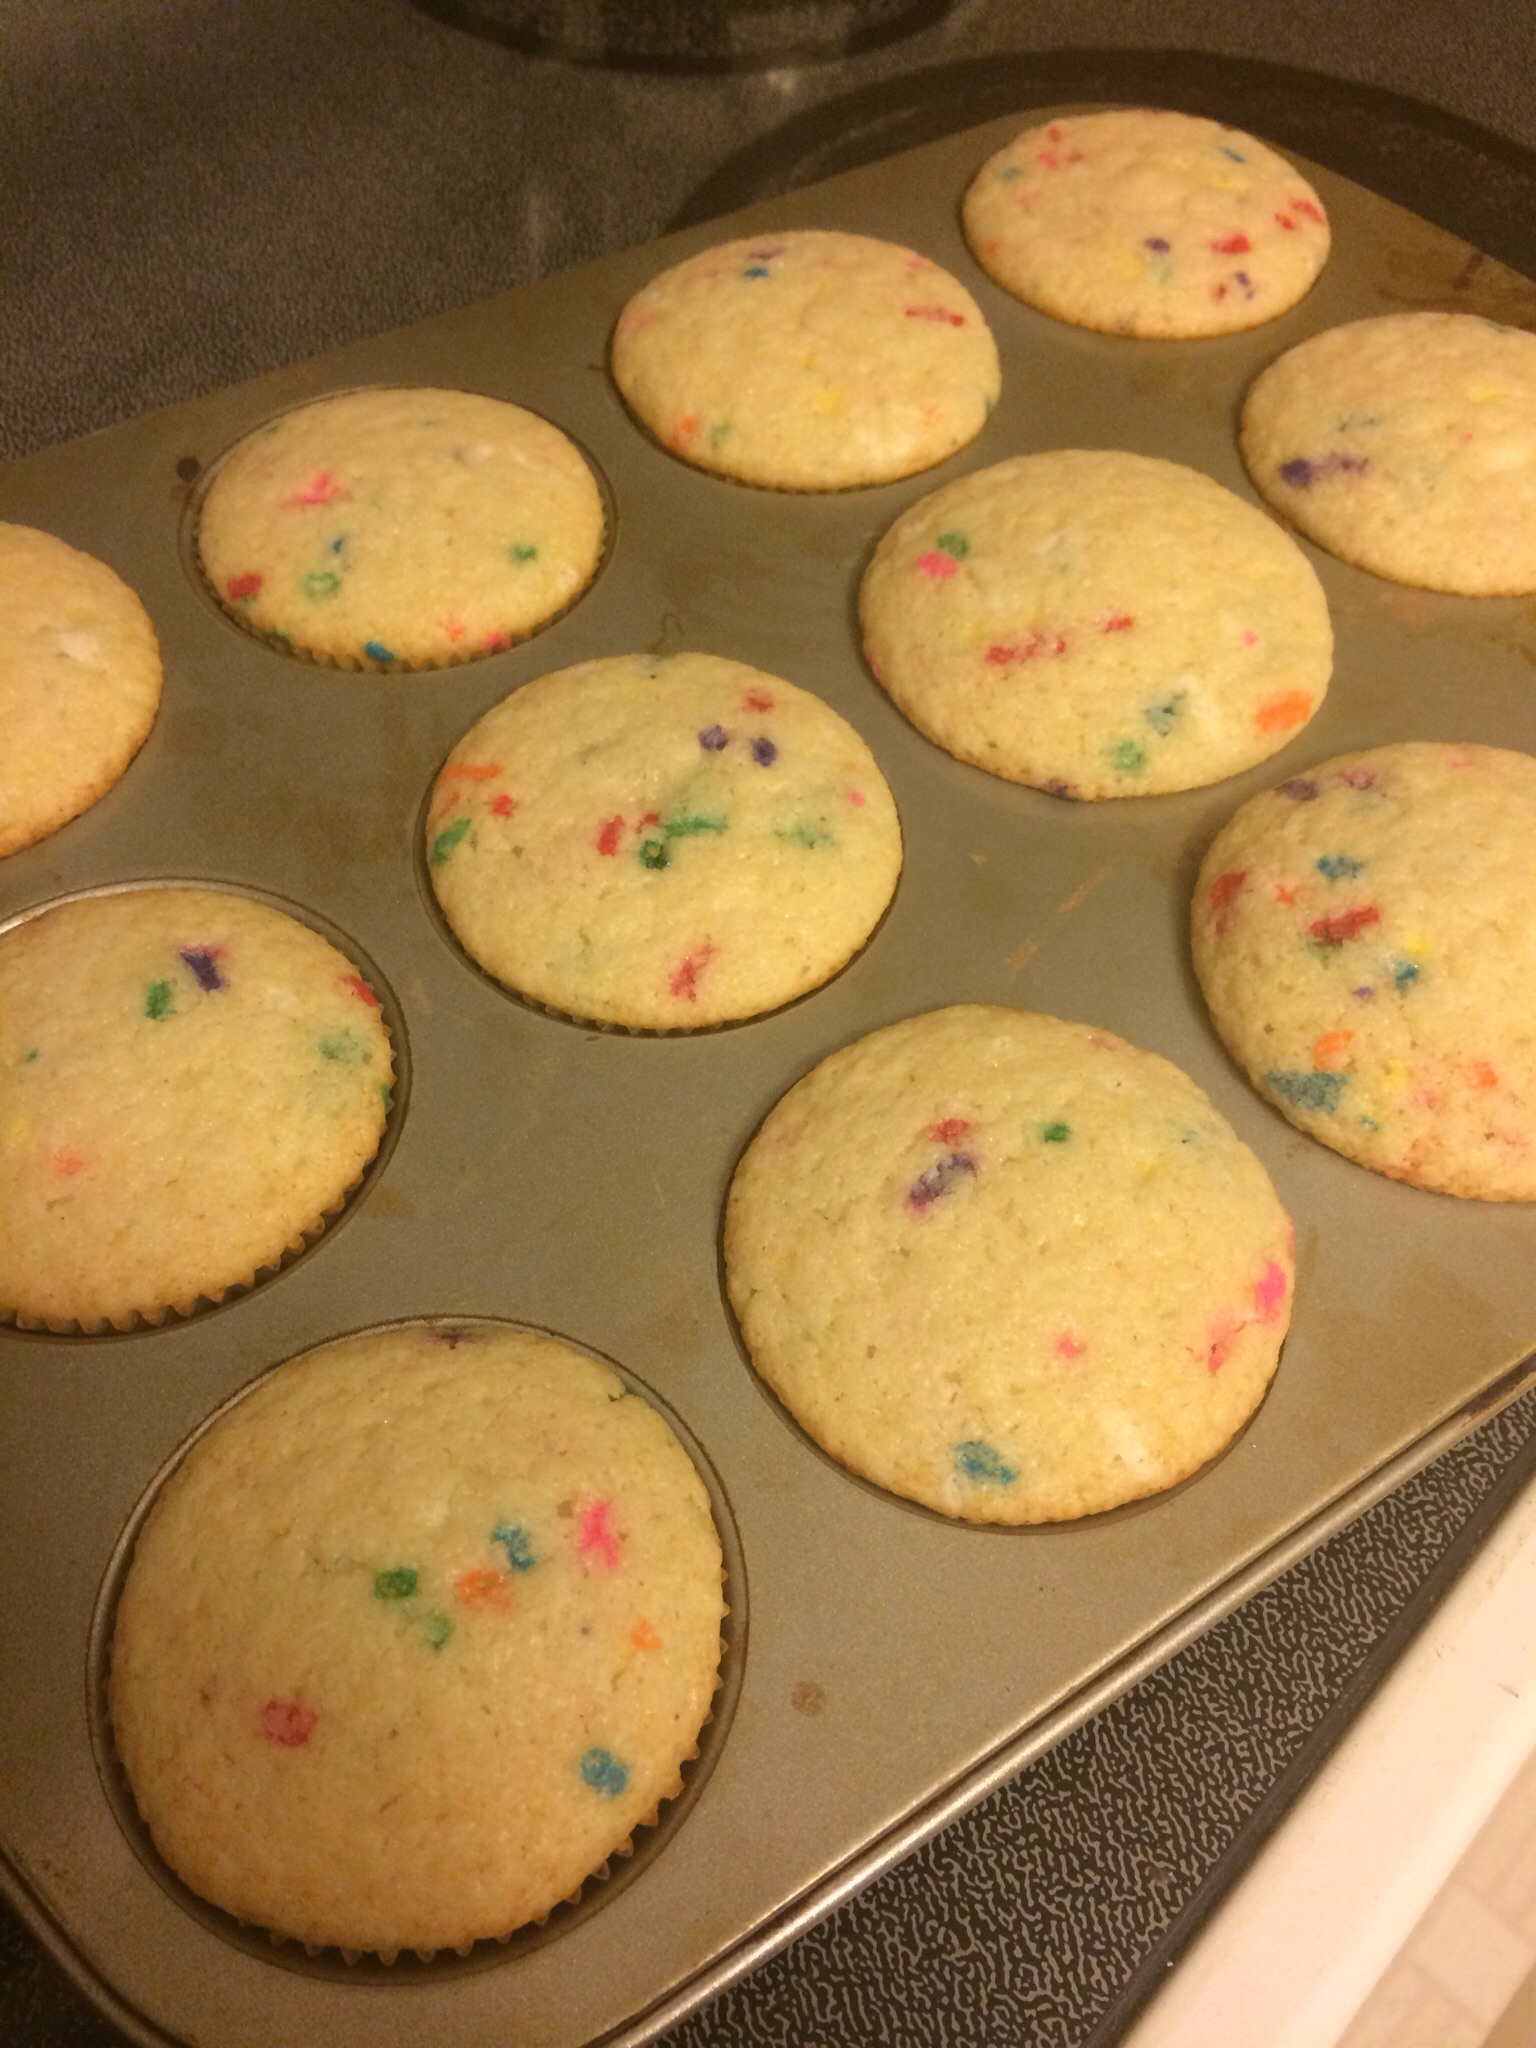
So the recipe calls to bake them for 17-18 minutes. I baked mine for 18 minutes and stuck the middle and it was clean. However, a couple had to be thrown away because while they cooled the middle collapsed in and felt squishy. So scrapped two at that point. I guess they needed longer. I would say at least 19 minutes, probably 20.
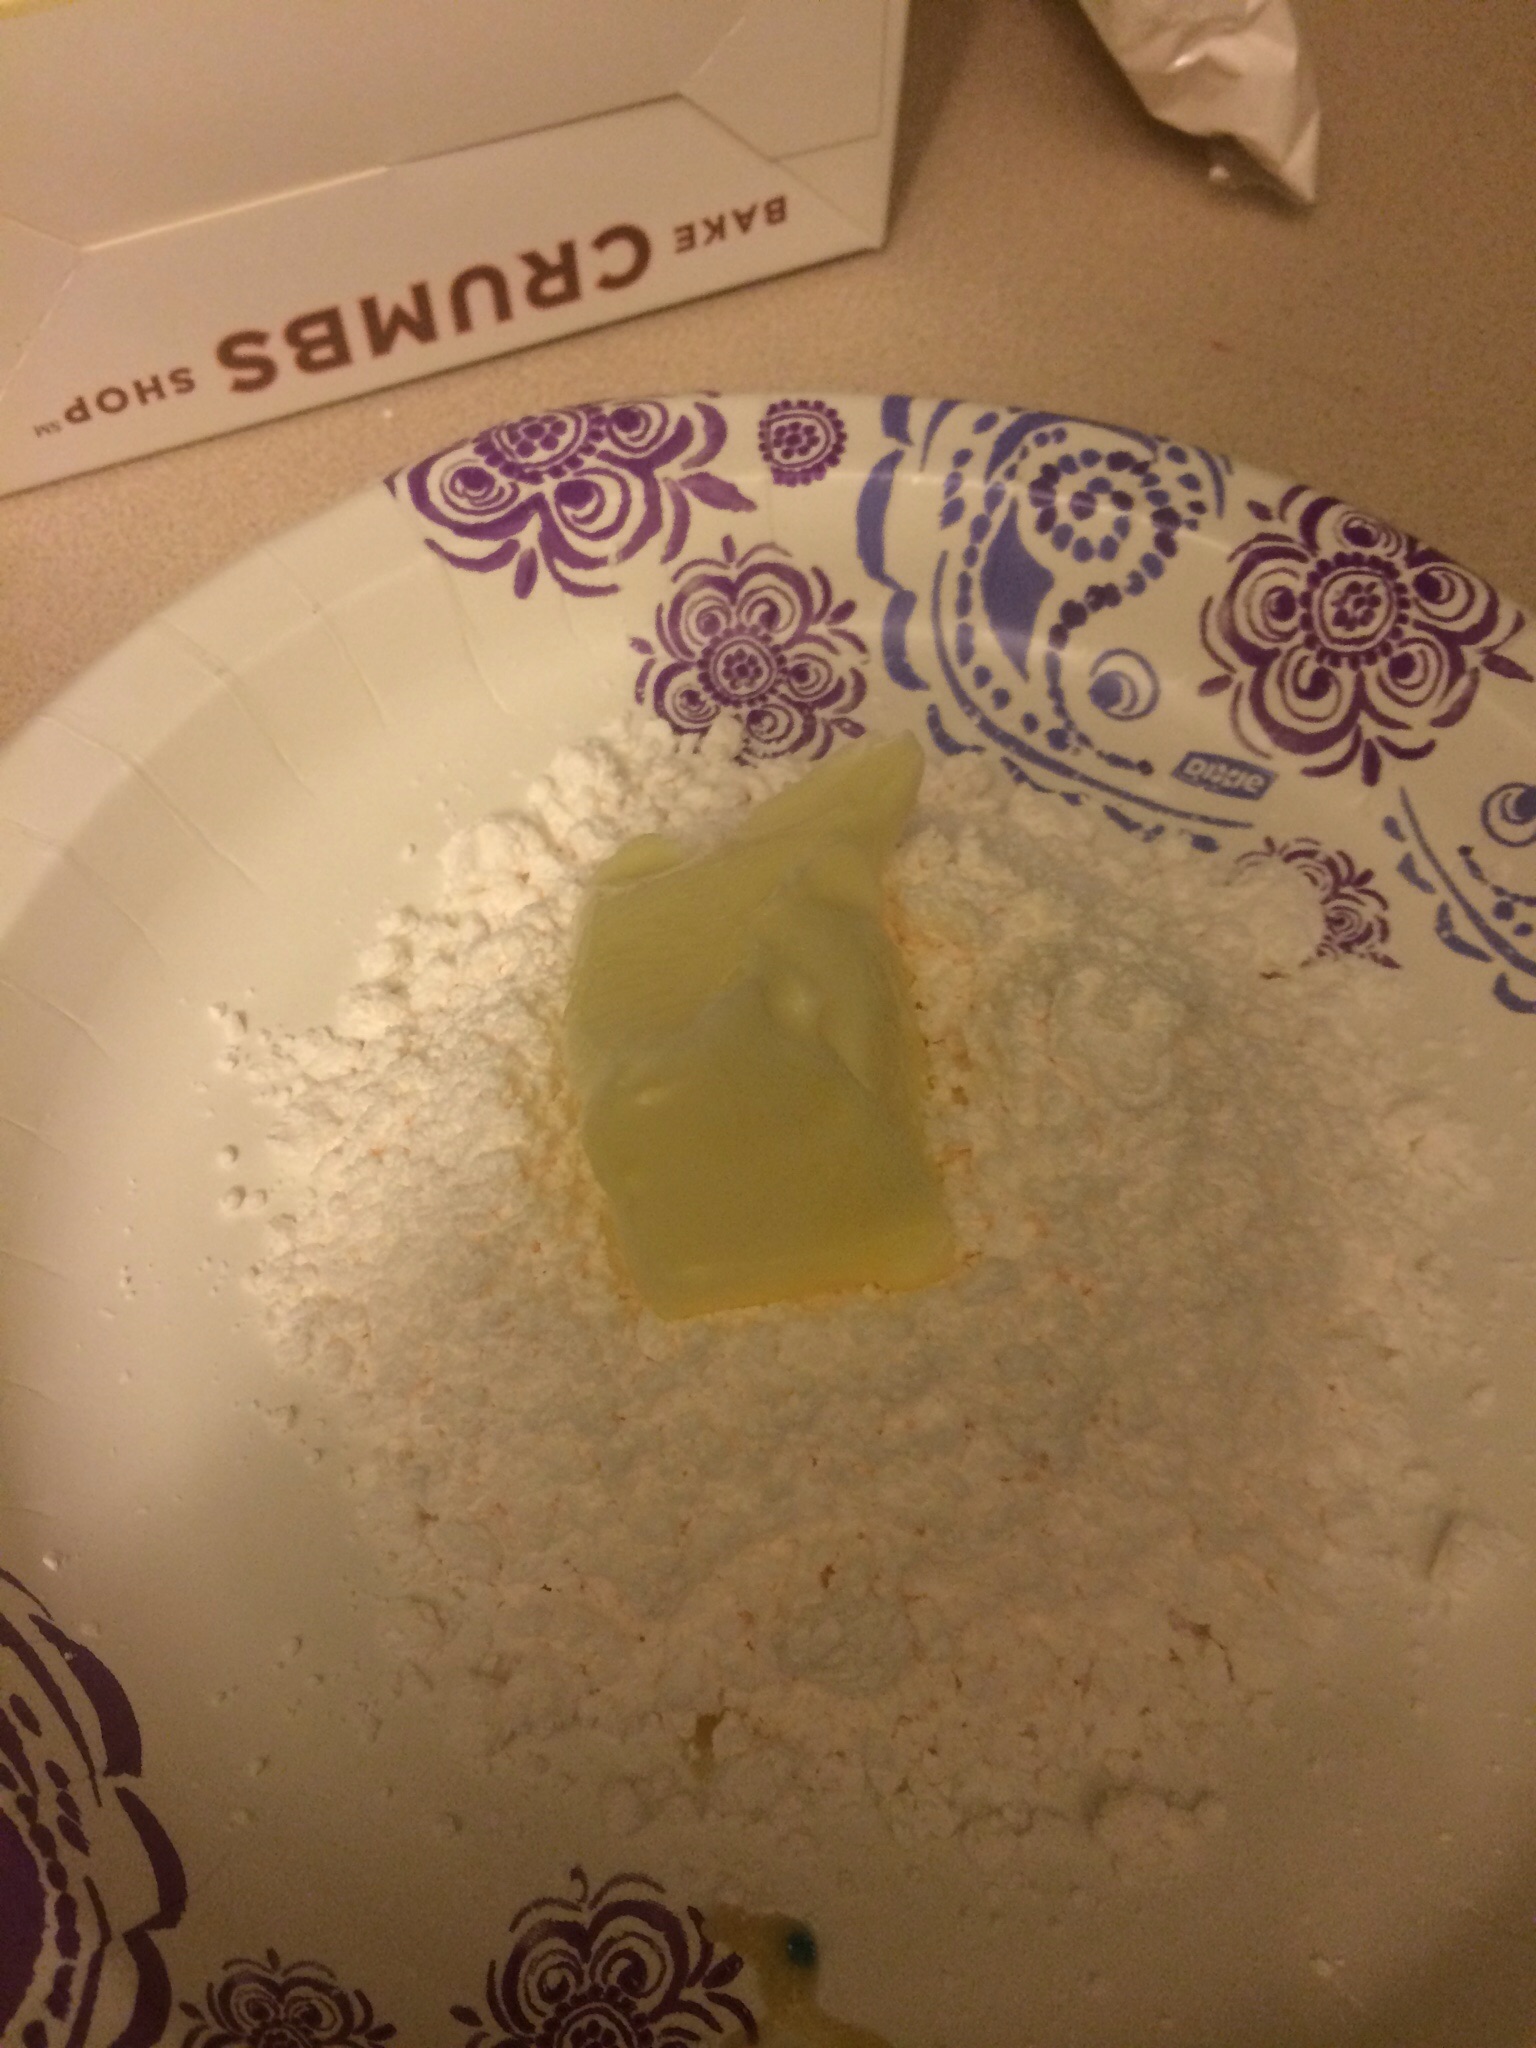
So next I made the first of two frostings. This is where I was annoyed. So the frosting mix is basically a bag of powdered sugar and you still have to cream butter and cream cheese. I wish I would have known that from the beginning. I’m starting to feel ripped off at this point in the process. I just spent $8 and then another $6 in butter and cream cheese. Why not just go to Crumbs and buy a damn cupcake?! Okay, I told you this was gonna be scathing. Lol!

So I’m mixing my frosting together with the sugar it comes with and I decided to taste it to make sure it’s ok. I don’t know what it is but it’s soooo sweet. Too sweet. Sickly sweet. I even added a little extra butter and it didn’t improve much. I have a recipe for the most amazing cream cheese frosting that I should have made but I wanted to follow through with this nightmare and see it through. Lol
Until I got to the point where it said I had to scoop out the middle of the cupcake to put frosting in the middle. Look, the frosting is gross, so I don’t think I wanna add more into the center so I skipped that. Sorry!

The instructions were not really clear on HOW to get that icing shape. So I ended up just winging it. I slathered it on the top and rolled the sides in a plate of sprinkles and that worked really easy. In fact, I would definitely do cupcakes like that again because it worked well.
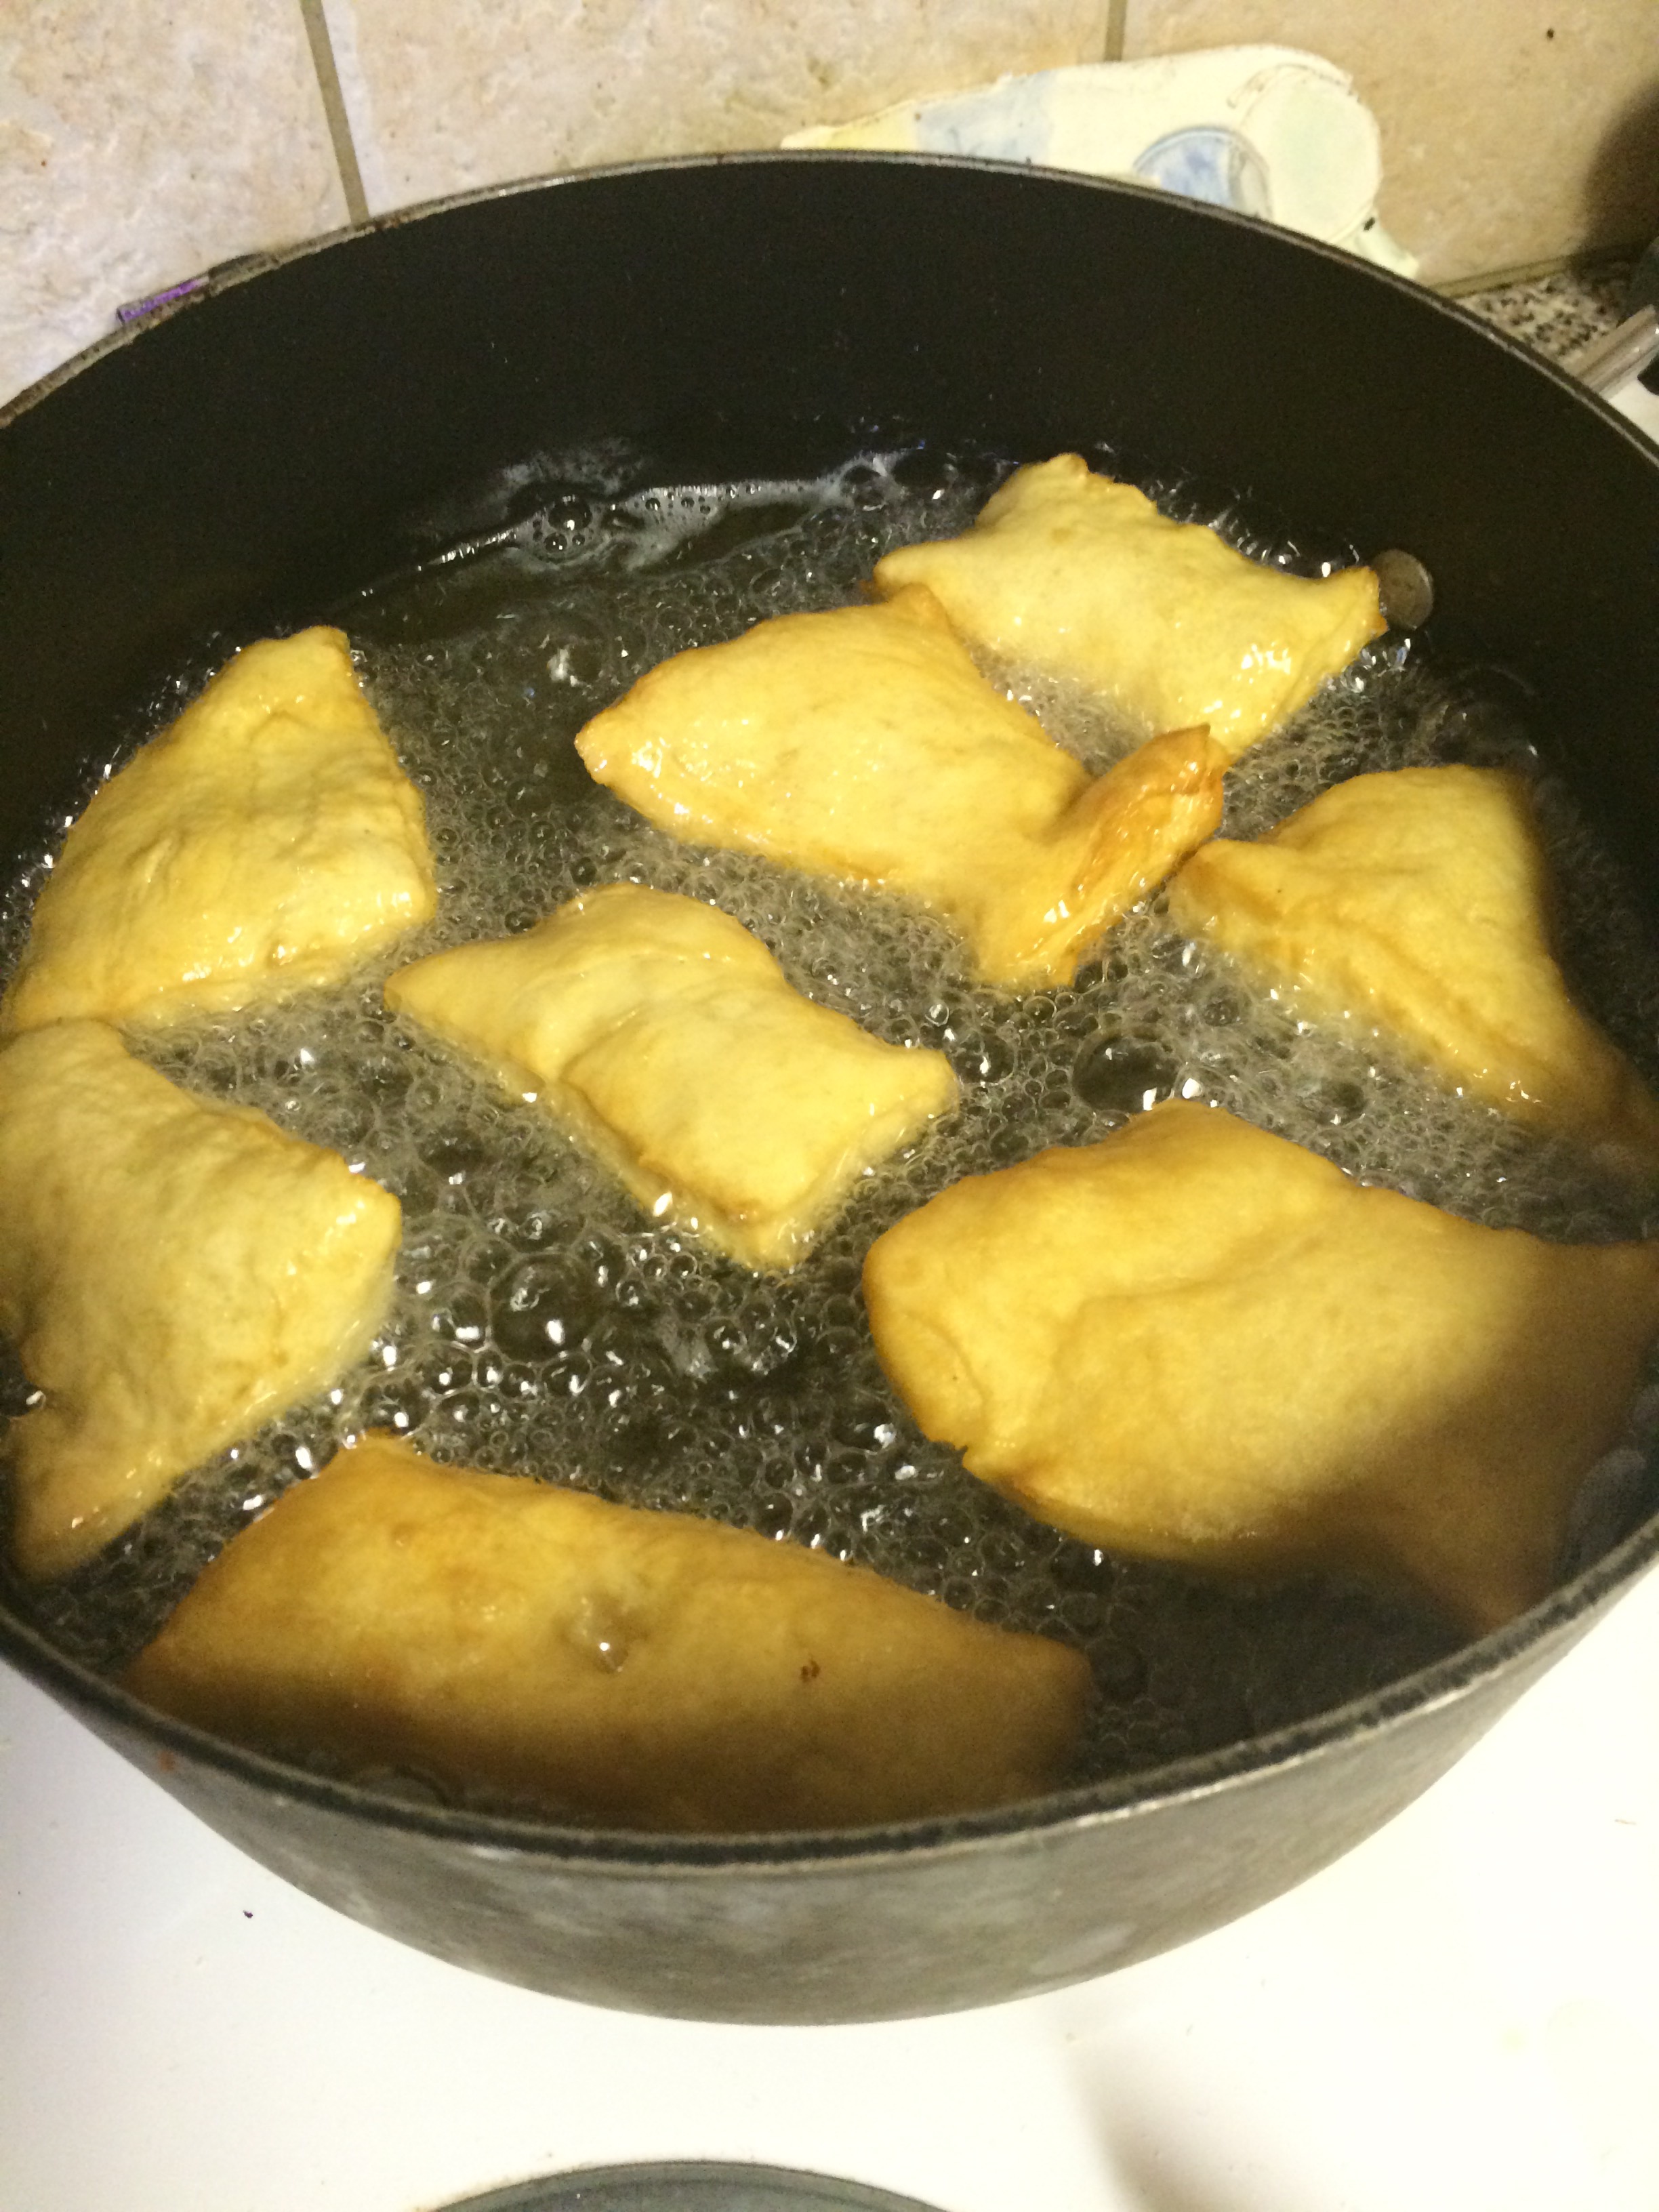
But….here’s where the too much oil in the recipe came to play. My cupcakes started coming out of their liners just at the simplest of touches, worse when I had to frost them and apply sprinkles. I was practically holding it together to get those sprinkles on. All of their liners looked like this from the time I took them out of the muffin pan.

Now, the second frosting packet. This is like the never ending cupcake recipe. So you have a second frosting bag that you’re supposed to mix with more butter and cream together. It was very firm and hard to mix, and once it starts mixing it reacts and turns yellow to create the rosette. In general, it stays a pretty stiff frosting.

They include a pastry bag and say you apply the “rosettes” but frankly it’s just a little squeeze of some yellow frosting in the center. And the frosting is worse than the first in taste and texture.
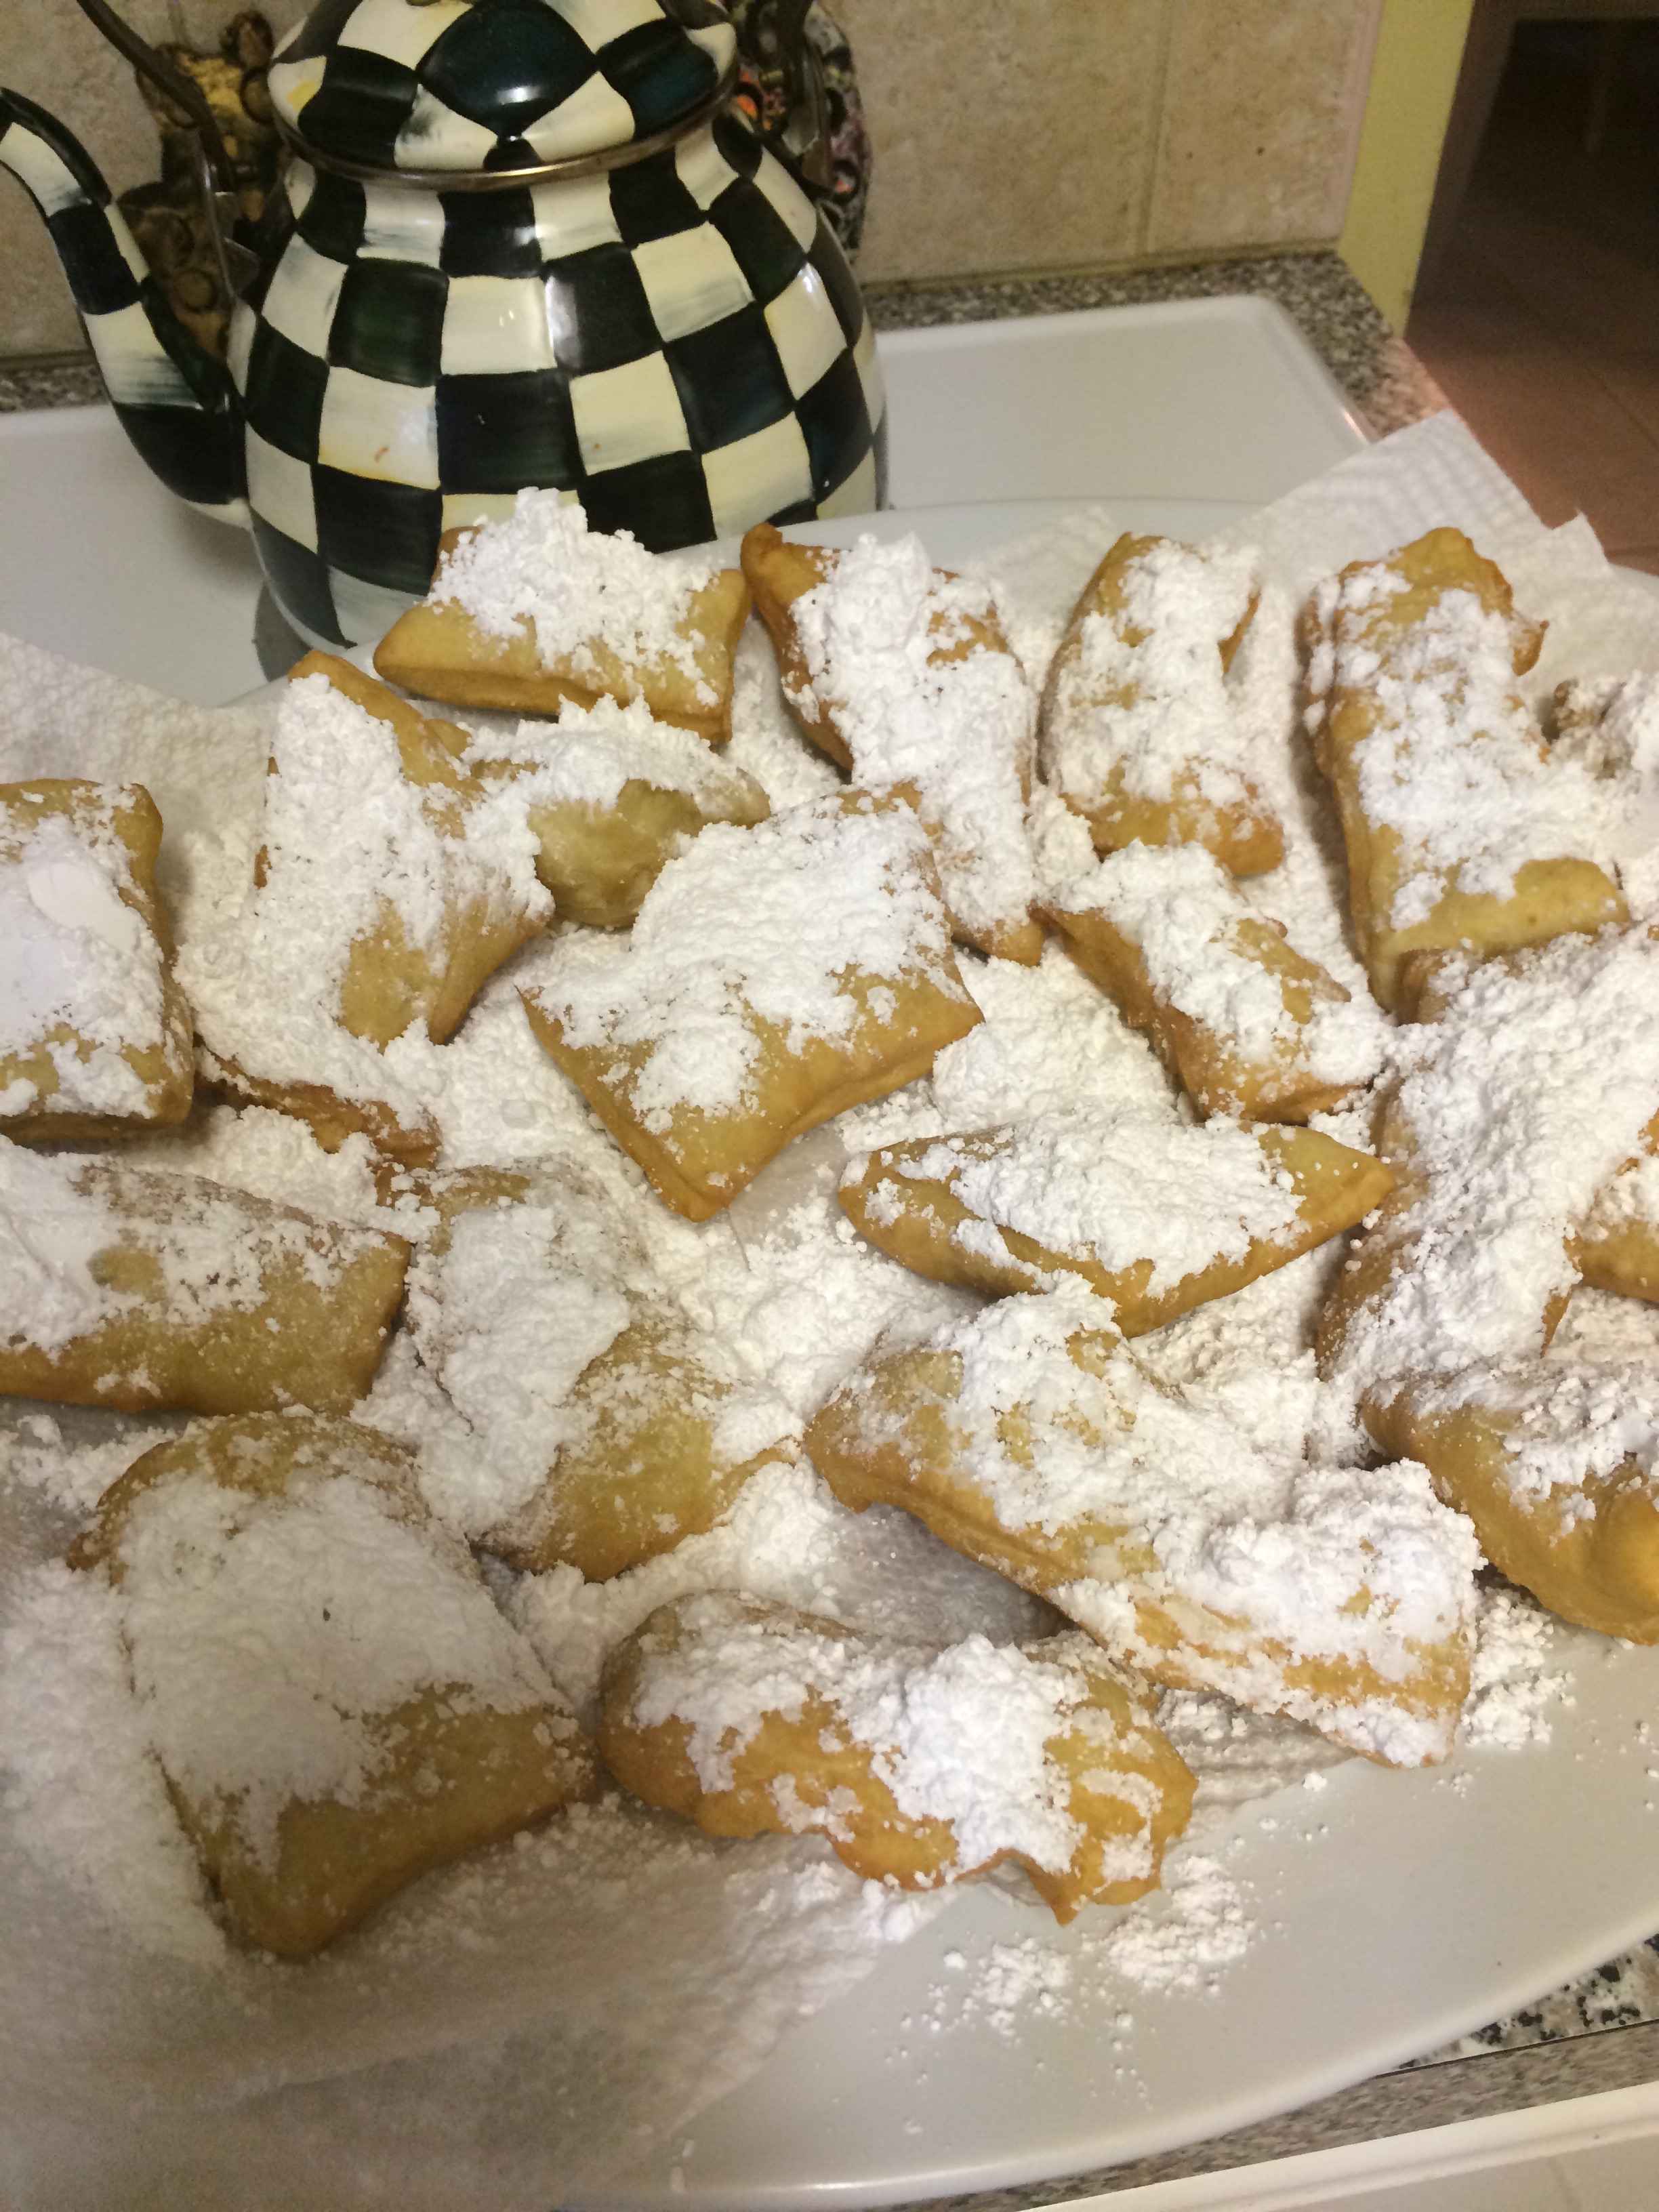
So here is the final product.
Presentation: Not Bad…the cupcake liners are very cute and very iconic to Crumbs.
Time: Took me 1.5-2 hours to make these, not including the going to the store for more things.
Price: Horrible, especially considering all the butter and cream cheese on top of the high price.
Solution: Go to a good bakery and spend a little more. Take it home, sit down, put your feet up and have a glass of wine! But if you like the boxed sets and want the look of these, just get a box of the Funfetti that sells for like $1.20 and a tub of frosting and sprinkles. Total of that would be $5 and I bet it would be less stressful than this and you’d achieve a very similar look.
Happy Baking y’all! 🙂

 Ingredients:
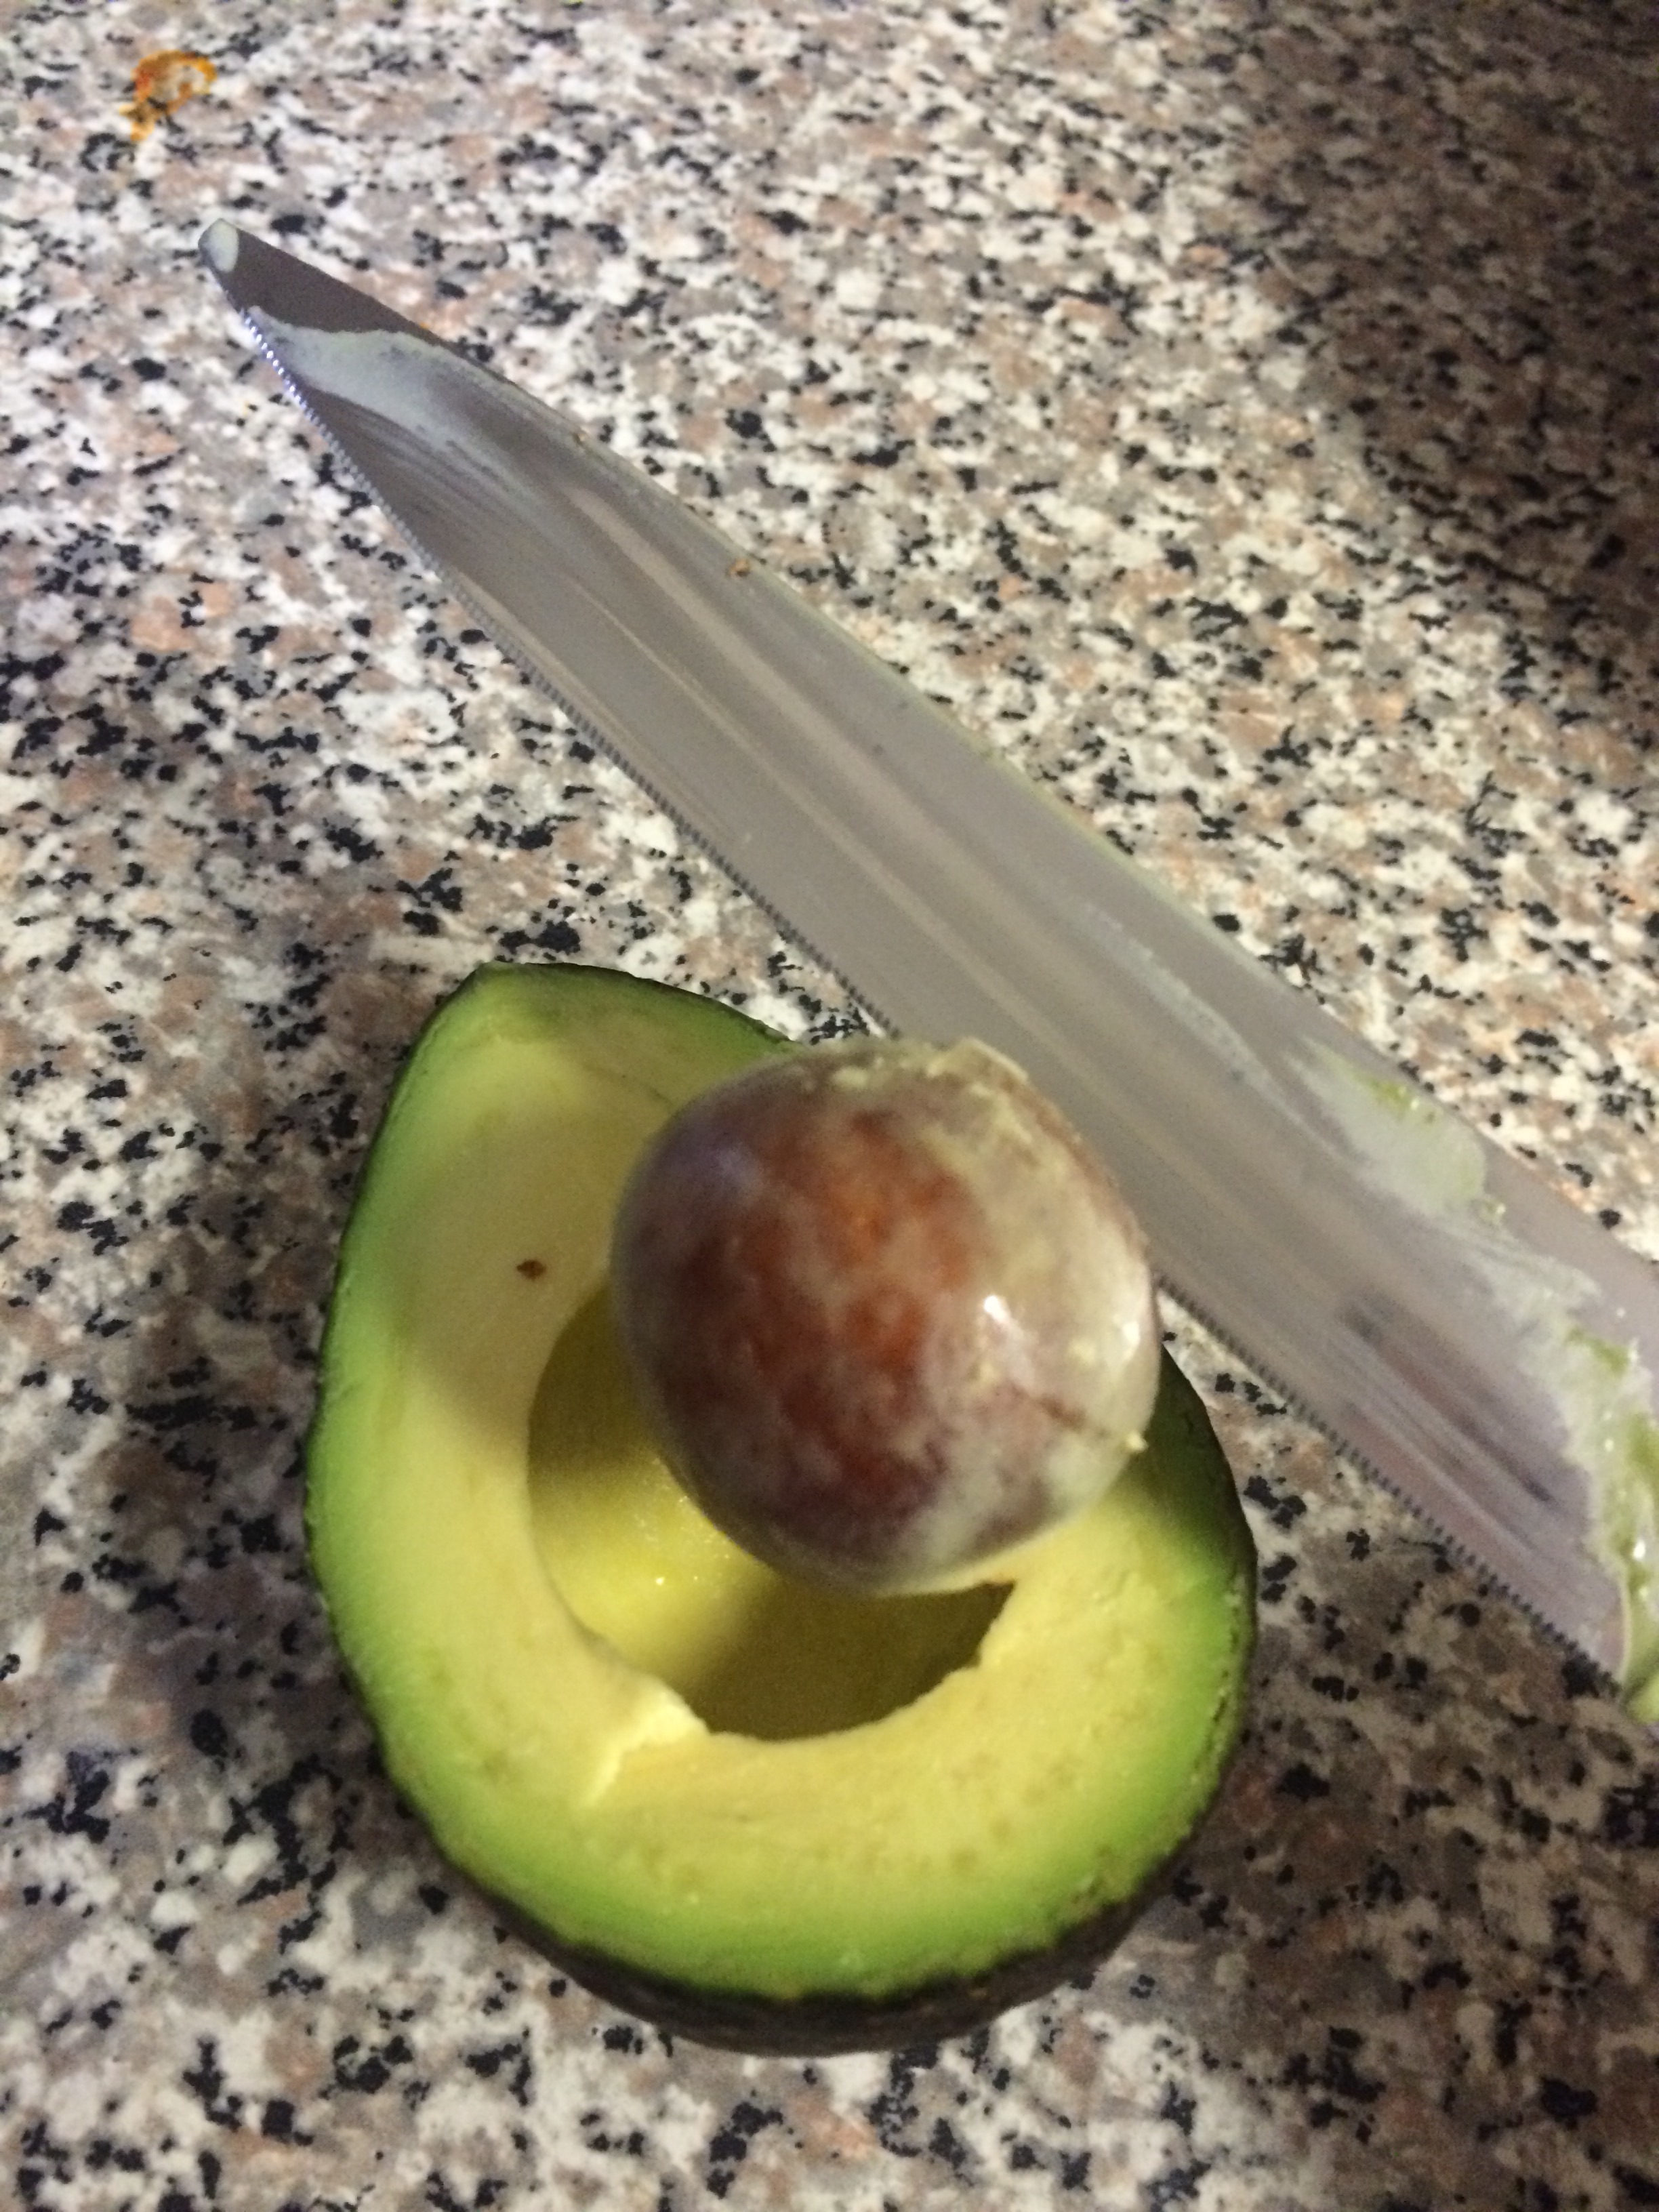 Score the avocado like a grid and spoon out into a bowl.
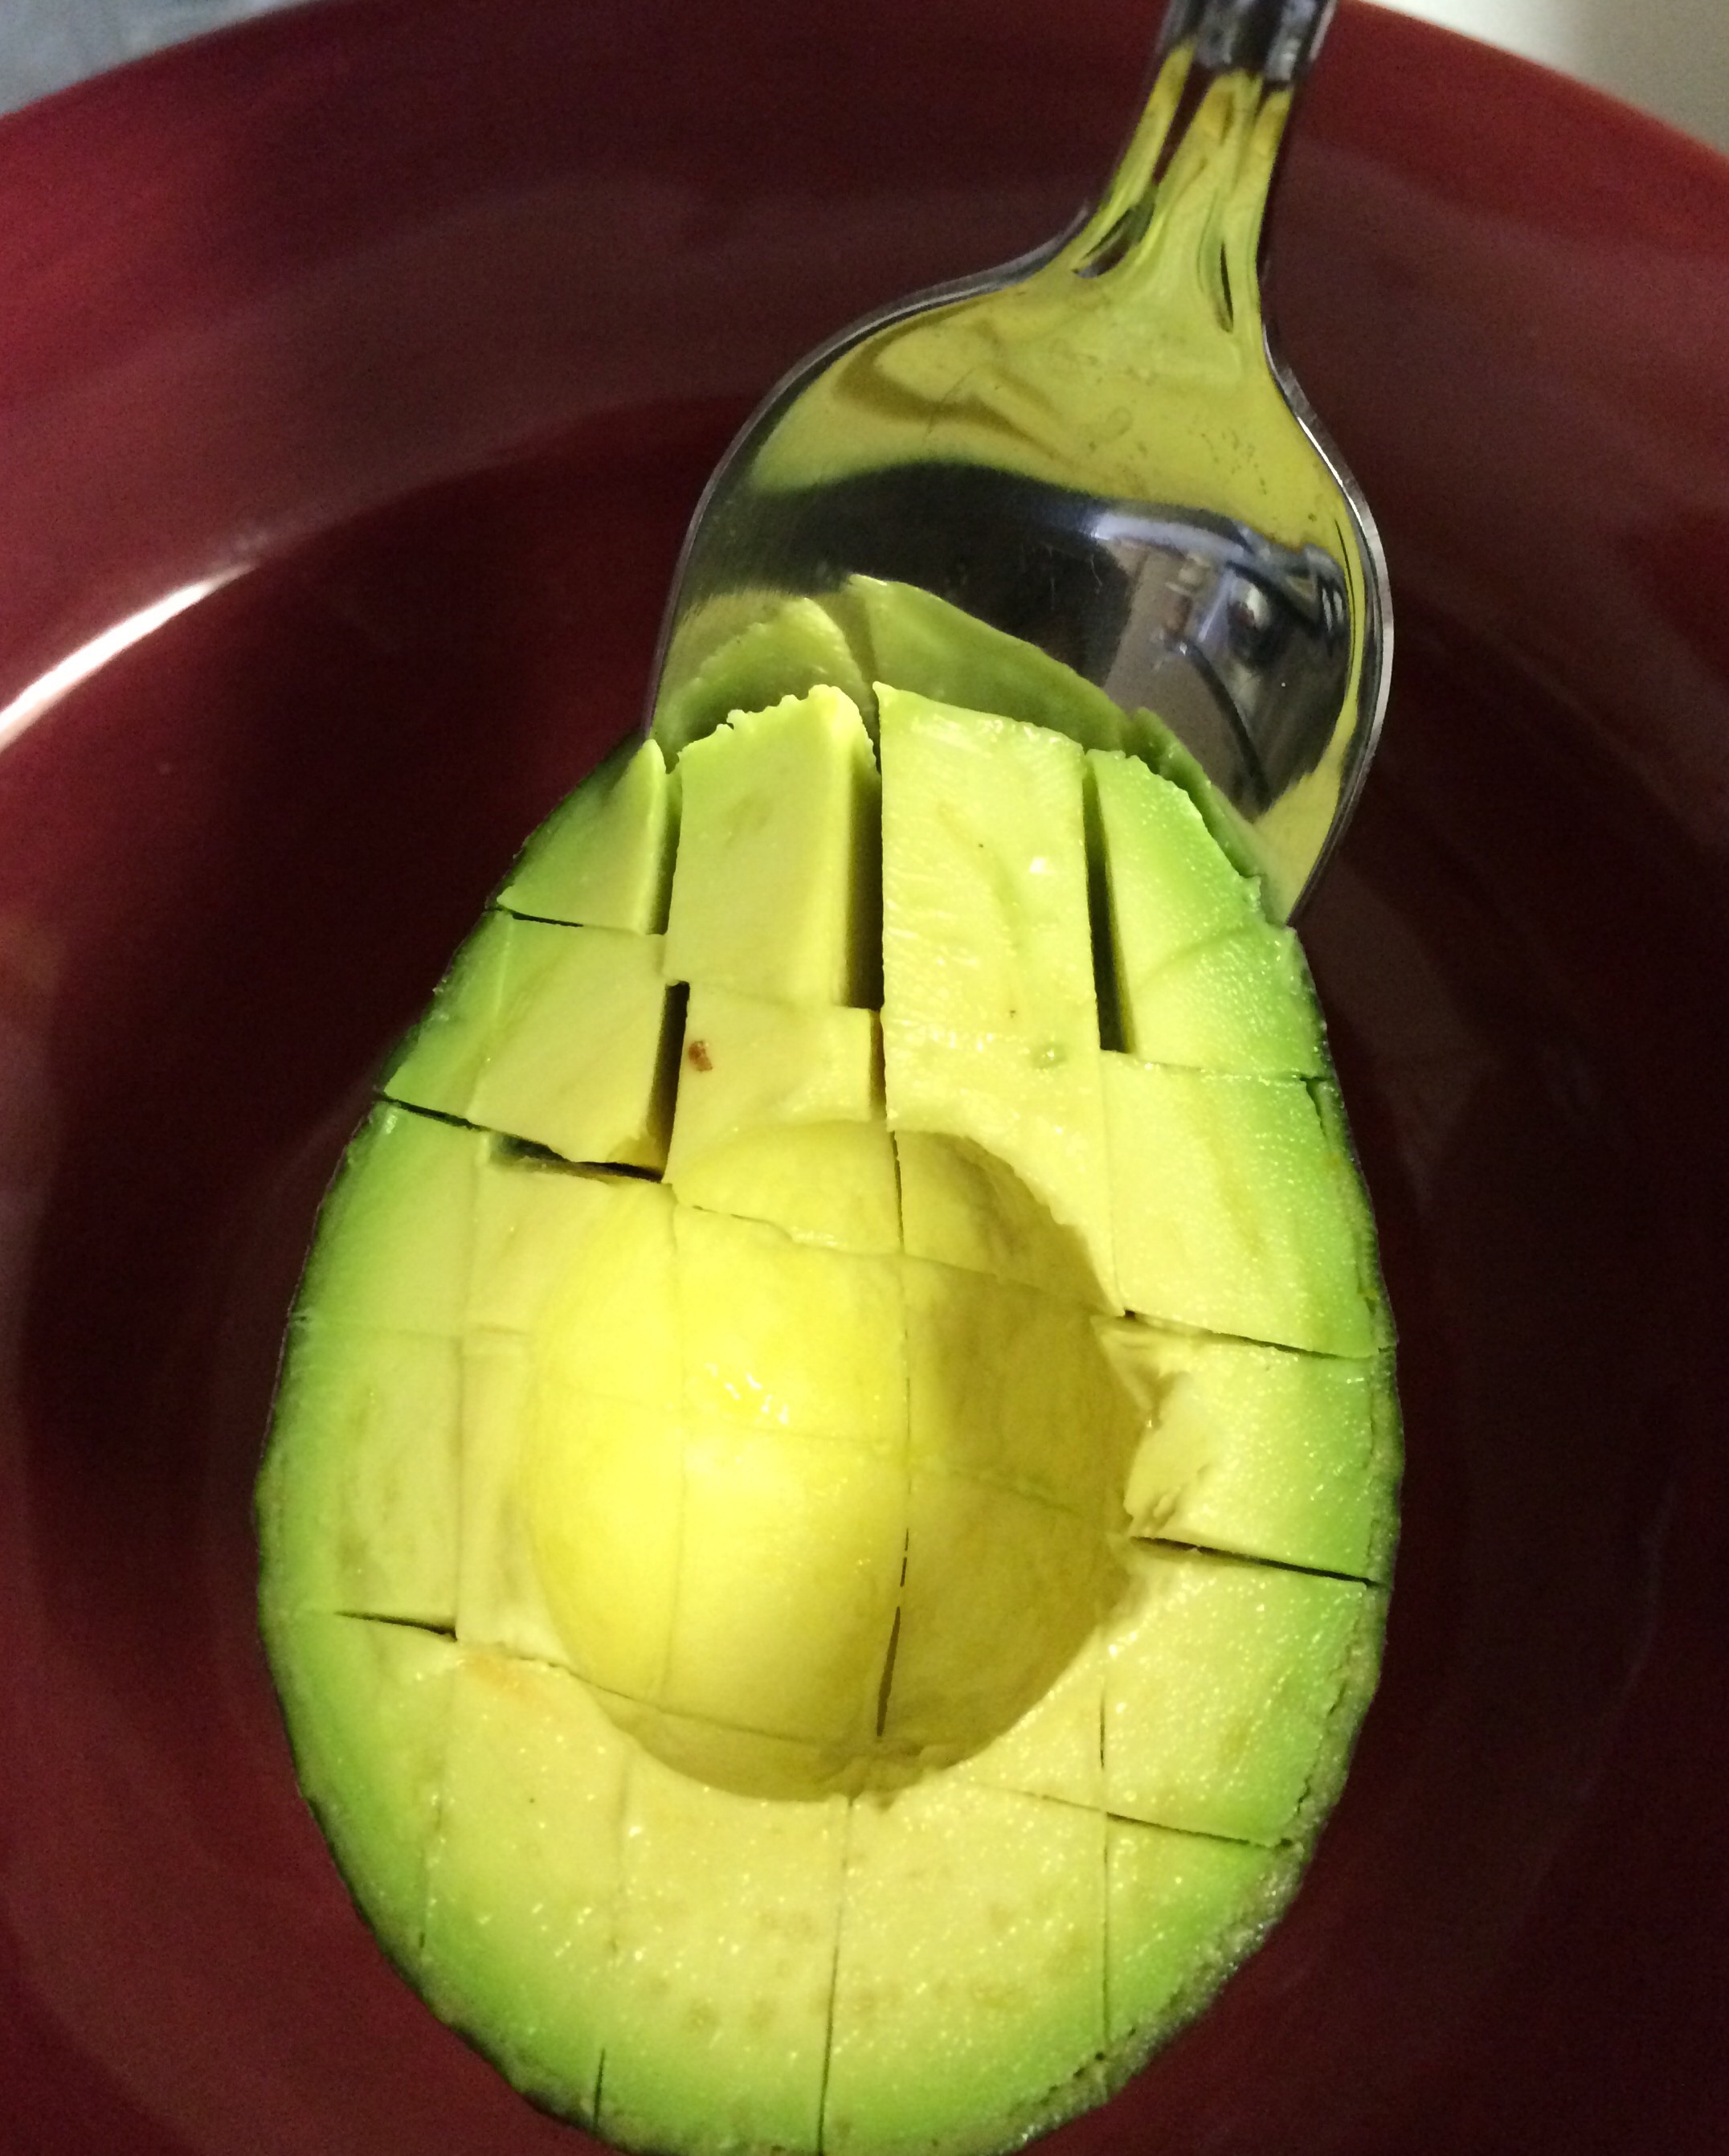 You want this to be chunky so you’re not going to mash too much. So just take the back of a spoon and push a little and mix.
 Now chop up a roma tomato into small pieces. You’ll only need about half of a roma tomato.
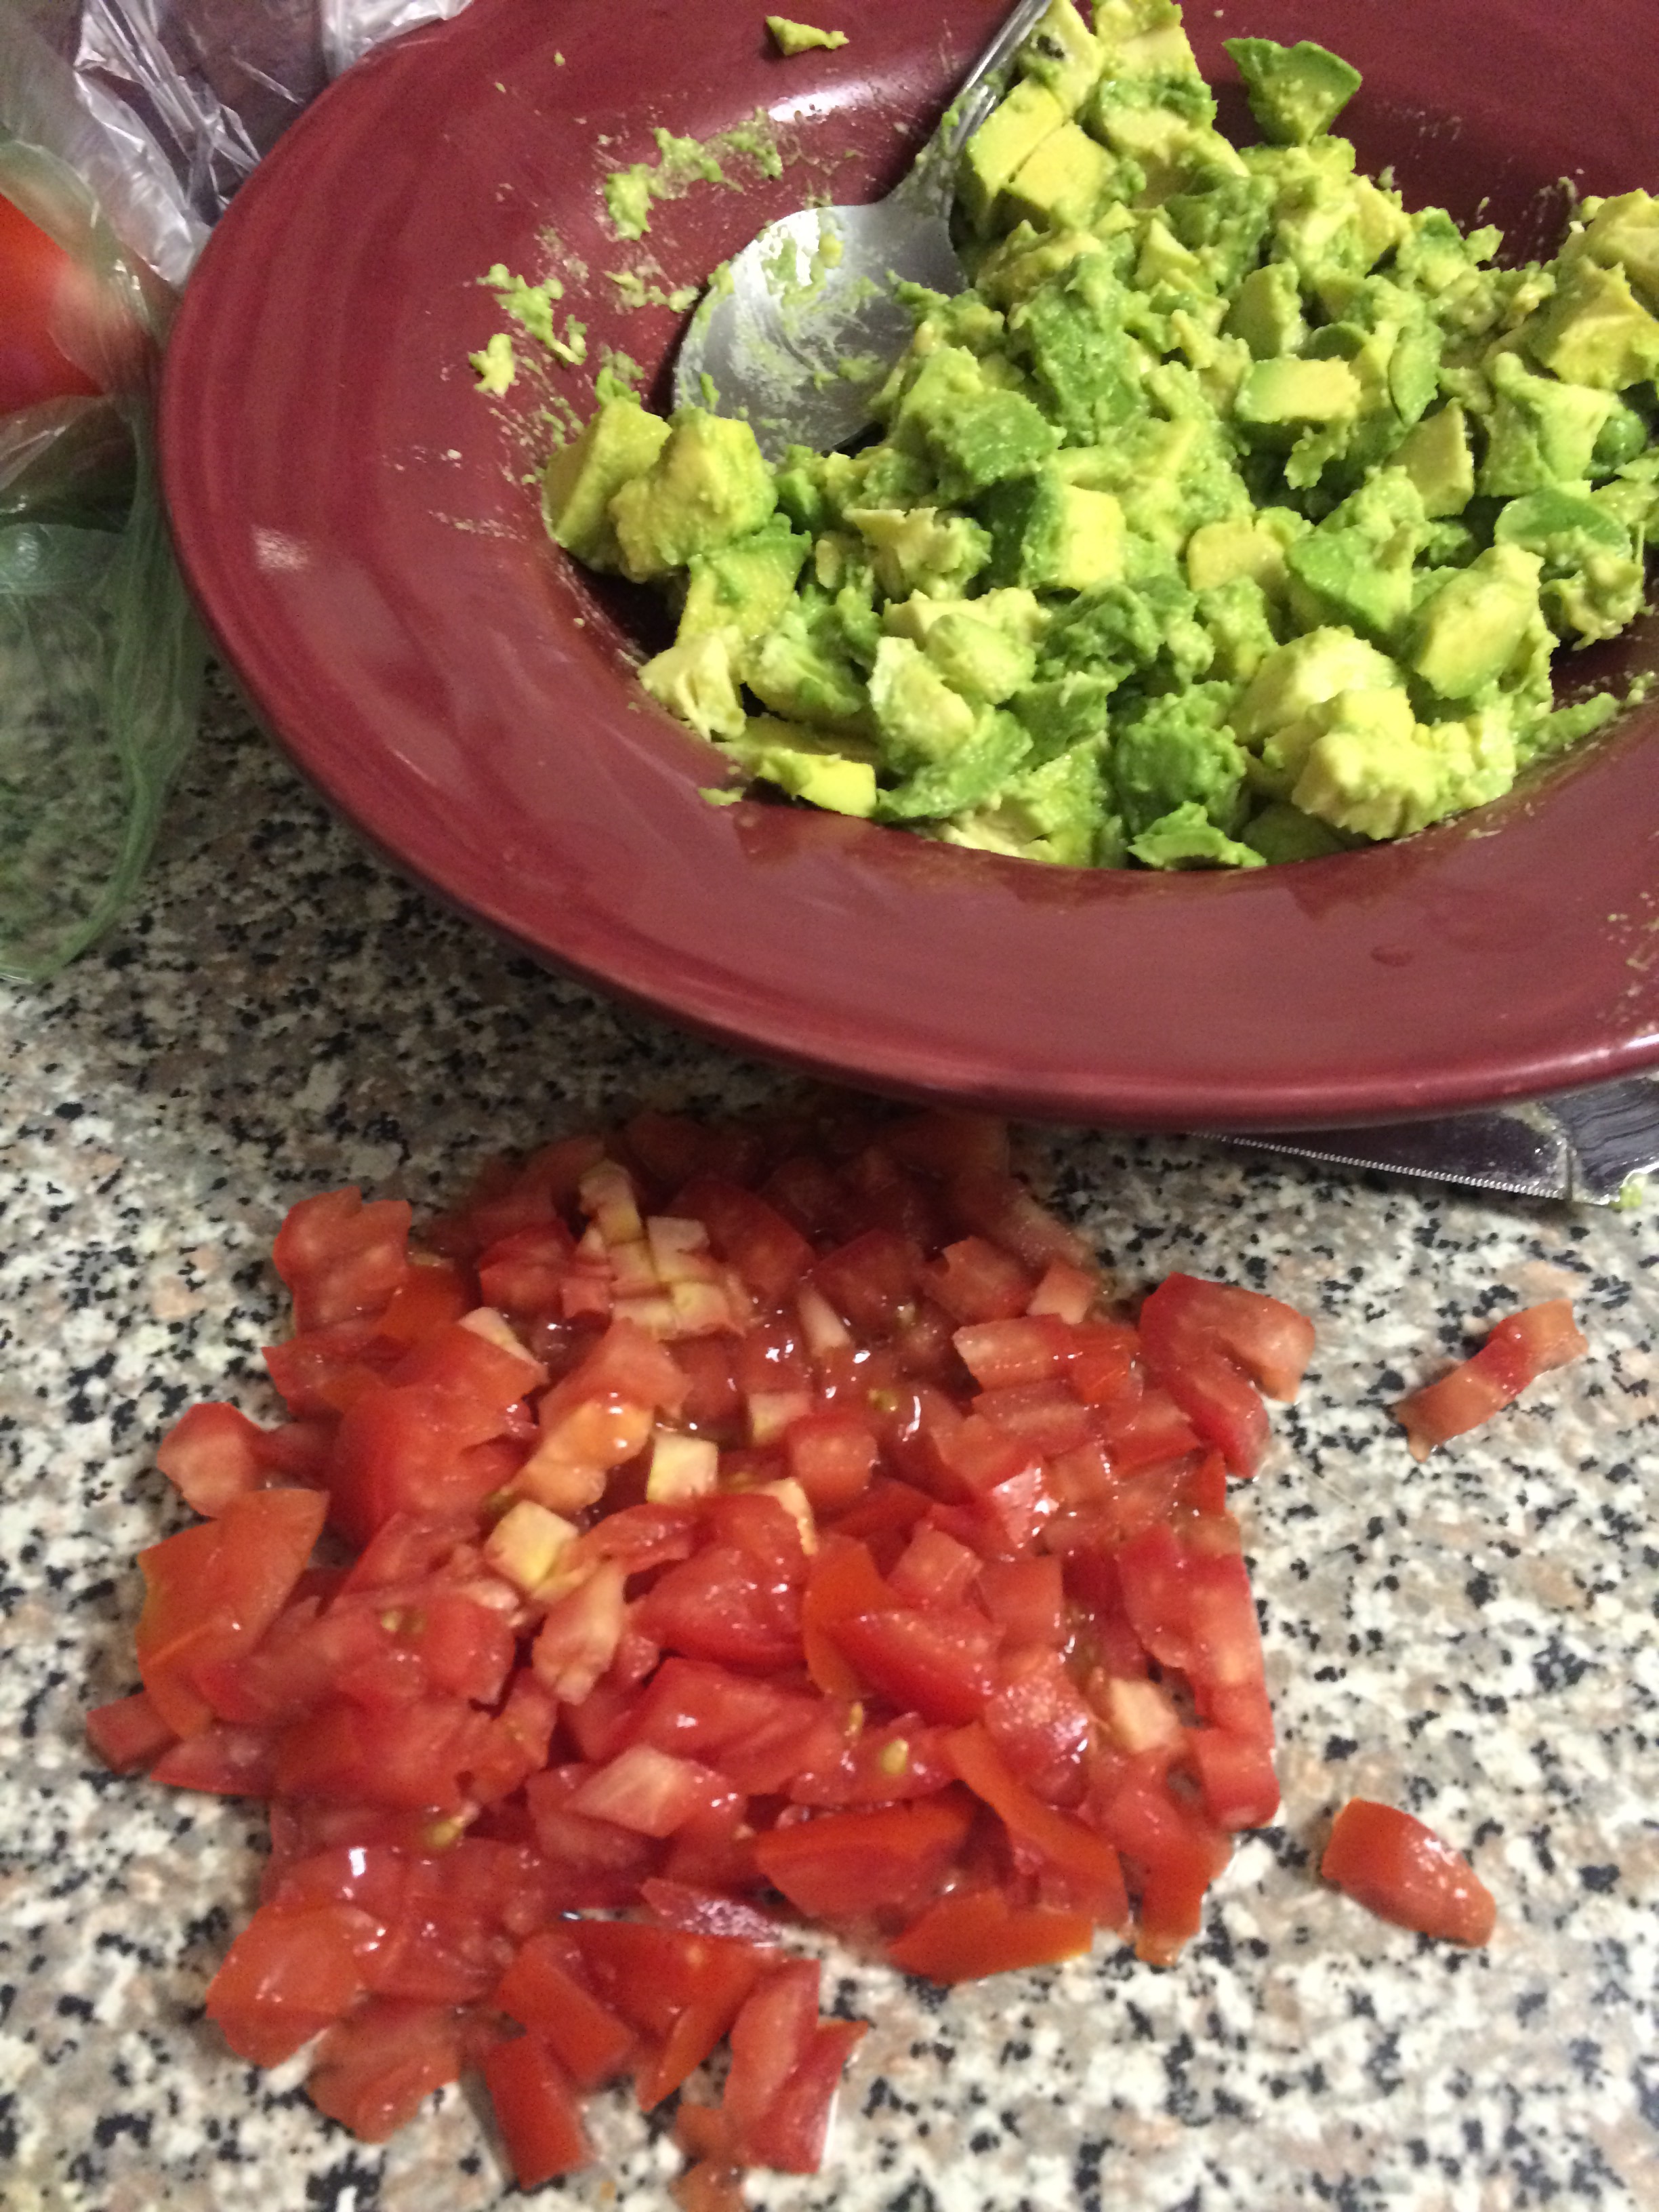
 Next dice up the red onion. You’ll need about two tablespoons of the red onion.
 Chop and add about 2 tablespoons of cilantro.
 I use half of a jalapeno chopped in my guacamole, use more or less depending on how much heat you like.
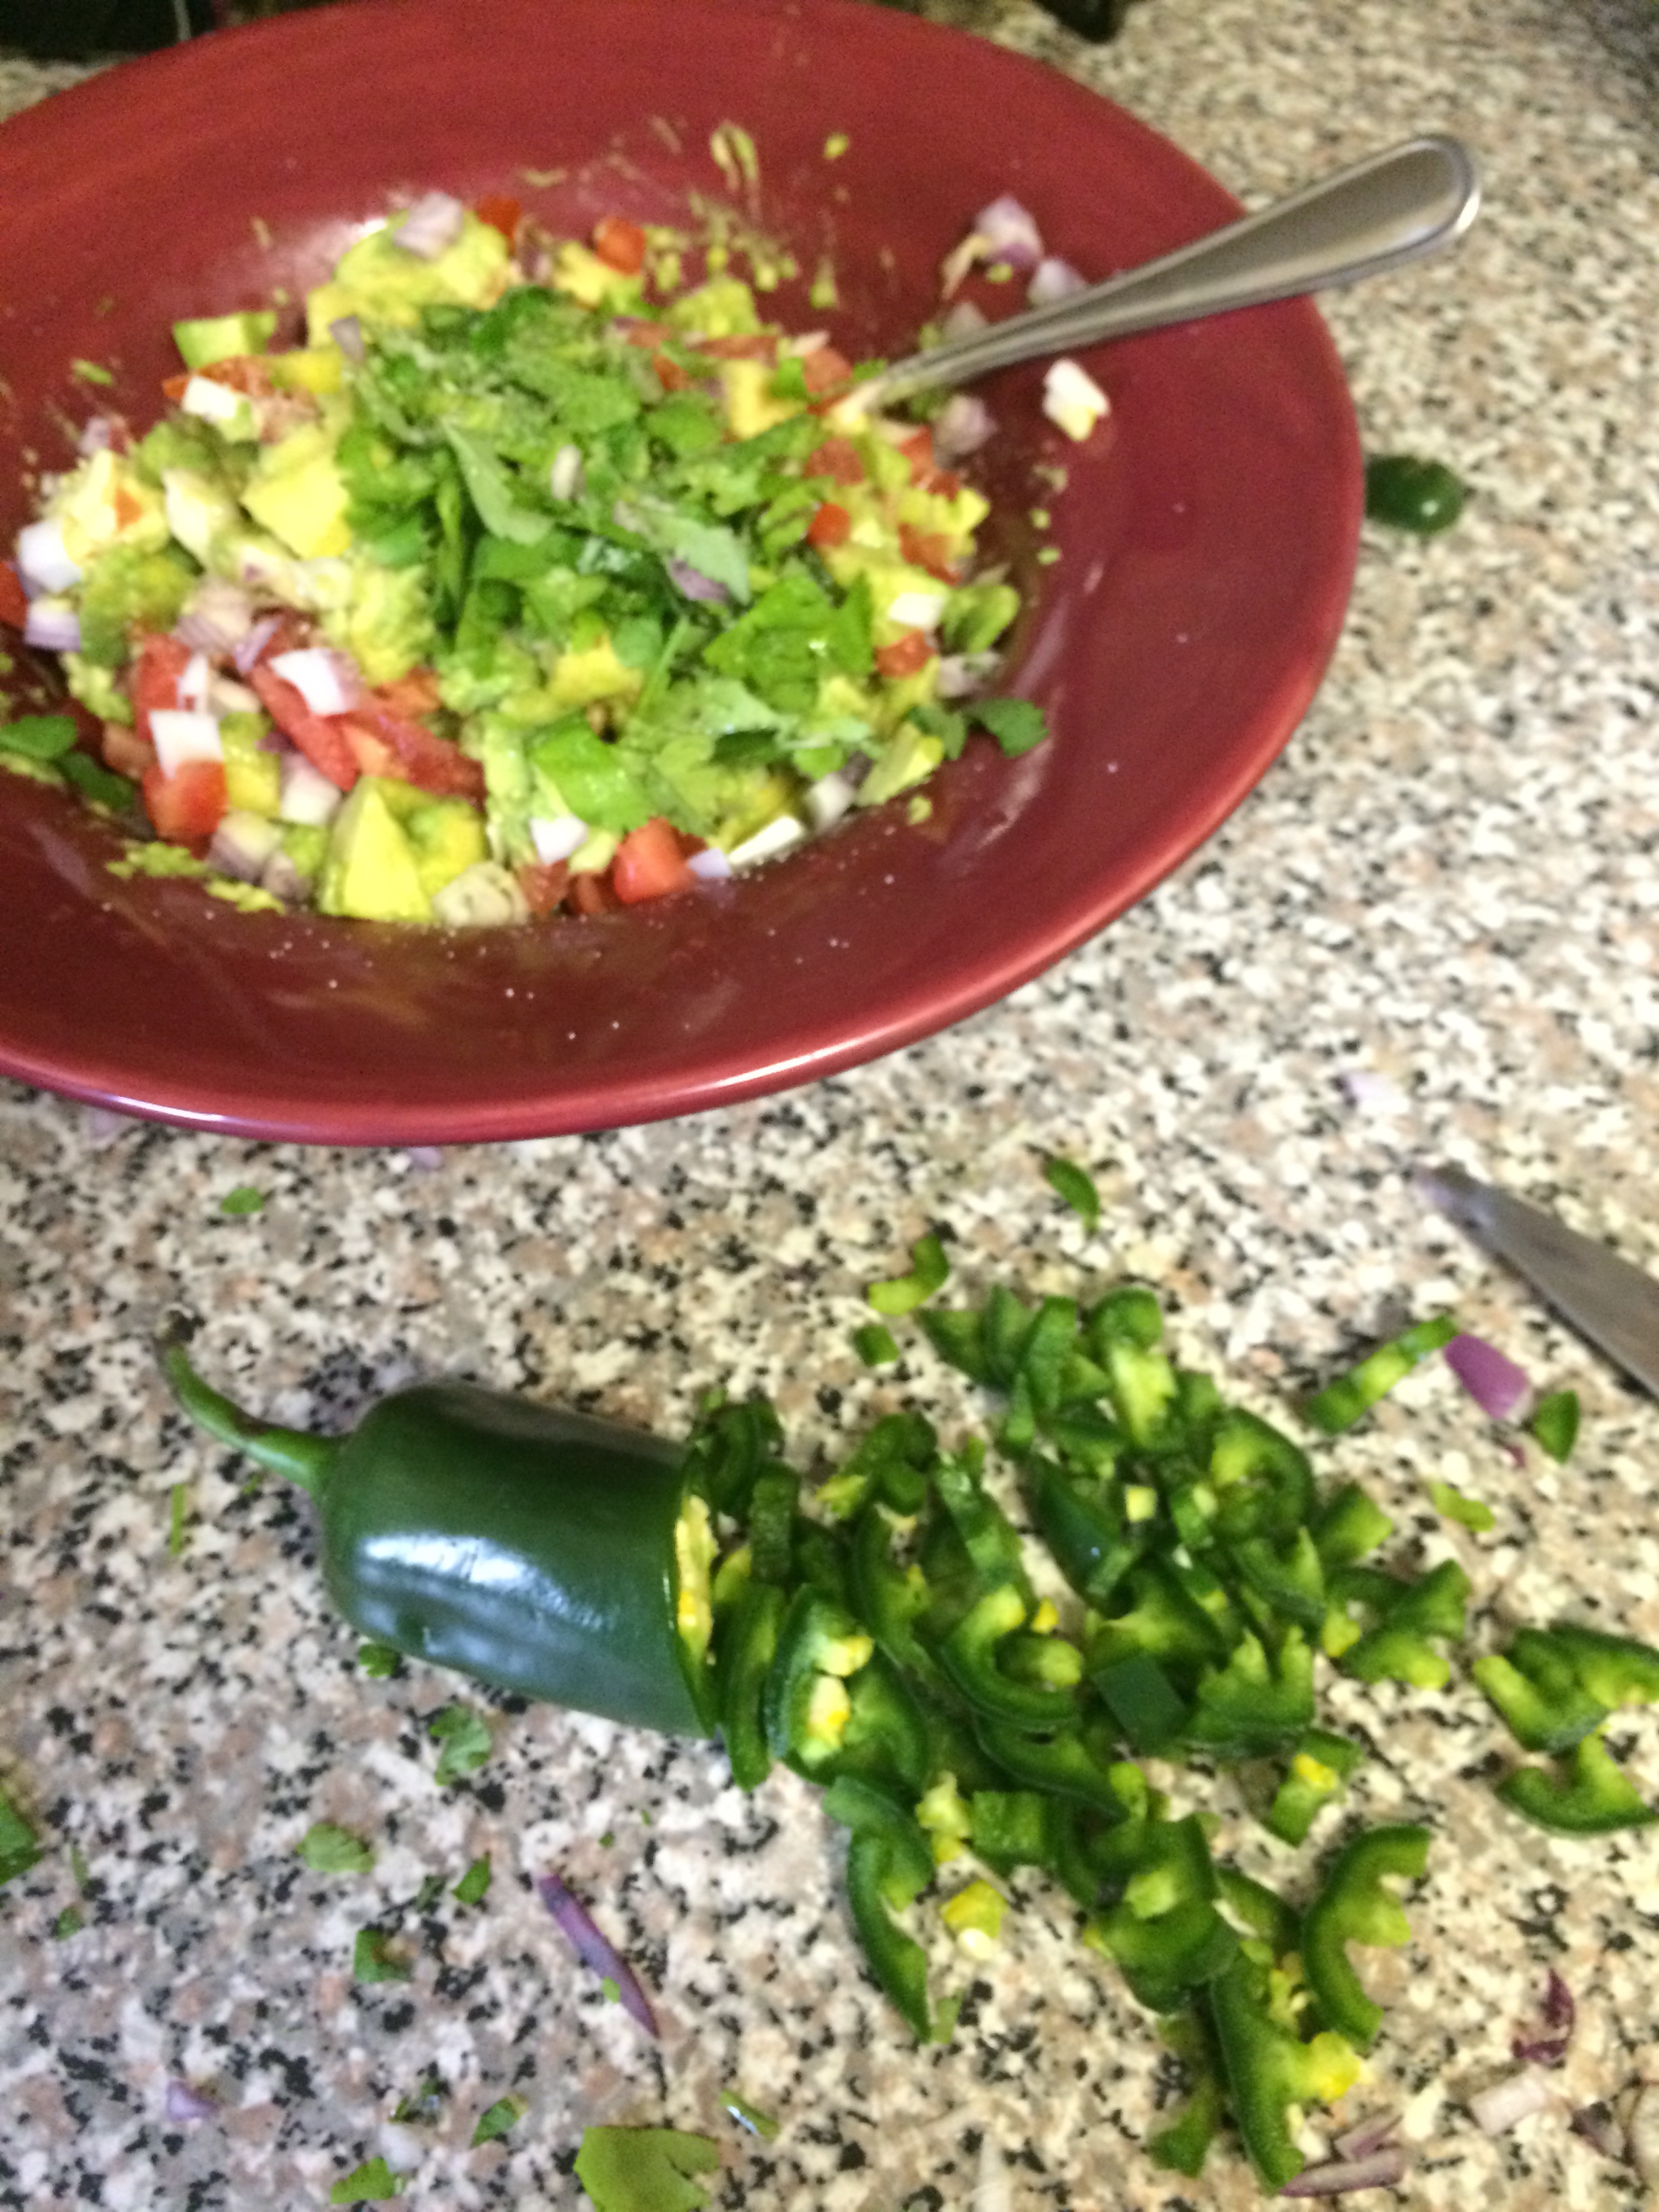 Lemon and lime is next. One wedge of lemon squeezed and half of a lime.
 1/2 a teaspoon of salt and 1/4 teaspoon of pepper.
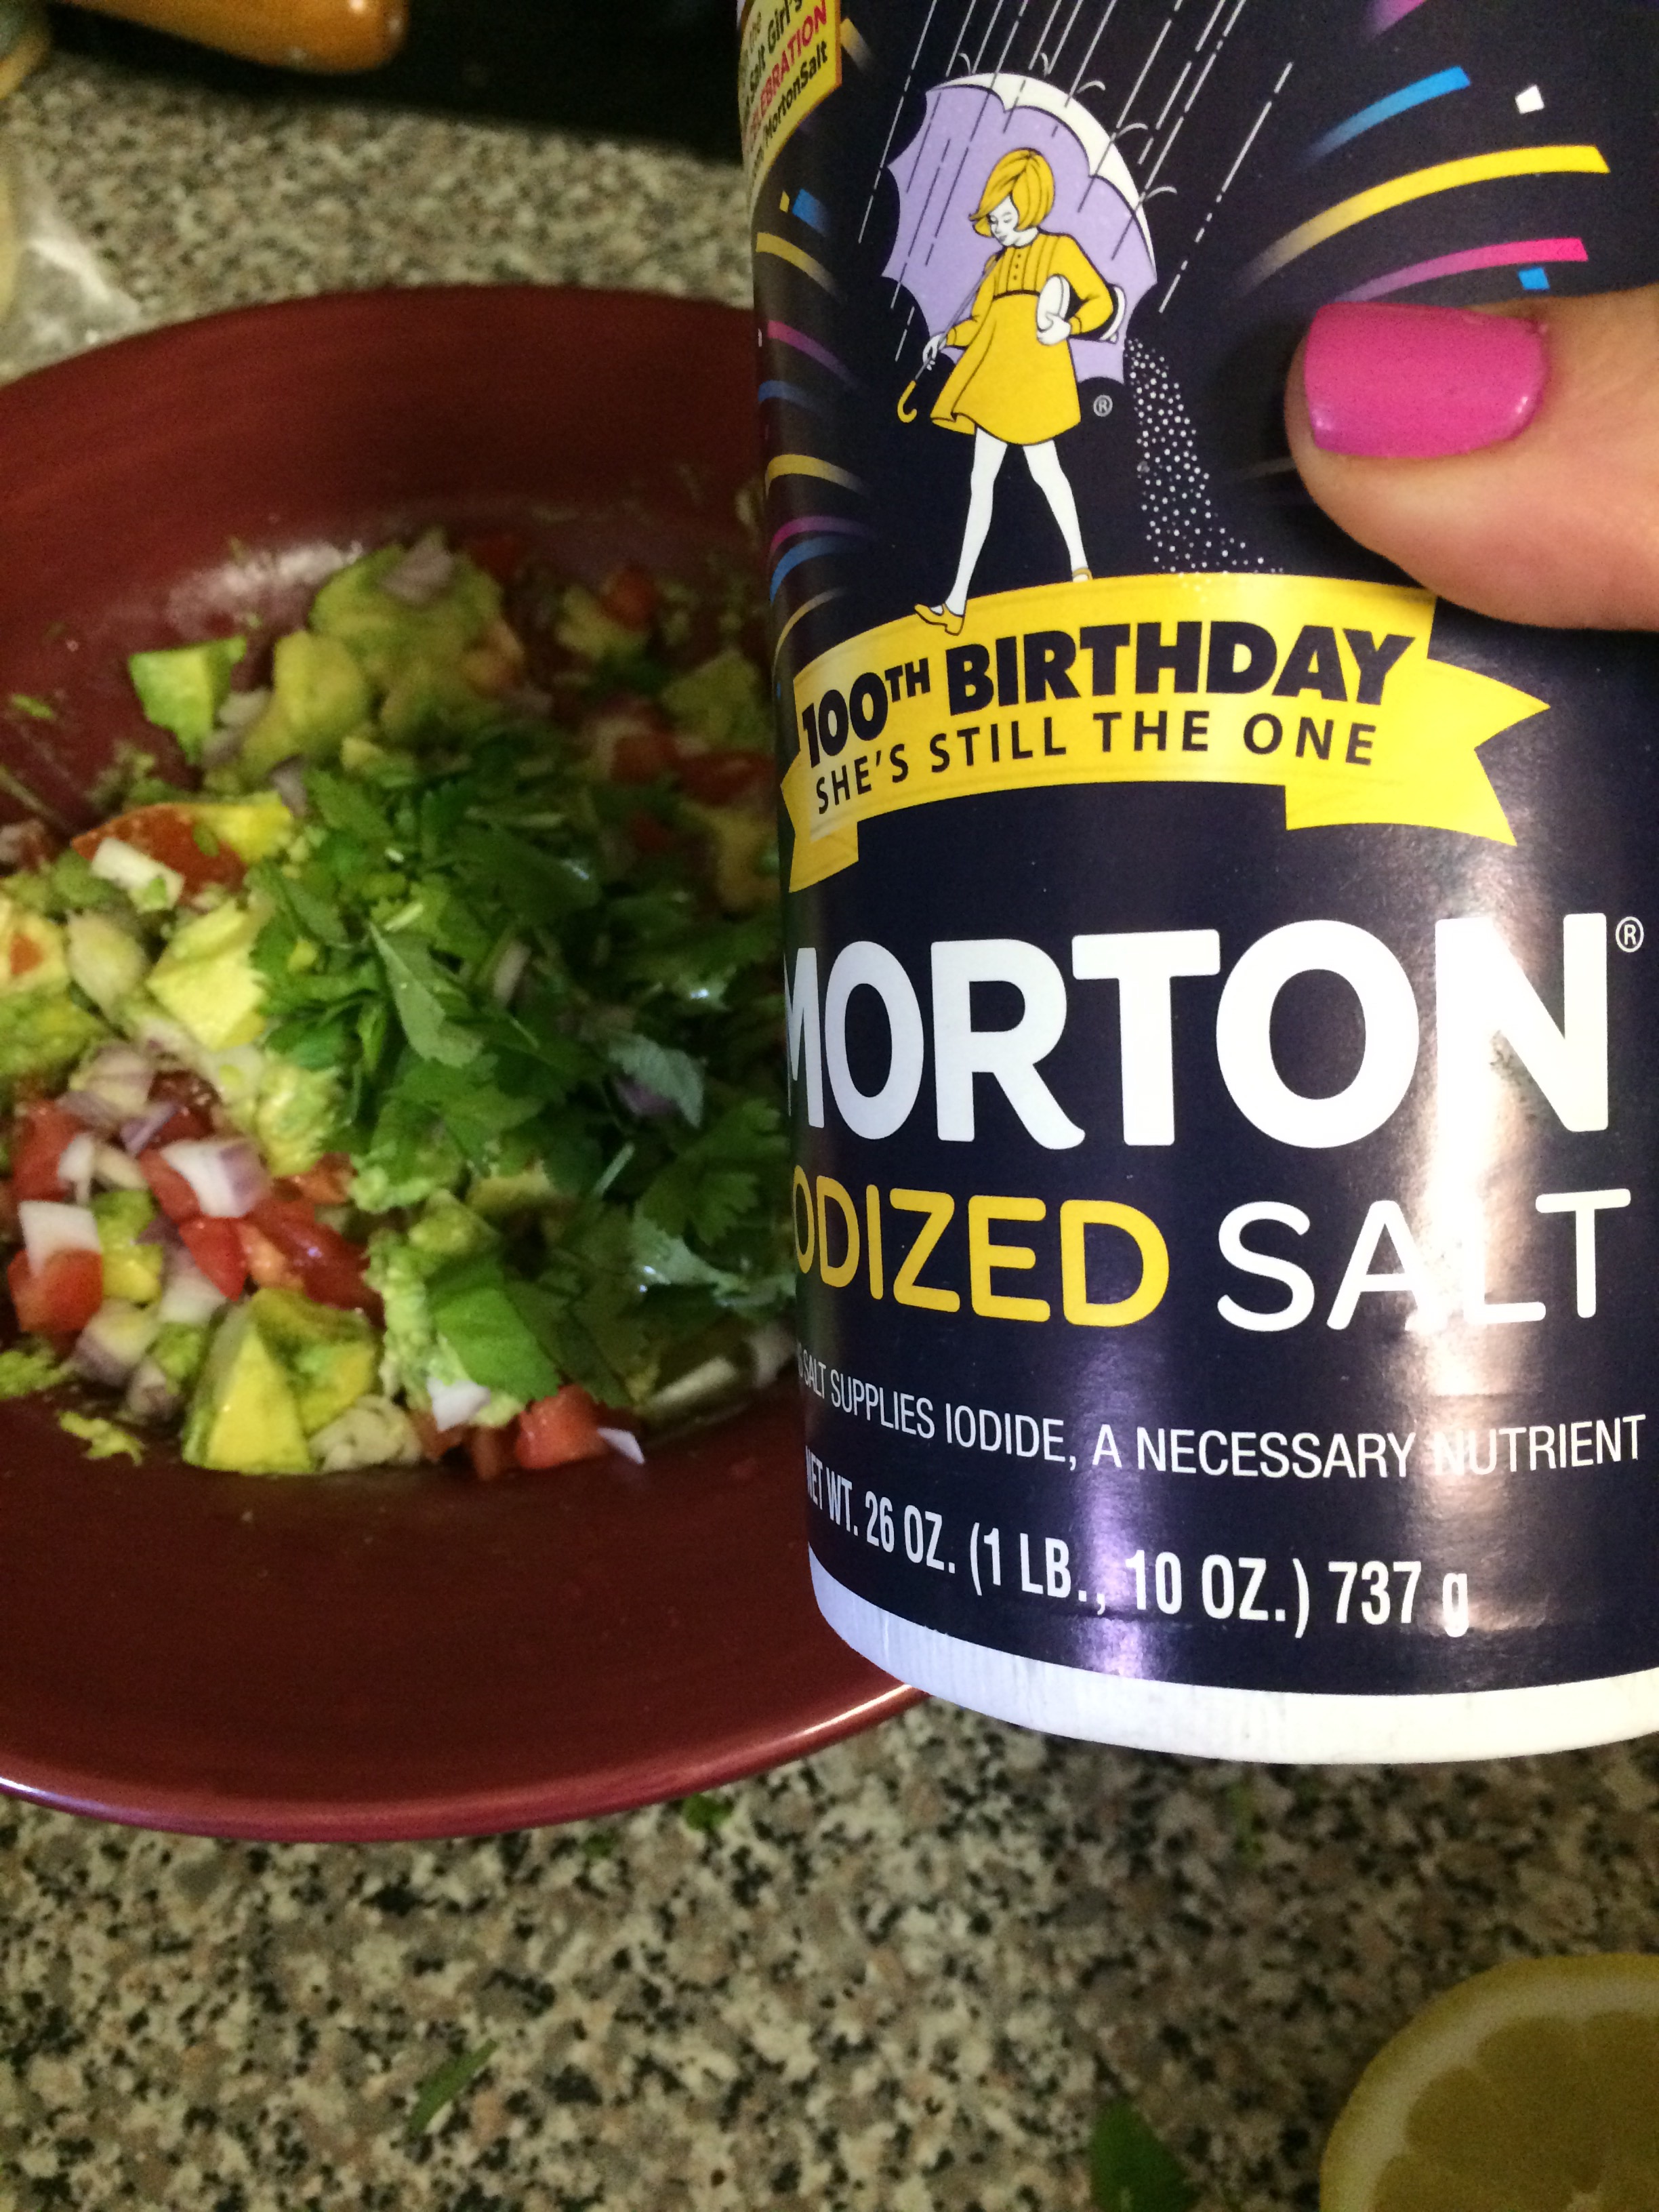 Grab some tortillas chip and enjoy!!!!